यह आर्टिकल अभी हिंदी में नहीं है, इसलिए इसे अंग्रेज़ी में दिखाया जा रहा है।
कैसे करें
Add-ons, toppings and bundles
Offer extras, customisations or bundled items with a product.
Let customers add extras to a product, fill in their own details when they order, or build a box of items. This helps you sell more with each order, like extra cheese on a sandwich or a message on a cake.
You do this with three add-ons in your Ordrio admin panel:
- Product Toppings: extras customers can add to a product, each with its own price.
- Product Form: questions customers answer when they buy a product, like the message on a cake.
- FlexiBox Products: boxes where customers pick the items from groups you set.
Before you start
- Add the products you want to offer extras with. You link toppings and forms to products you already have.
- Product Toppings and Product Form are free. FlexiBox Products is a paid add-on.
Switch on Product Toppings
- Open nadi.ordrio.com (your Ordrio admin panel) and log in.
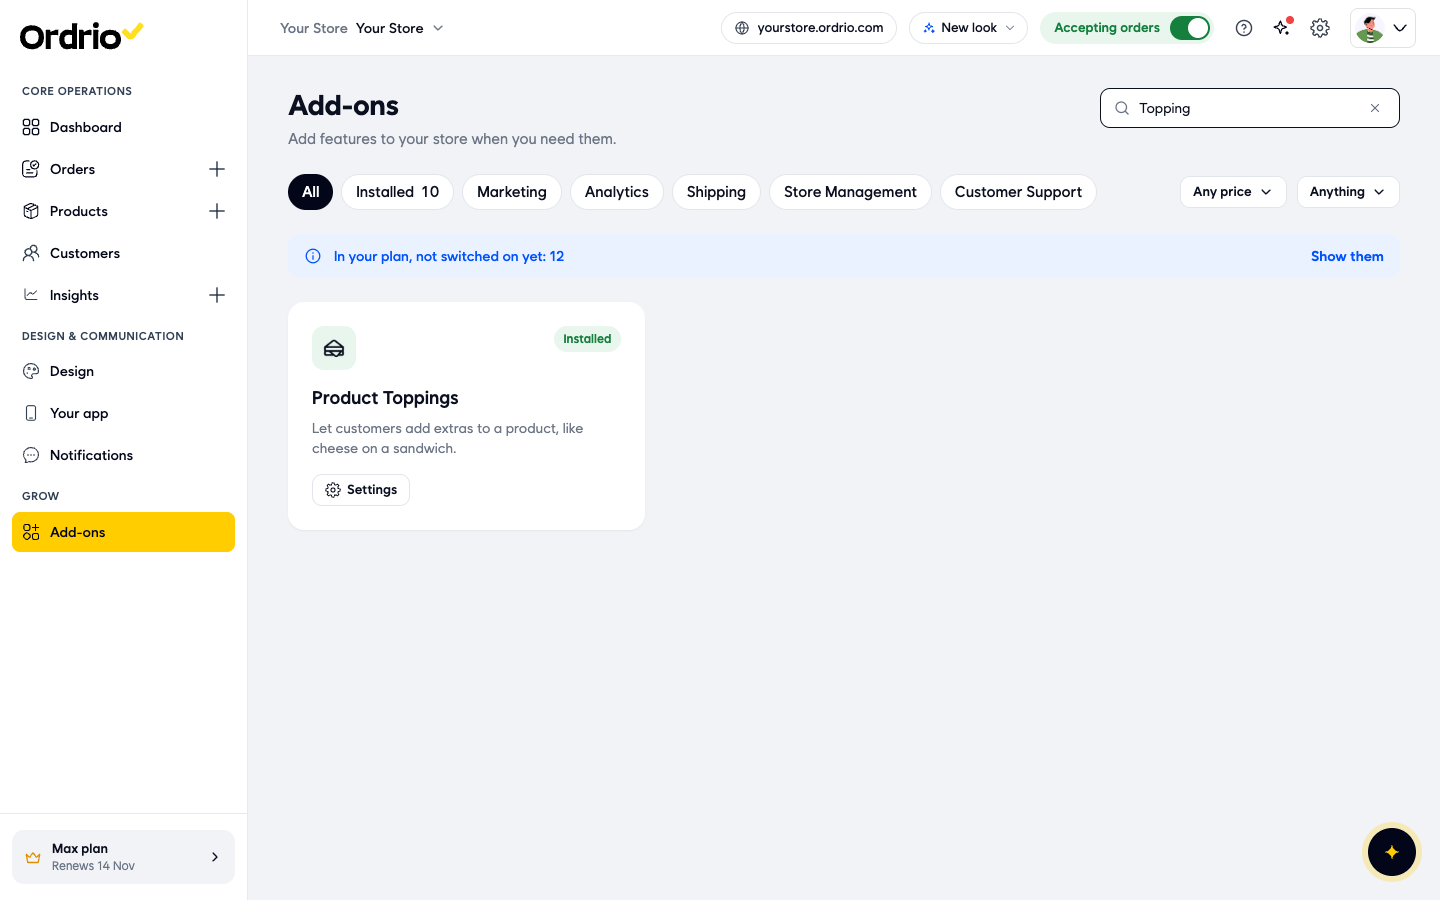
- In the left menu, under Grow, click Add-ons.
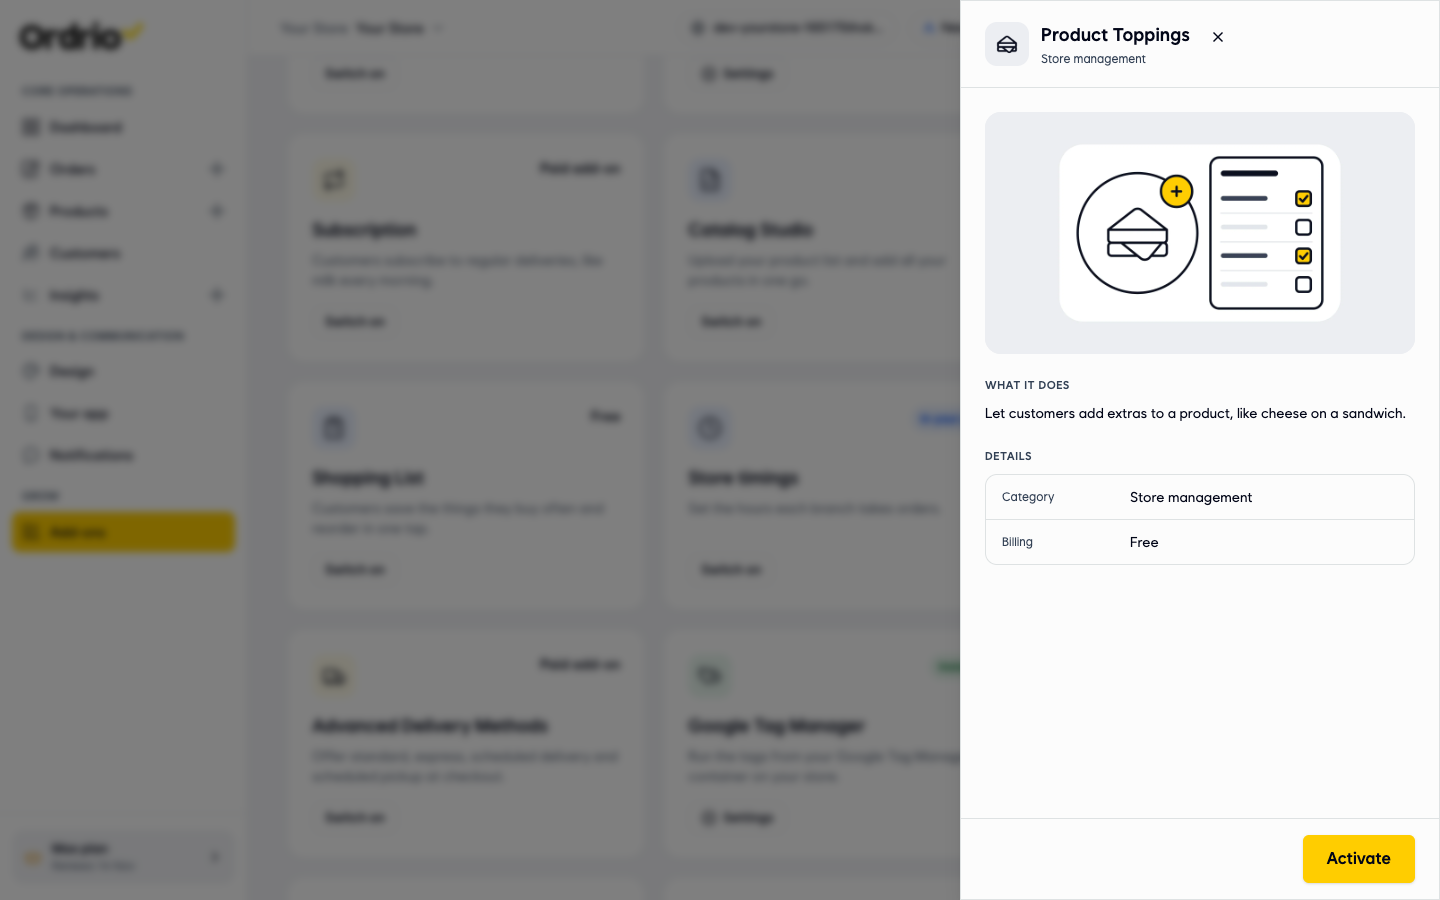
- Type "Topping" in the Search add-ons box, then click the name Product Toppings. A panel opens with What it does and the Details: the Category is Store management and the Billing is Free.
- Click Activate.
- The Product Toppings card now shows Installed. Click Settings on the card.
Make a topping group
A topping group is a list of extras, for example "Sandwich extras". You make the group once and link it to as many products as you like.
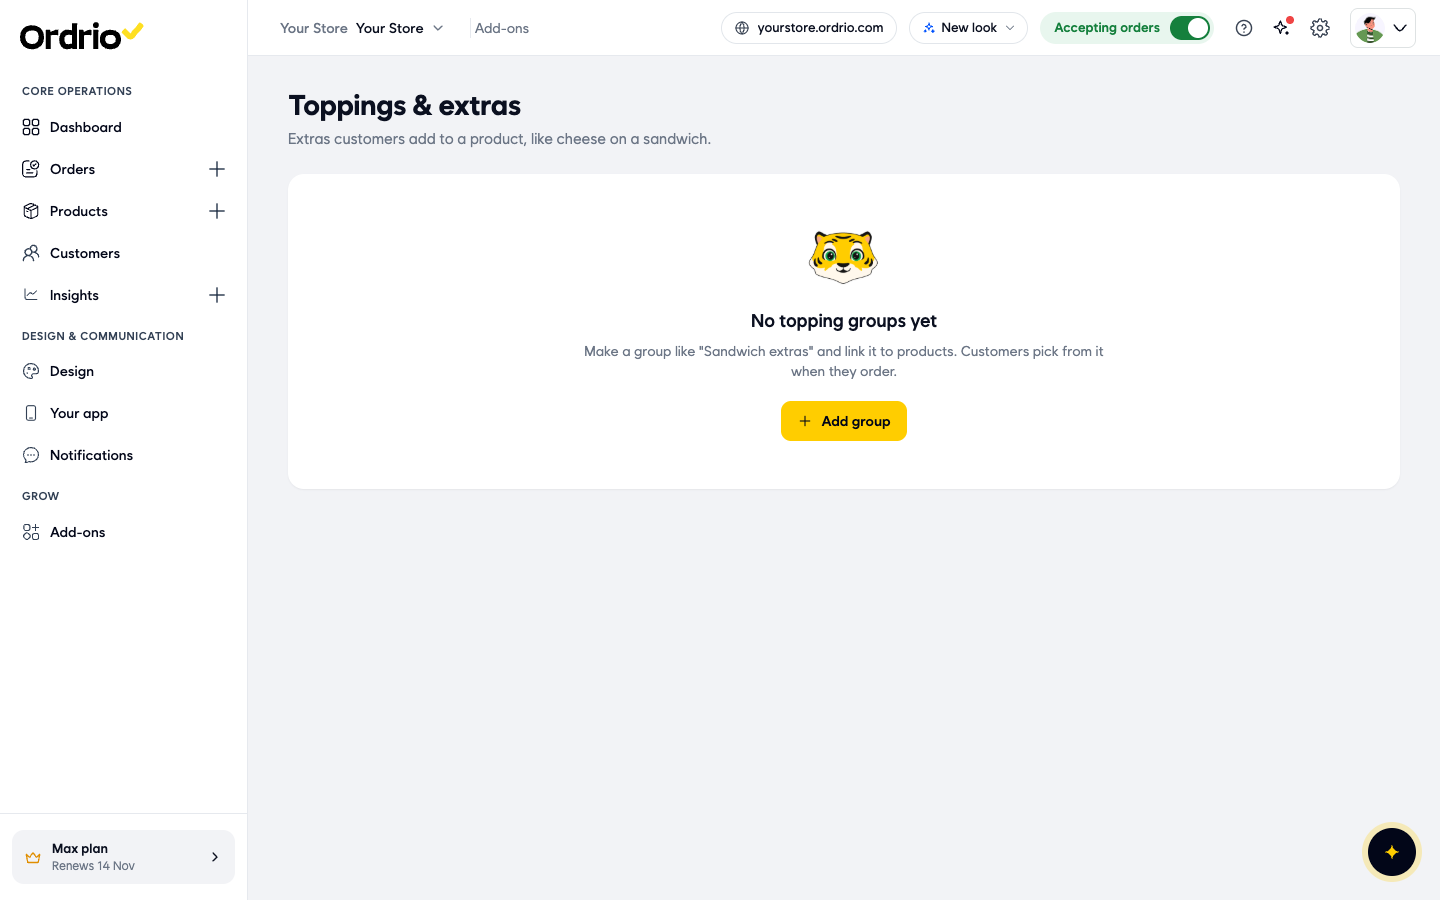
- The Toppings & extras page opens. Click Add group.
- In Group name, type a name customers will understand, for example "Sandwich extras". Customers see this name above the extras.
- In Customers can pick, choose One topping if customers may choose only one extra, or Many toppings if they may choose several.
- To set a limit, tick Set the least and most they can pick. Then type the smallest number in At least and the largest number in At most. For example, At least 0 and At most 2 means customers can skip the extras or pick up to two.
- Under Toppings, fill in the first row:
- Topping: the name of the extra, for example "Extra cheese".
- Price: what the extra costs in ₹, for example 30. Customers see it as "+₹30" next to the extra.
- Available: leave it on. Turn it off when you run out of that extra.
- Picked for them: tick it if the extra should already be selected for the customer.
- Click Add topping for each extra you want to add, and fill in its row the same way. Drag the dots on the left of a row to change the order, or click the bin to remove a row.
- Check the What customers see box on the right. It shows the group name, how many extras customers can pick (for example "Pick up to 2") and each extra with its price.
- Click Save changes.
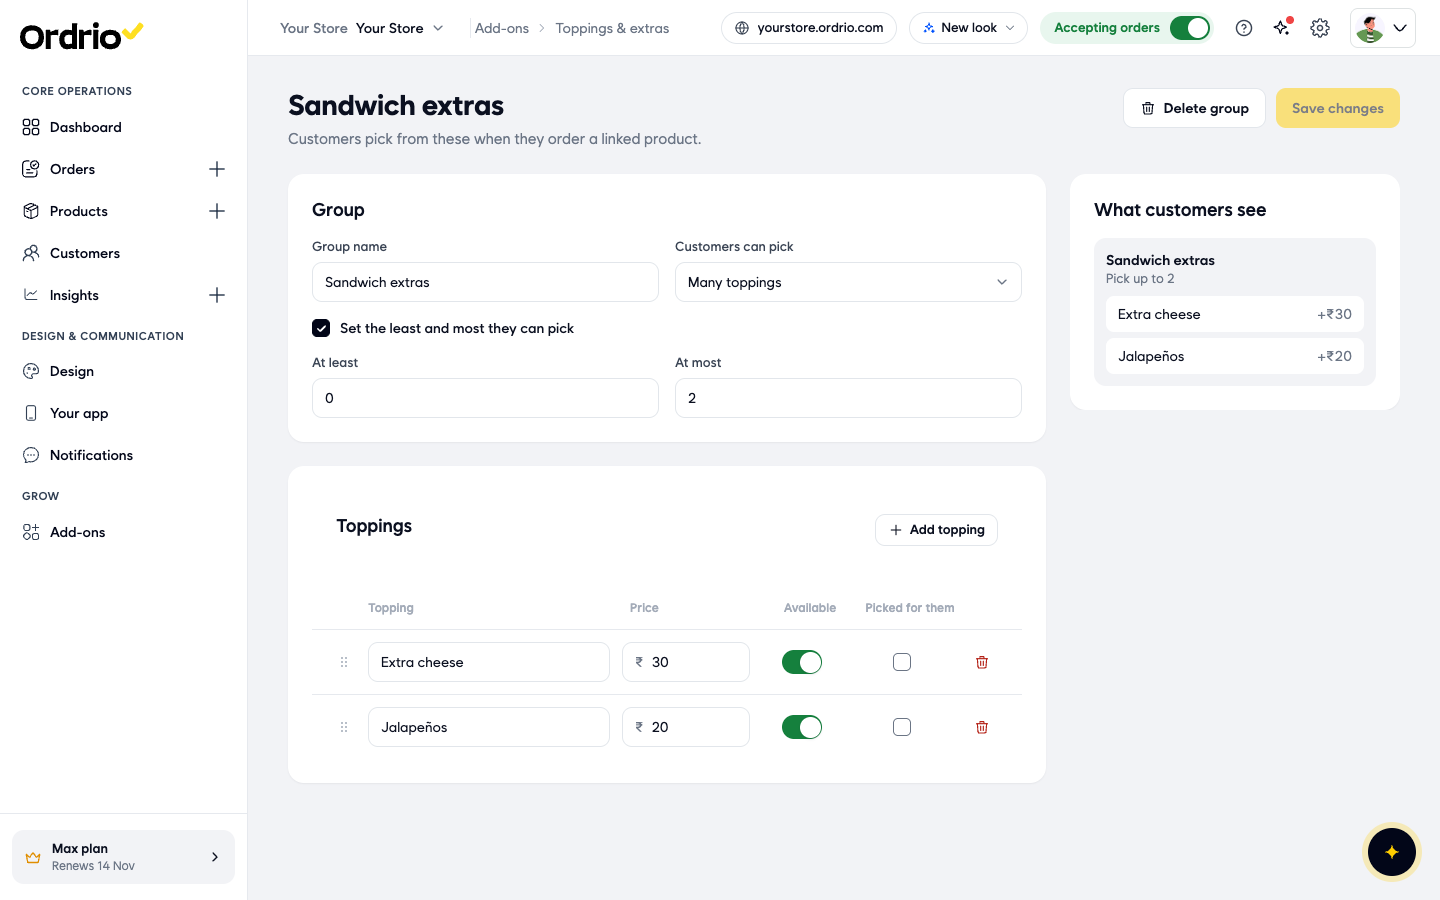
The names and prices in the pictures are examples. Use your own extras and prices.
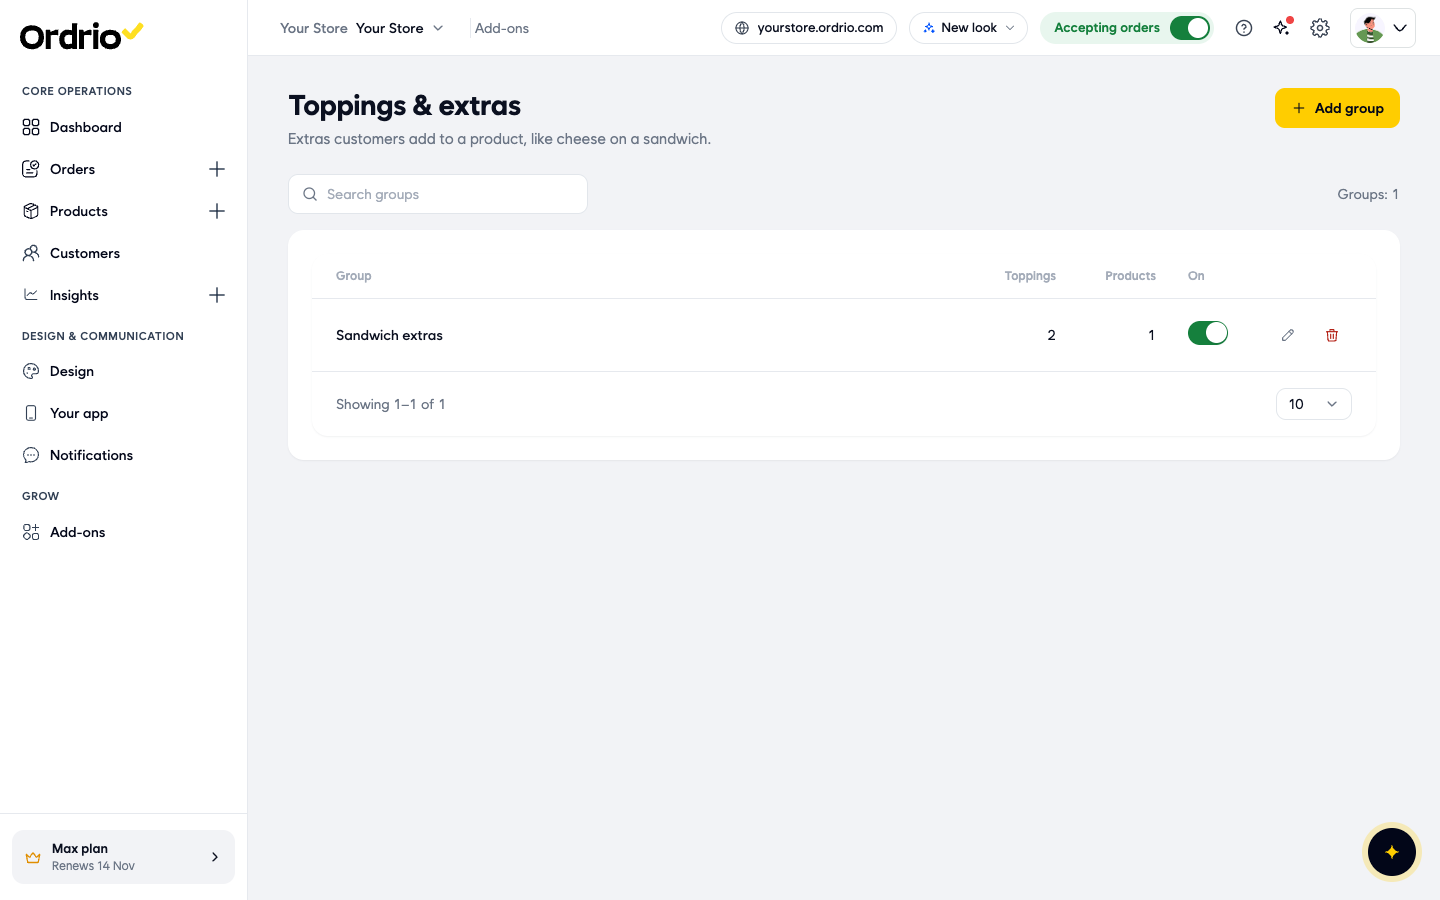
After you save, you are back on Toppings & extras. Each group shows how many Toppings it has, how many Products it is linked to, and an On switch. Use the pencil to edit a group and the bin to delete it.
Link the group to a product
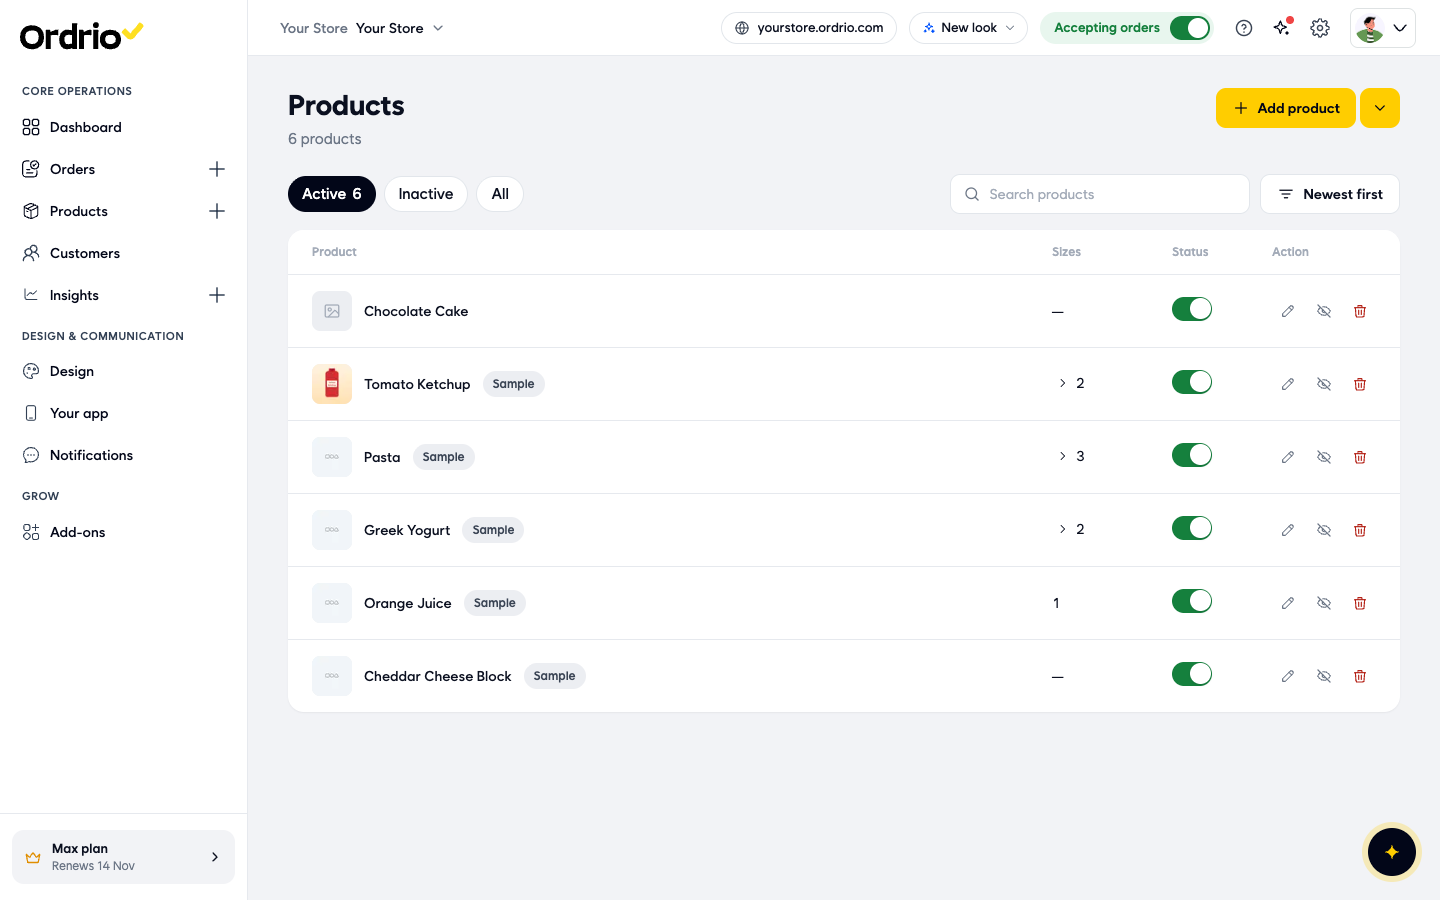
- In the left menu, click Products, then Products.
- Find the product and click its pencil to edit it.
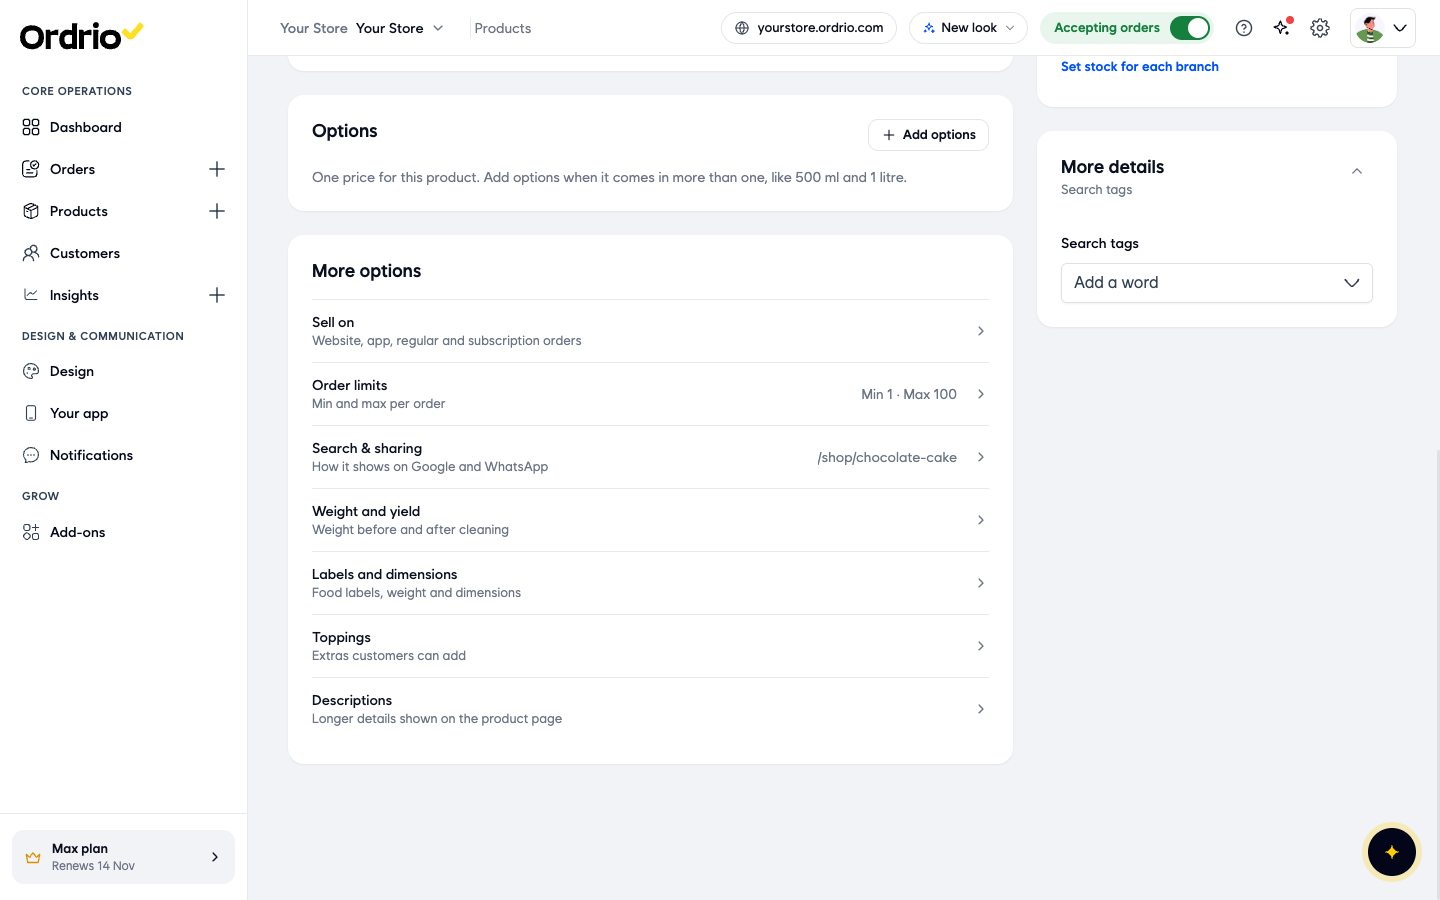
- Scroll down to More options and click Toppings (Extras customers can add).
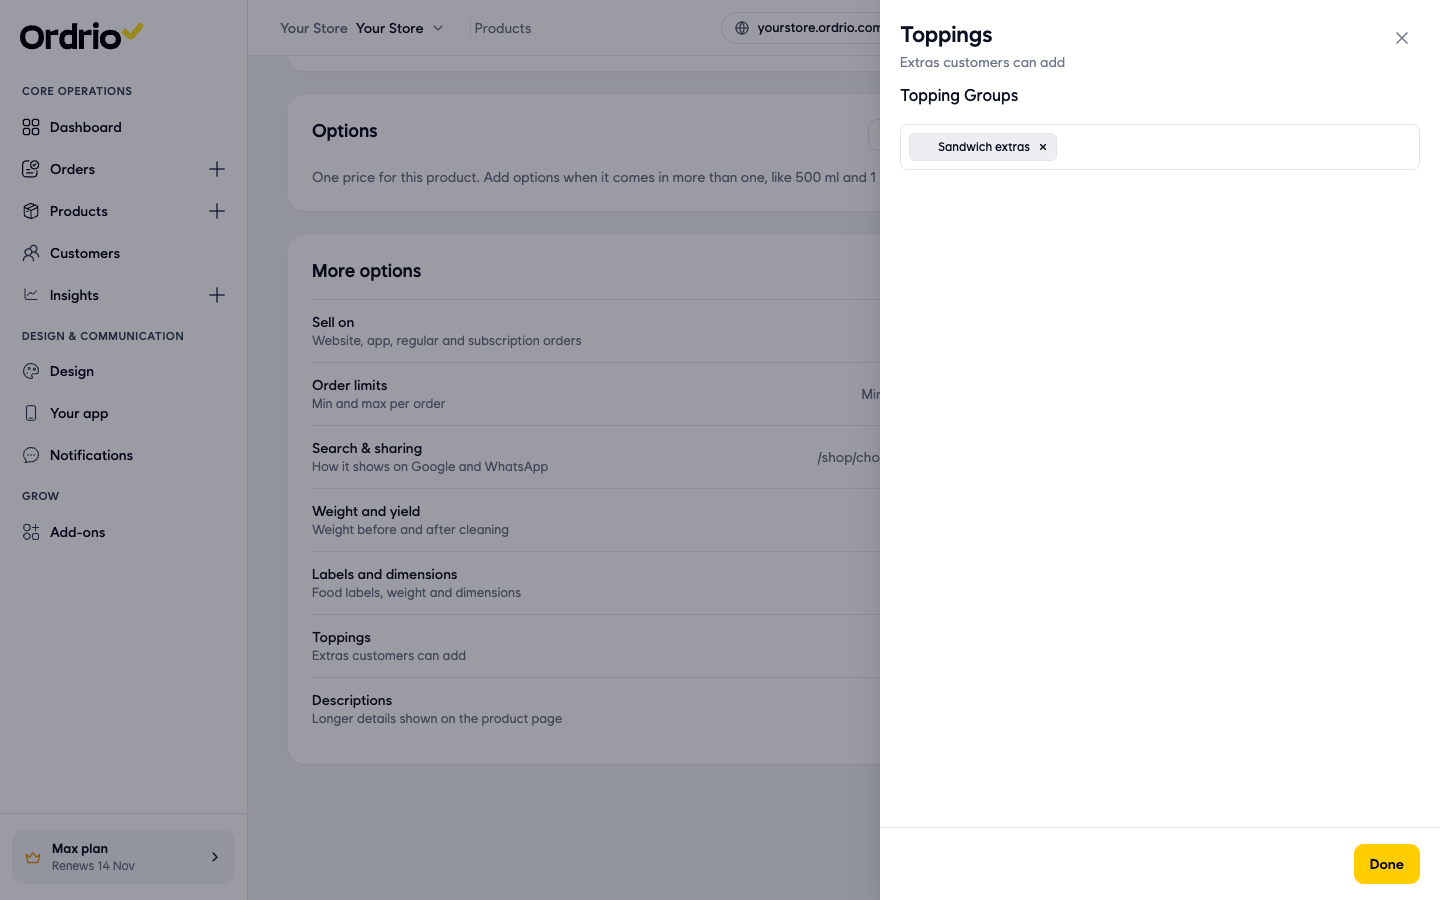
- Click the box under Topping Groups. Tick the group you made, for example "Sandwich extras". You can tick more than one group, and you can type in Search topping groups to find one.
- Click Done.
- Click Save at the top of the product page.
- Go back to Add-ons and open Settings on Product Toppings. The Products column for your group now shows the number of linked products.
Ask customers for details with Product Form
Use Product Form when you need information from the customer, not an extra item. For example, the message on a cake, egg or eggless, or the date they need it.
- In the left menu, click Add-ons. Find Product Form. If it shows Switch on, click it and then Activate. When it shows Installed, click Settings.
- The Product forms page opens. Click New form.
- In Form name, type a name, for example "Cake order details". Customers see it as the title of the form.
- In Button name, type the text for the button on the product page, for example "Add cake details".
- In Products, choose the products that should show this form.
- Under Fields, click Add field. In the Add Property box:
- Type: what kind of answer you want, for example Answer (typed text), Single Selection (one choice from a list), Multi Selection (several choices), Date, Location or File Upload.
- Field Name: the question customers see, for example "Message on the cake".
- Placeholder Text: a hint shown inside the empty box, for example "For example, Happy Birthday".
- Character Limit: for typed answers, the Min and Max number of characters.
- Required: switch it on if customers must answer before they can order.
- Click Add. Repeat for each question. Drag a field to change the order.
- Check What customers see on the right, then click Save changes.
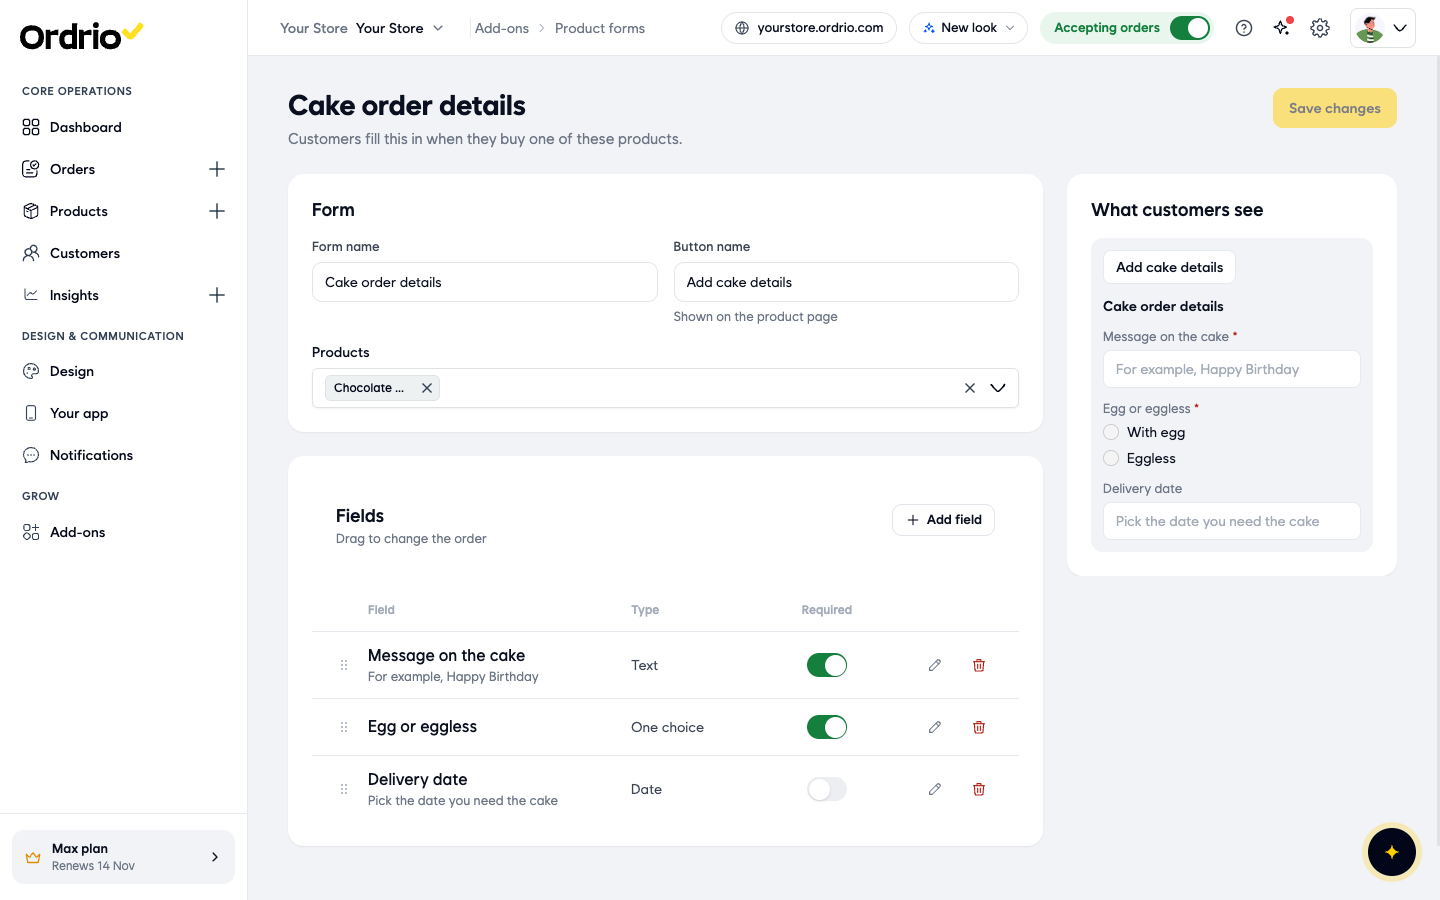
On the Product forms page, each form shows how many Products linked it has and an On switch. Use the pencil to edit a form and the bin to delete it.
Sell bundles with FlexiBox Products
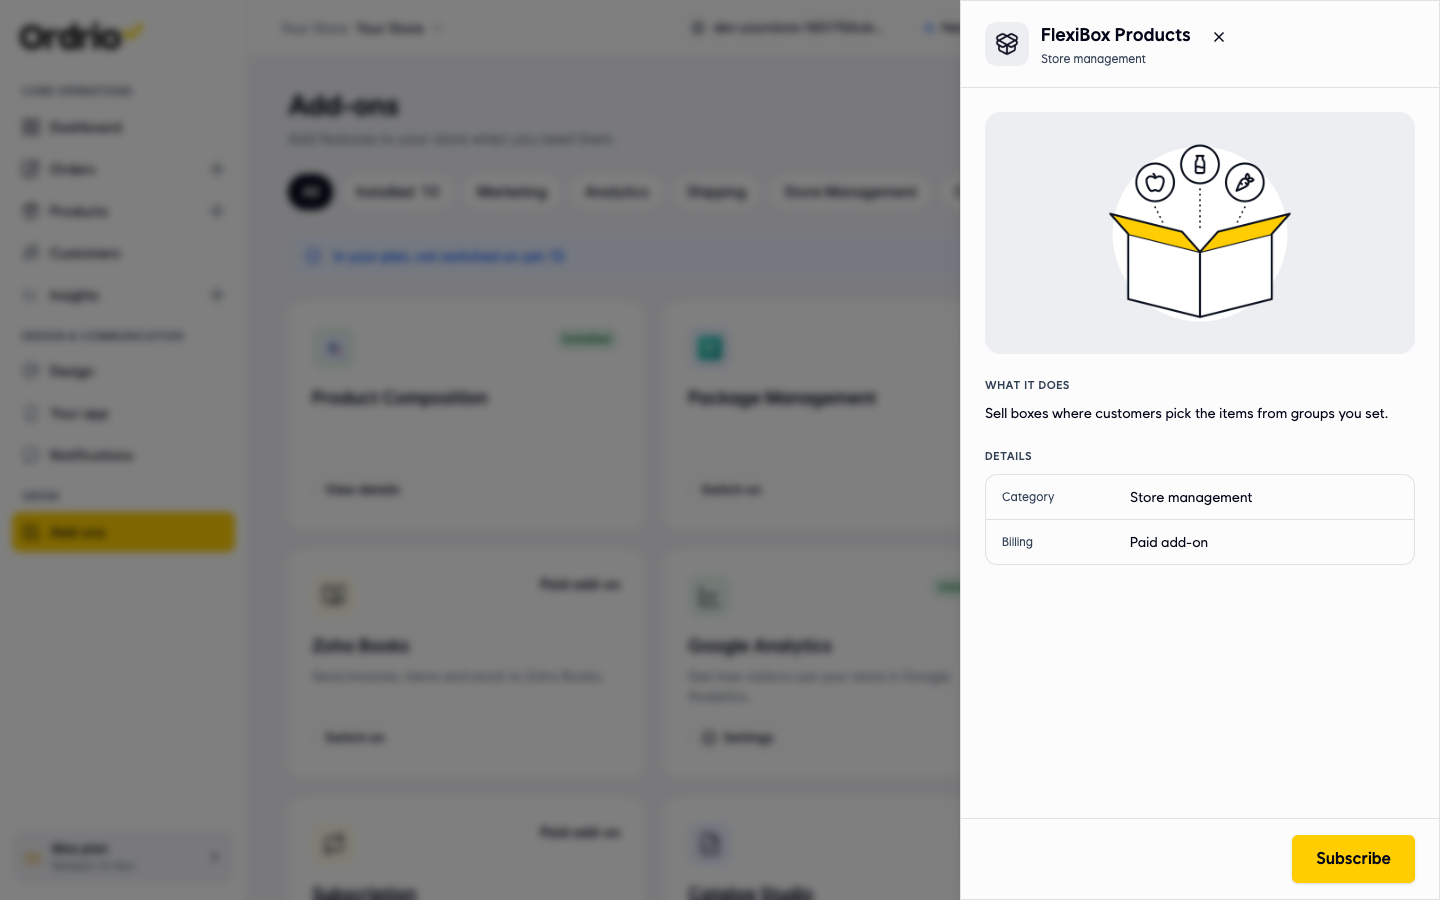
FlexiBox Products lets you sell boxes where customers pick the items from groups you set. It is a paid add-on.
- In the left menu, click Add-ons.
- Click the name FlexiBox Products to see what it does and its billing.
- Click Subscribe to add it to your store.
Good to know
- Topping prices are added on top of the product price. Customers see each extra with its price, like "+₹30".
- One topping group can be linked to many products, and one product can have more than one topping group.
- To stop offering a whole group for a while, turn off its On switch on Toppings & extras. To stop offering one extra, turn off its Available switch.
- Changes to a group or a product only count after you click Save changes or Save. If you see Unsaved changes at the bottom of the screen, save before you leave the page.
- Use Product Toppings for extras that cost money, and Product Form for details you need from the customer.
Related
- Adding your first product
- Product variations and options
- Product attributes and search tags