यह आर्टिकल अभी हिंदी में नहीं है, इसलिए इसे अंग्रेज़ी में दिखाया जा रहा है।
कैसे करें
Managing product categories
Group products into categories so customers can browse.
Categories group your products, like Bakery, Dairy & Eggs or Beverages, so customers can find what they want quickly on your website and app. You can add categories and sub-categories, put products in them, set the order customers see, and hide a category when you don't need it.
Before you start
- Add your products first, so you can put them into categories. See Adding your first product.
- The names in the screenshots (Bakery, Breads and the example description) are only examples. Use your own category names and descriptions.
Open your categories
- Open nadi.ordrio.com (your Ordrio admin panel) and log in.
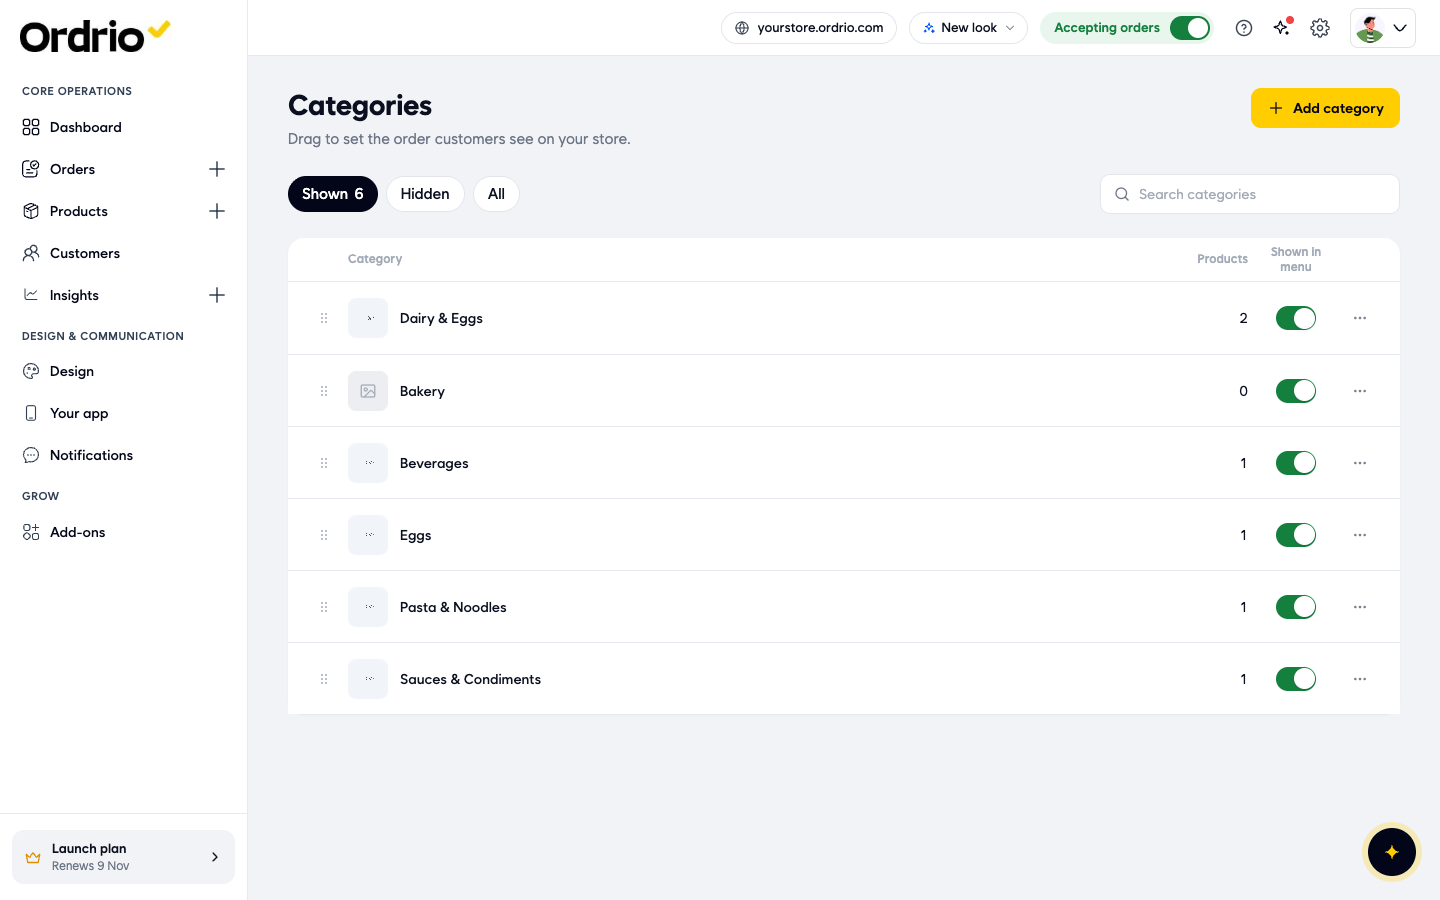
- In the left menu, click Products, then click Categories. You see all your categories, how many products each one has, and whether it is shown in your menu.
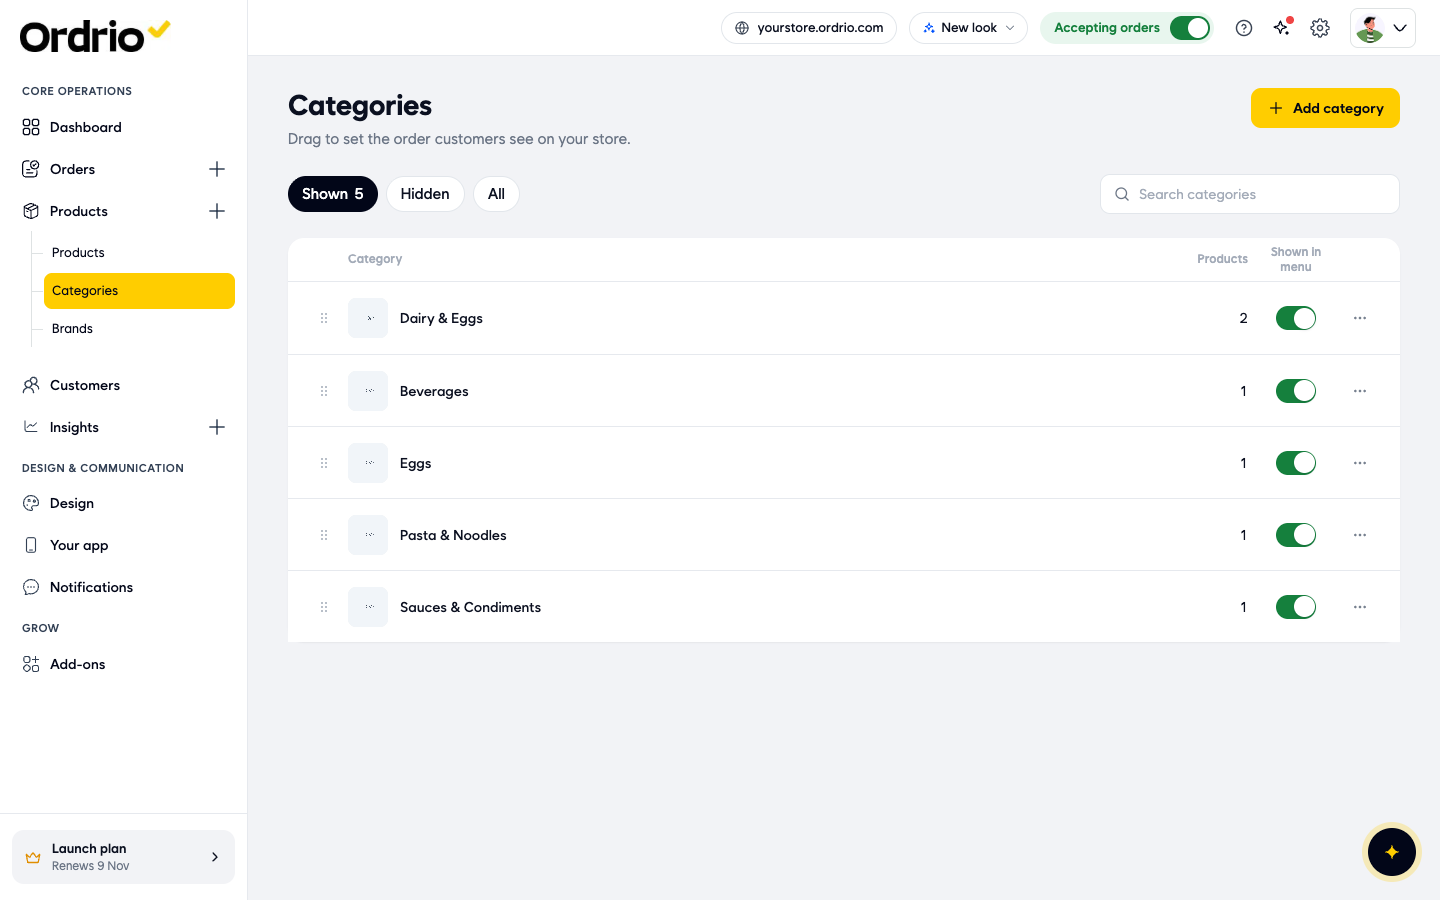
At the top of the list:
- Shown, Hidden and All filter the list. The number next to a filter is how many categories it holds.
- Search categories finds a category by name.
Add a category
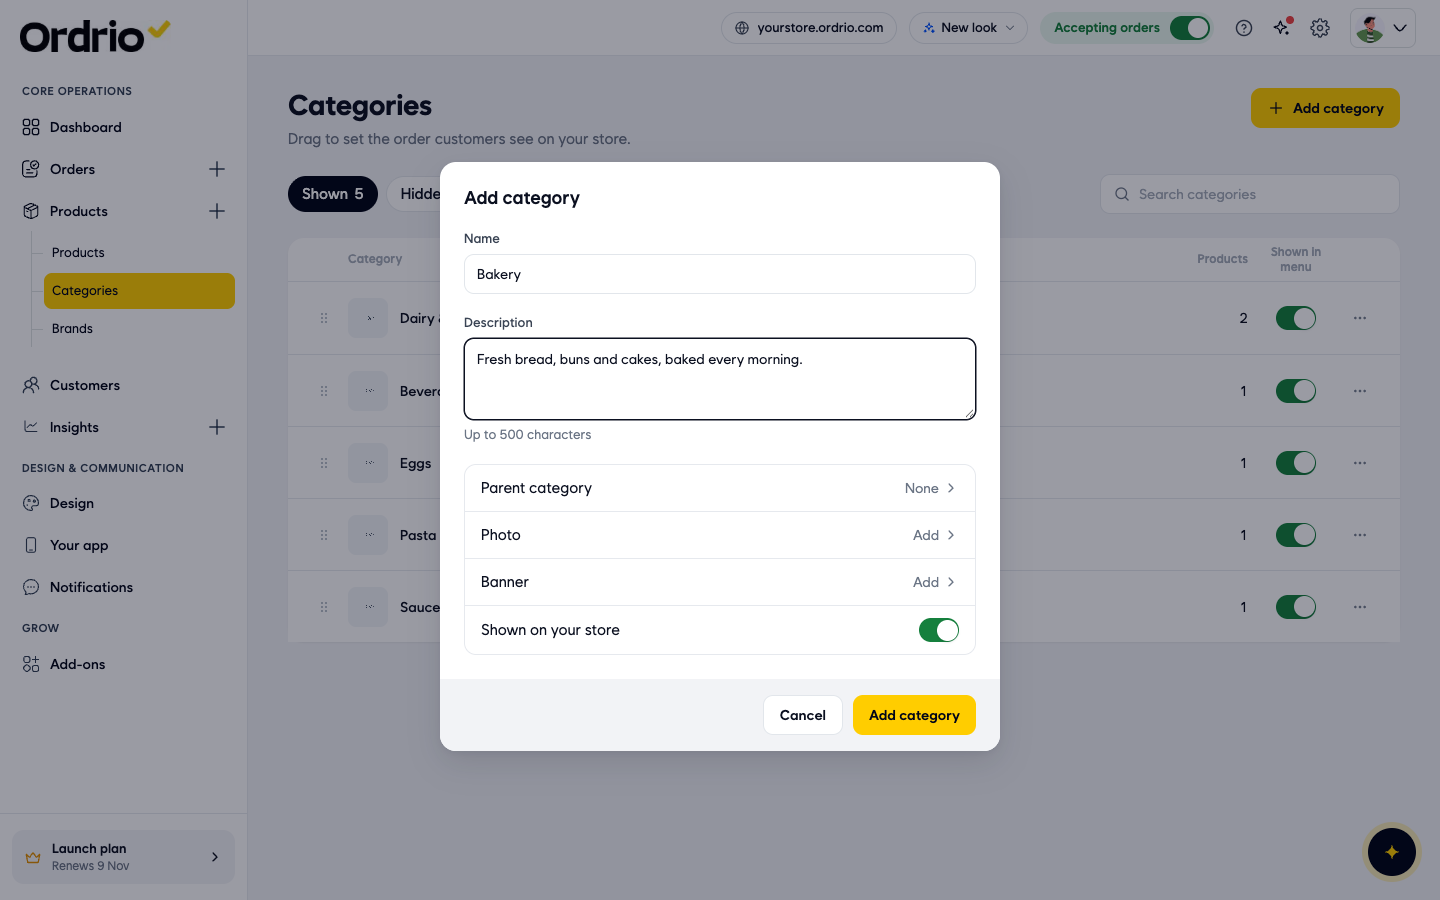
- Click Add category at the top right.
- In Name, type the category name customers will see, for example "Bakery".
- In Description, type a short line about the category, for example "Fresh bread, buns and cakes, baked every morning." You can use up to 500 characters.
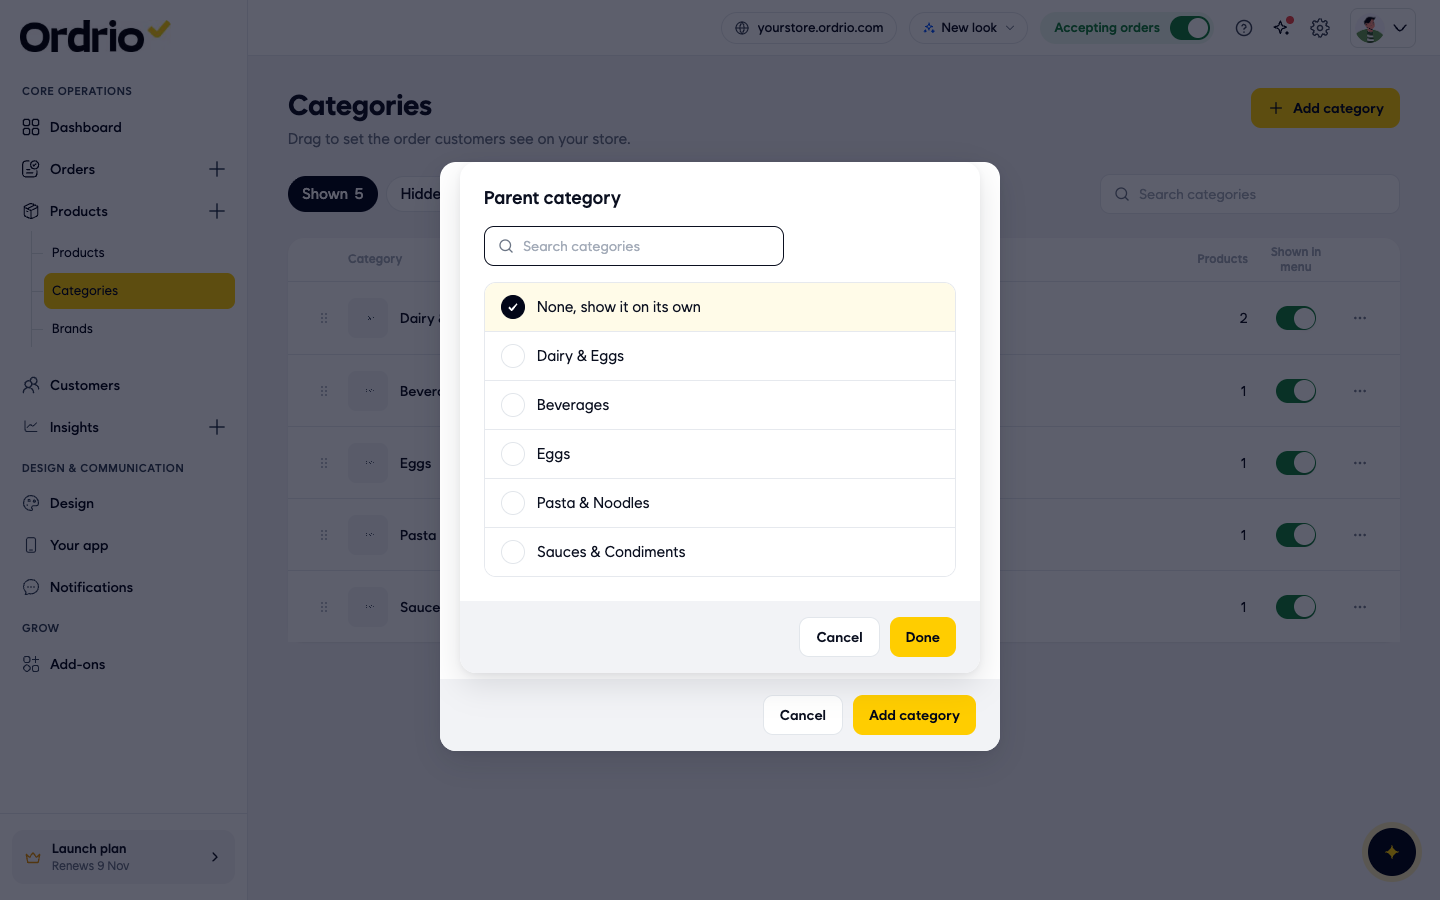
- Click Parent category. Keep None, show it on its own to make a main category, or pick an existing category to make this a sub-category of it. Click Done.
- To add a picture, click Photo. Pick an image from your media library or click Upload to add a new one (up to 5 MB), then click Use this.
- To add a banner image for the category, click Banner and choose an image the same way.
- Leave Shown on your store on if customers should see the category now. Turn it off to keep it hidden until you are ready.
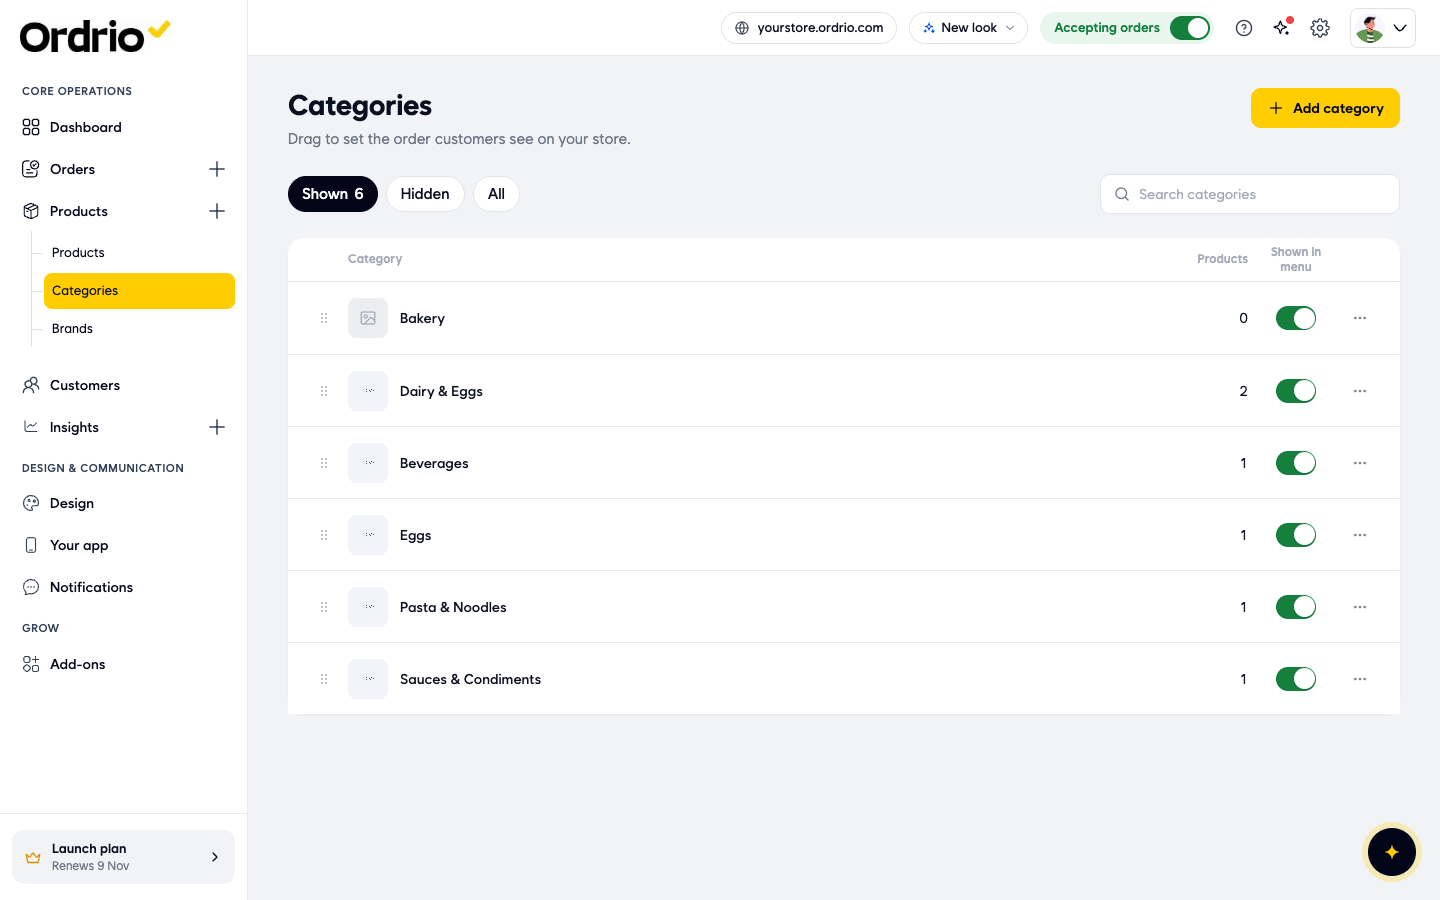
- Click Add category. The new category appears at the top of your list, with 0 products.
Add a sub-category
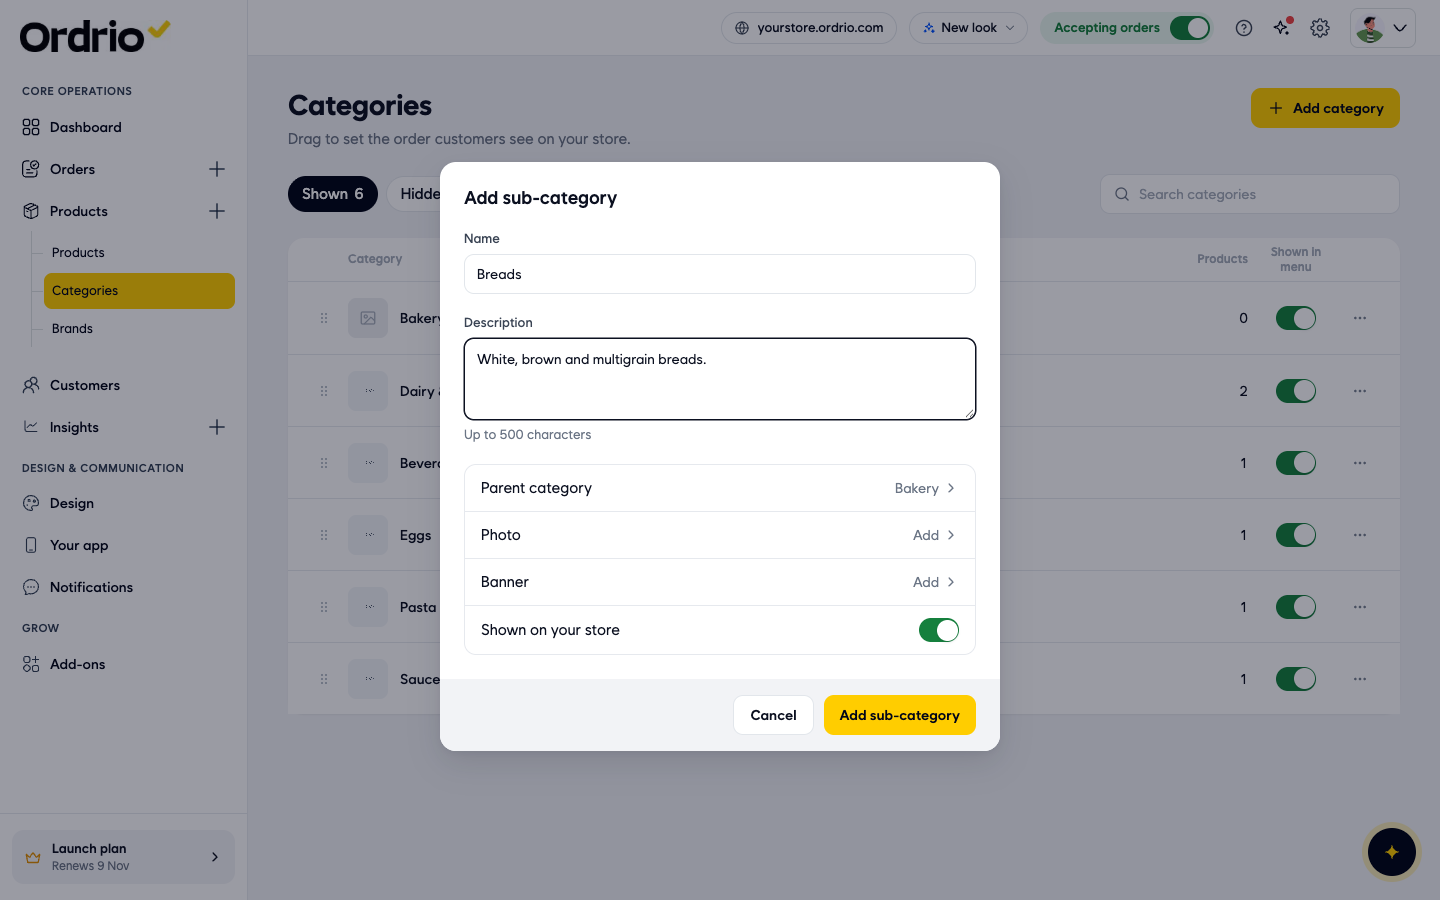
Sub-categories split a big category into smaller groups, for example Breads inside Bakery.
- Click the ... button at the end of the category's row. The menu shows Add sub-category, Edit and Delete.
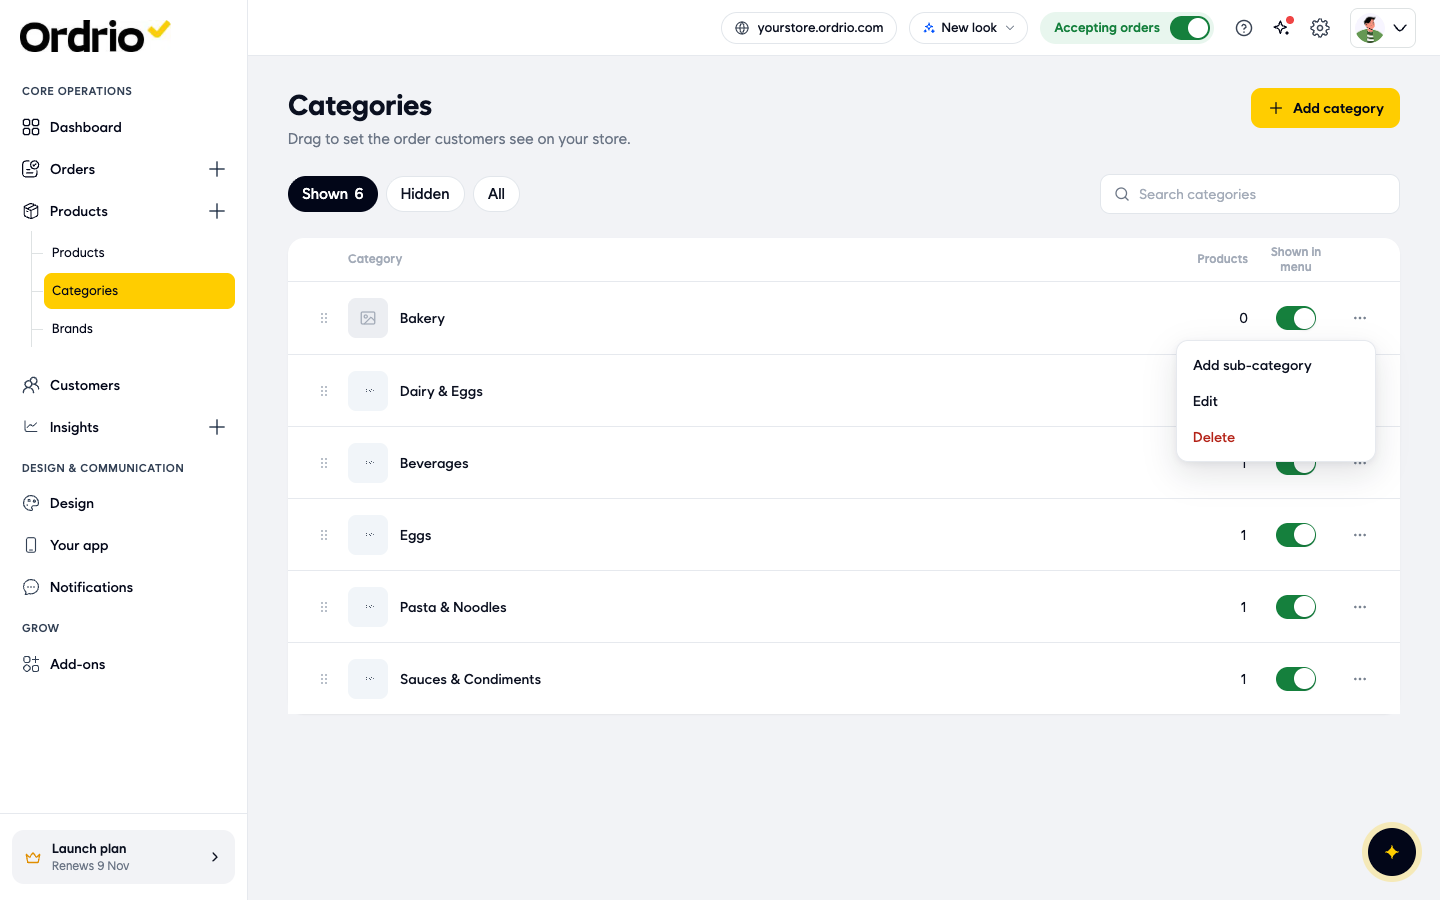
- Click Add sub-category. The form is the same as for a category, and Parent category is already set to the category you started from.
- Type the Name and Description, add a Photo or Banner if you like, and click Add sub-category.
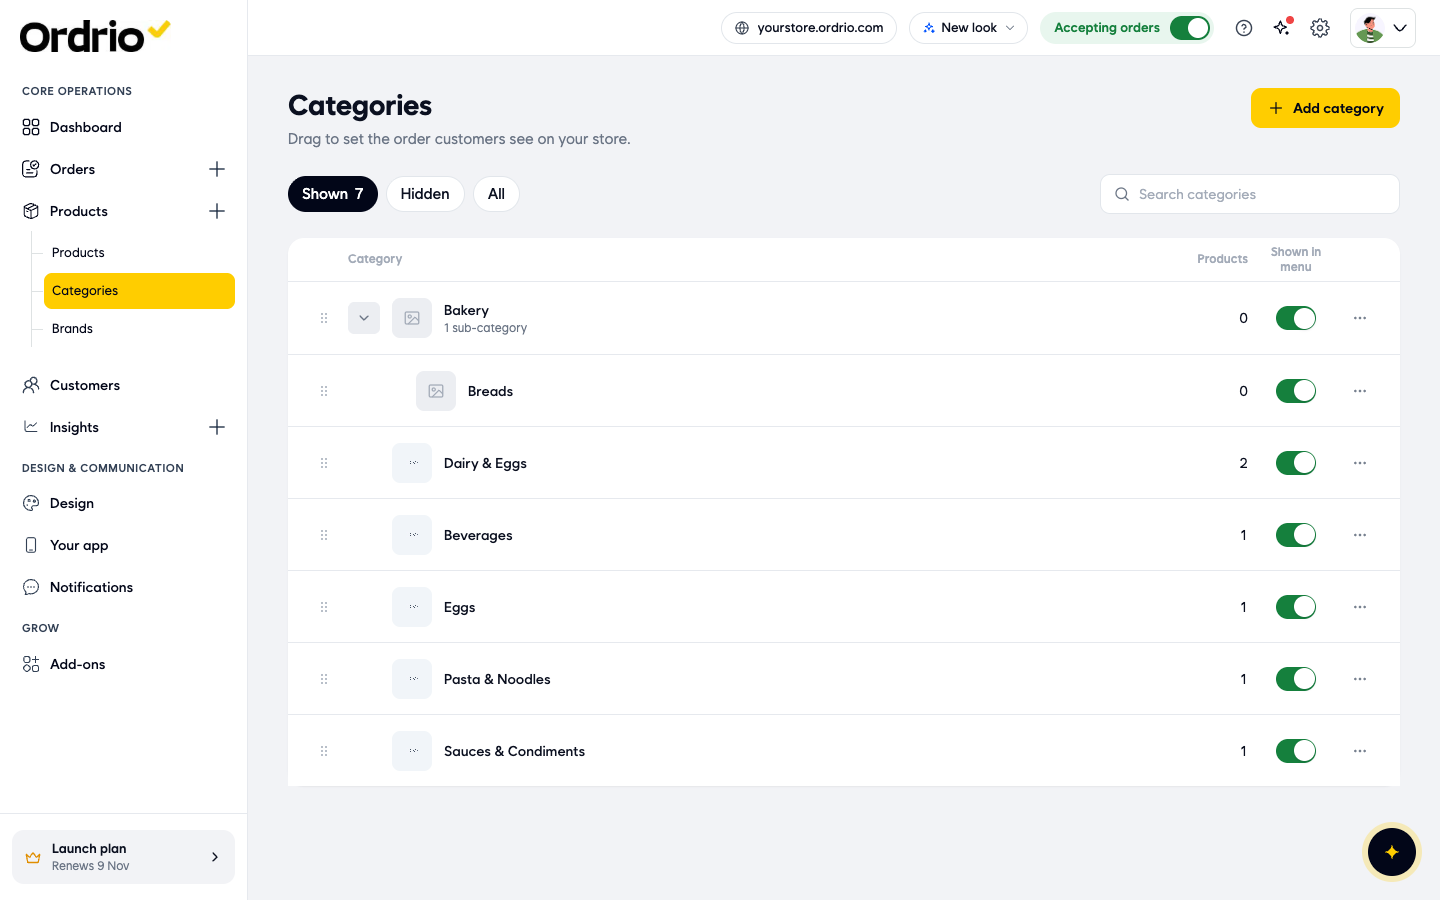
- In the list, the parent category now shows "1 sub-category". Click the arrow next to it to show or hide its sub-categories.
Put products in a category
- In the Products column, click the number next to the category. The category page opens with the products in it. You can filter them with All, Active and Inactive, or use Search products.
- Click Add products.
- Tick each product you want in this category. You can use Search products to find them, and Clear to untick all.
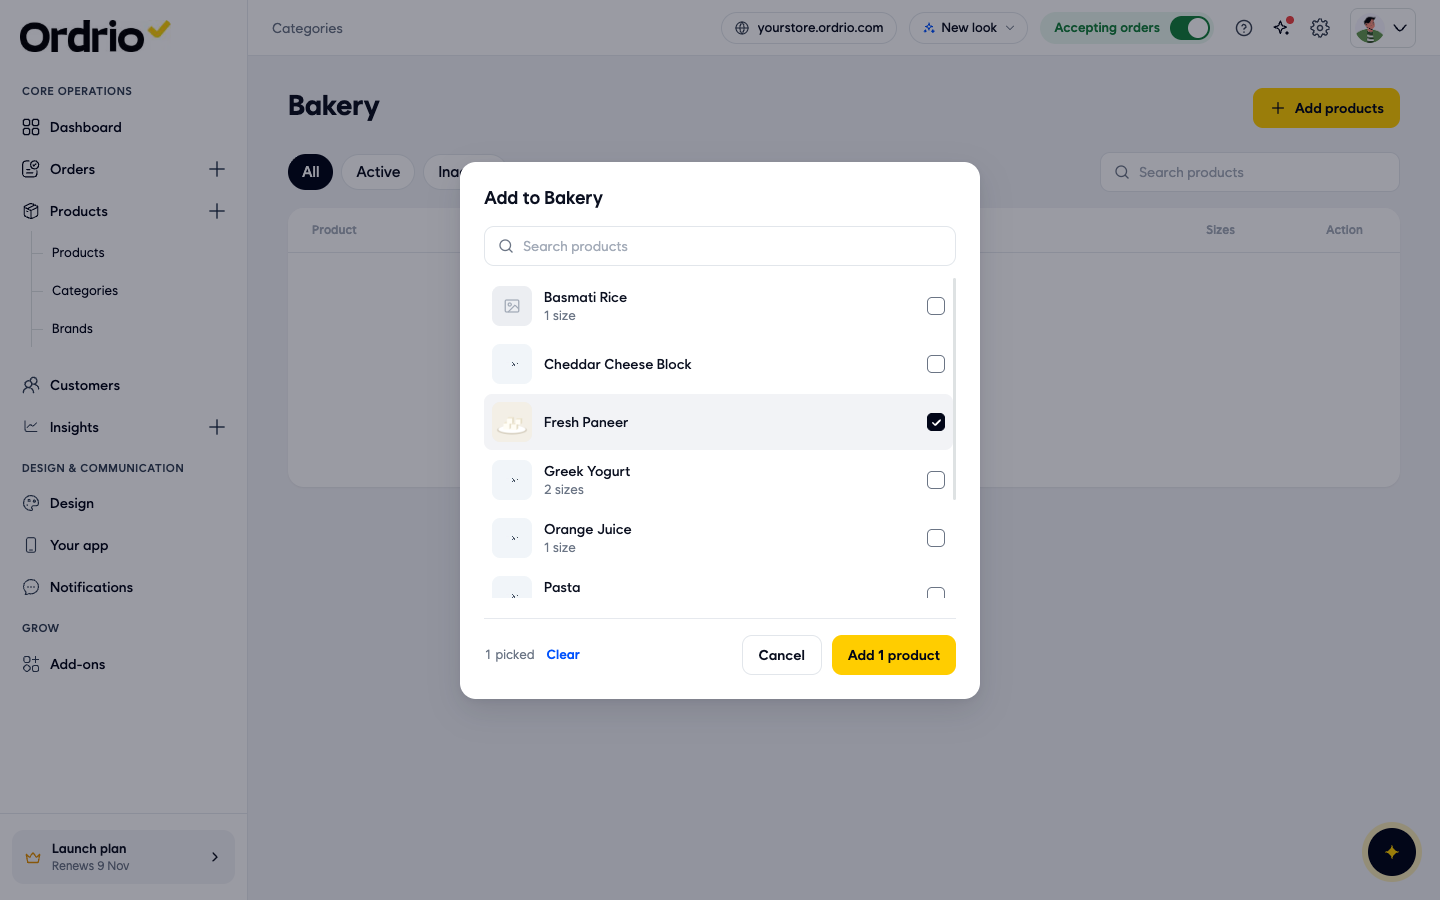
- Click Add 1 product (the button shows how many products you picked). The products now appear on the category page.
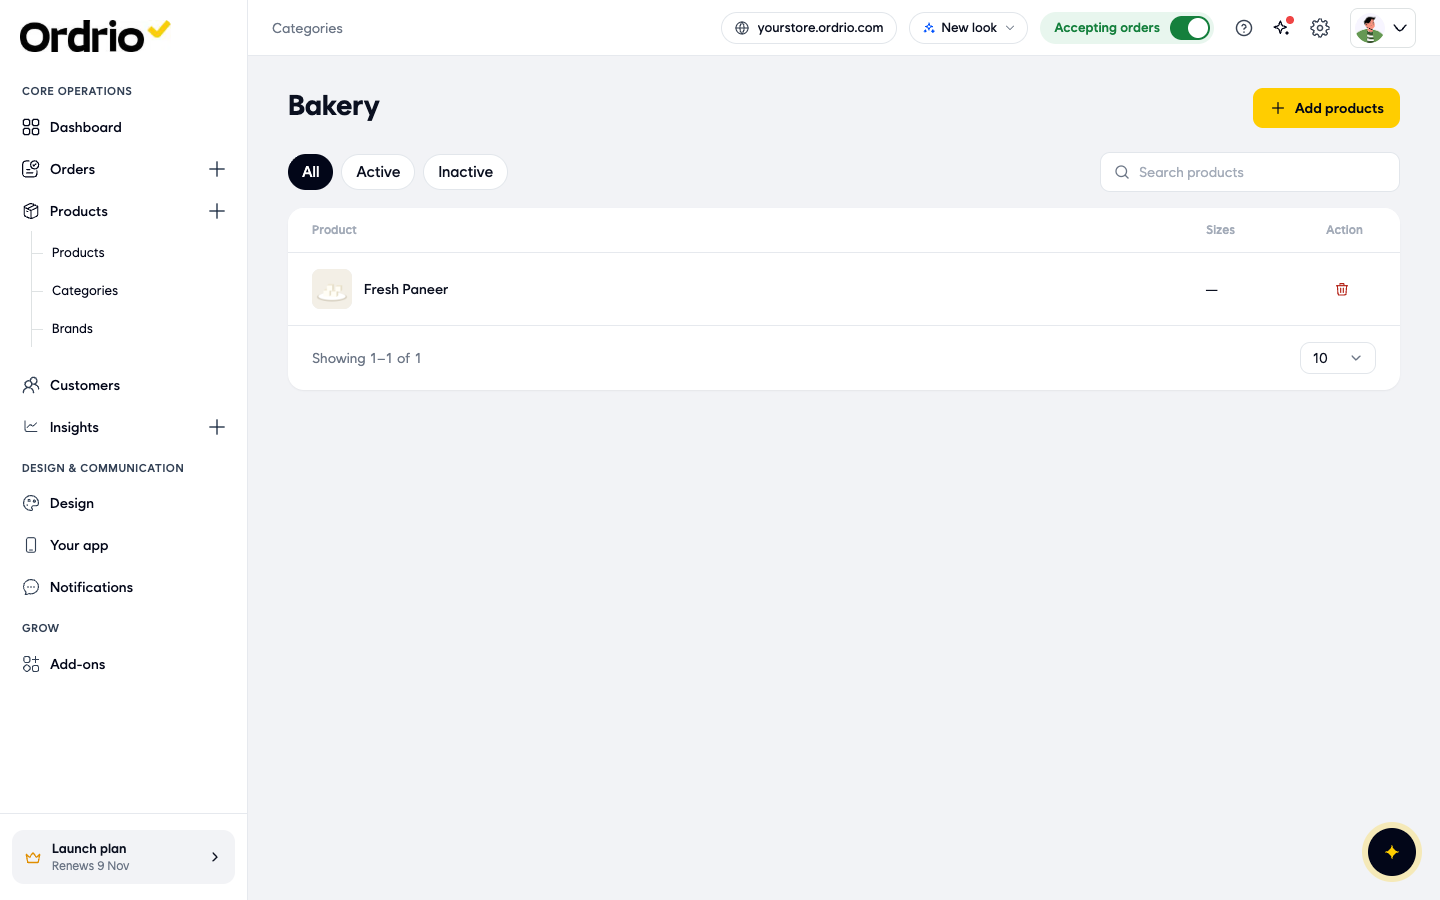
To take a product out of a category, click the bin icon in its row, then click Remove. The product stays in your store. It is only taken out of this category.
Set the order customers see
- On the Categories list, hold the handle (the dots at the left of a row) and drag the category up or down. Customers see your categories in this order on your store. The new order is saved when you drop it.
Hide or show a category
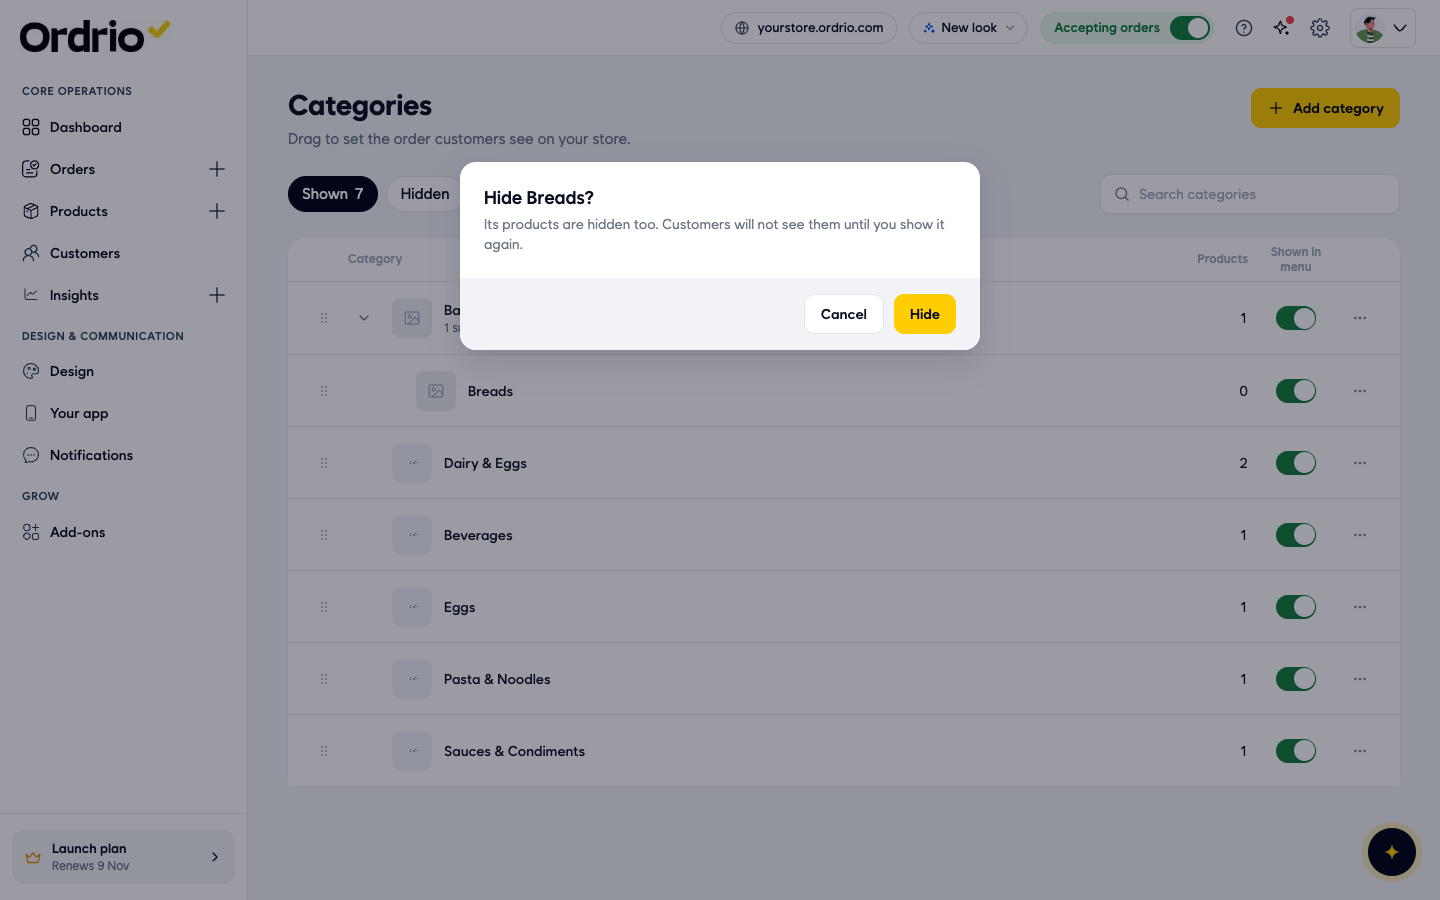
- Turn off the Shown in menu switch in the category's row.
- Click Hide to confirm. The category and its products are hidden from customers until you show it again.
- To find hidden categories, click the Hidden filter.
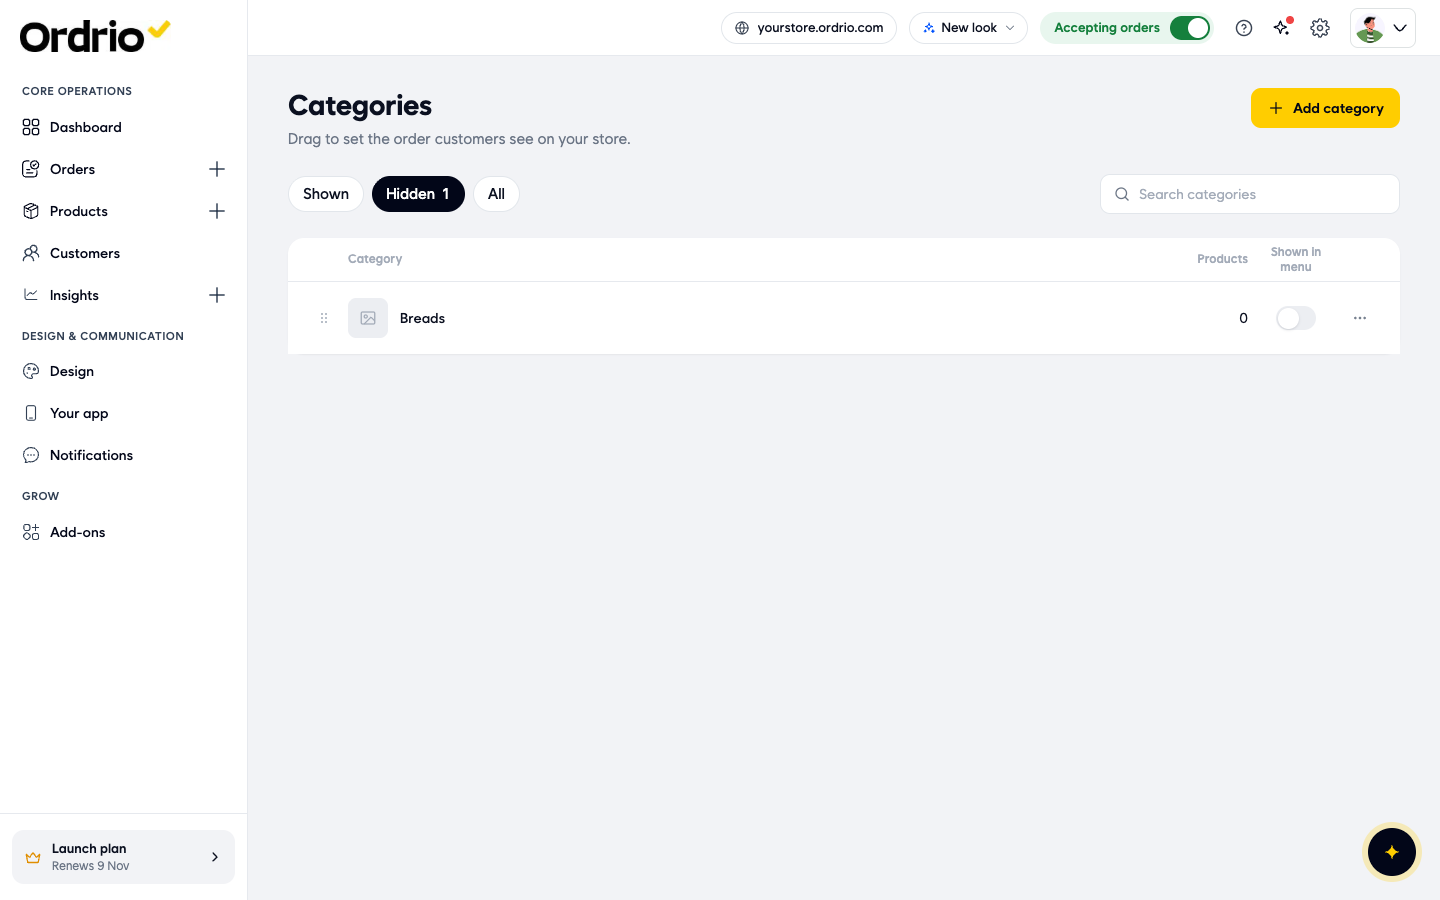
- To show it again, turn the Shown in menu switch back on and click Show. Customers see the category in your menu again, with its products.
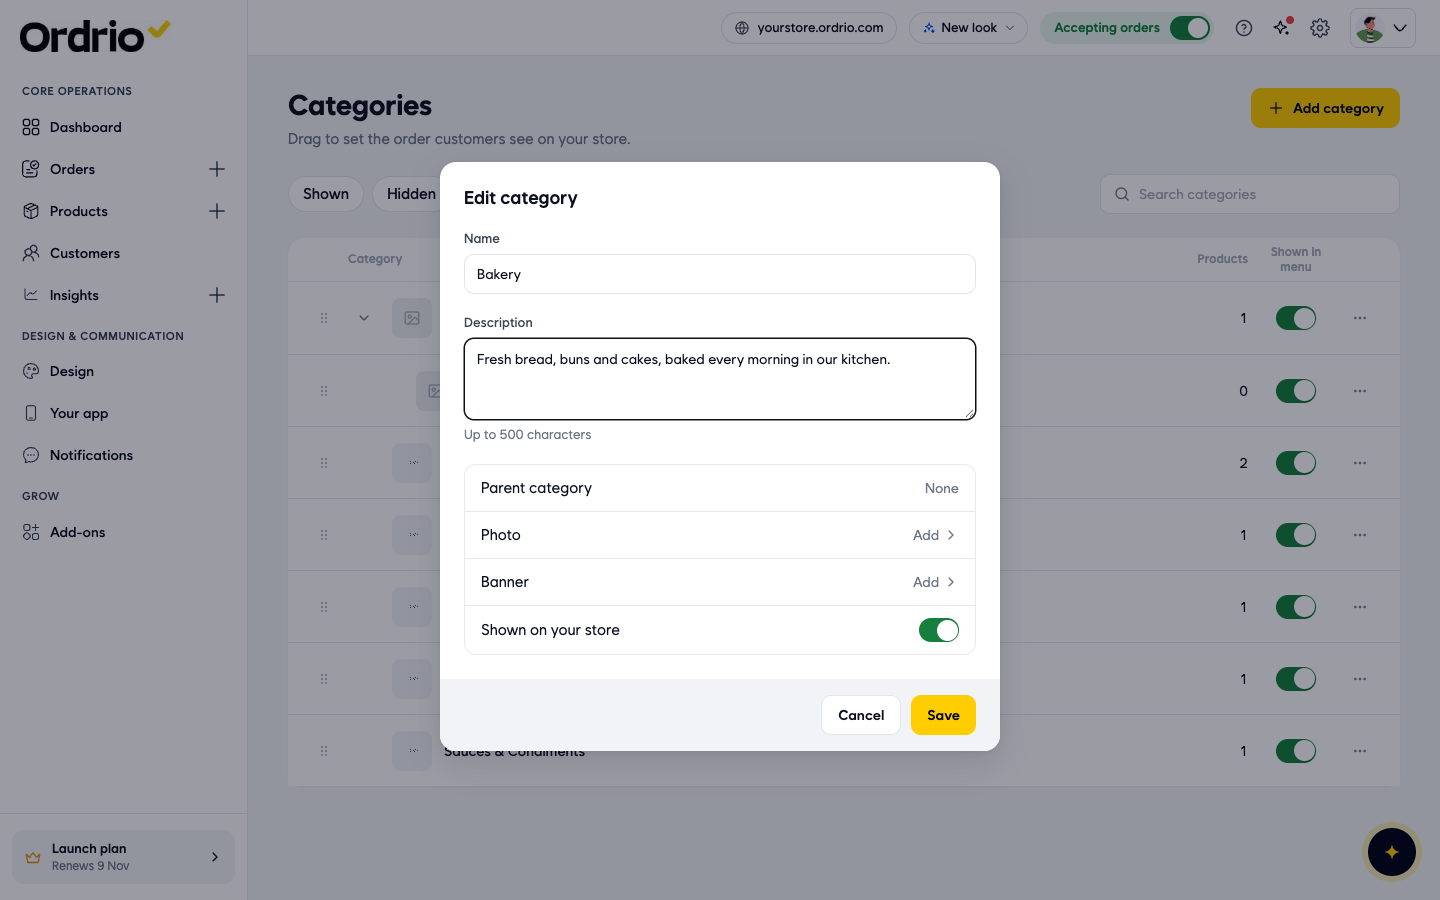
Edit a category
- Click the ... button in the category's row, then click Edit.
- Change the Name, Description, Photo, Banner or Shown on your store.
- Click Save.
Delete a category
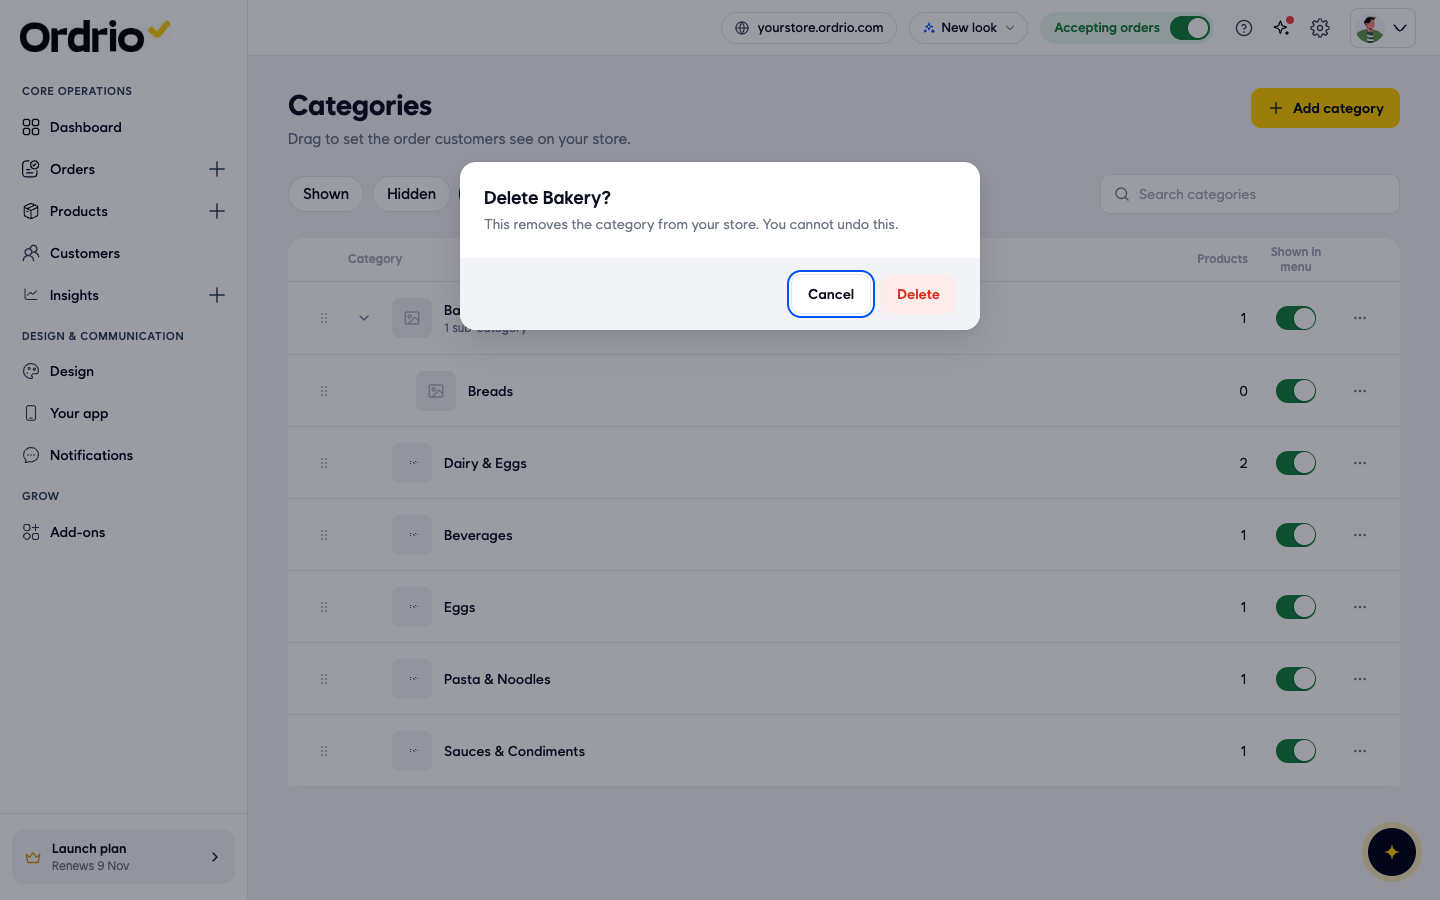
- Click the ... button in the category's row, then click Delete.
- Click Delete to confirm. This removes the category from your store and can't be undone.
Good to know
- A product can be in more than one category. Adding a product to a new category does not take it out of the others.
- Hiding a category hides its products too. Customers won't see them until you show the category again.
- Delete sub-categories first. You can't delete a category that still has sub-categories. Delete its sub-categories, then delete the category.
- The parent can't be changed later. The Edit screen shows the parent category, but you can't change it there. Choose it carefully when you add the category.
- Removing a product from a category does not delete the product. It stays in Products.
- Product numbers. If the number in the Products column doesn't change straight away after you add or remove products, refresh the page.
- Keep names short and clear. Customers browse by these names, so "Breads" works better than "Assorted bread items".
Related
- Adding your first product
- Product attributes and search tags
- Recommended setup order for new stores
क्या यह आर्टिकल काम का था?