यह आर्टिकल अभी हिंदी में नहीं है, इसलिए इसे अंग्रेज़ी में दिखाया जा रहा है।
कैसे करें
Product images and media
Upload and manage product images and videos.
Good photos help customers choose. You can add pictures and short videos to each product, pick which one is the cover photo, and set the order the rest appear in. Everything you upload is kept in your media library, so you can use it again on other products.
Before you start
- Have your pictures and videos ready on your computer. You can upload JPG, PNG and GIF pictures and MP4 videos, up to 5 MB each.
- The product should already exist, or you can add photos while you create it with Add product.
Add photos and videos to a product
- Open nadi.ordrio.com (your Ordrio admin panel) and log in.
- In the left menu, click Products, then Products. You see the list of your products, with a small picture of each one.
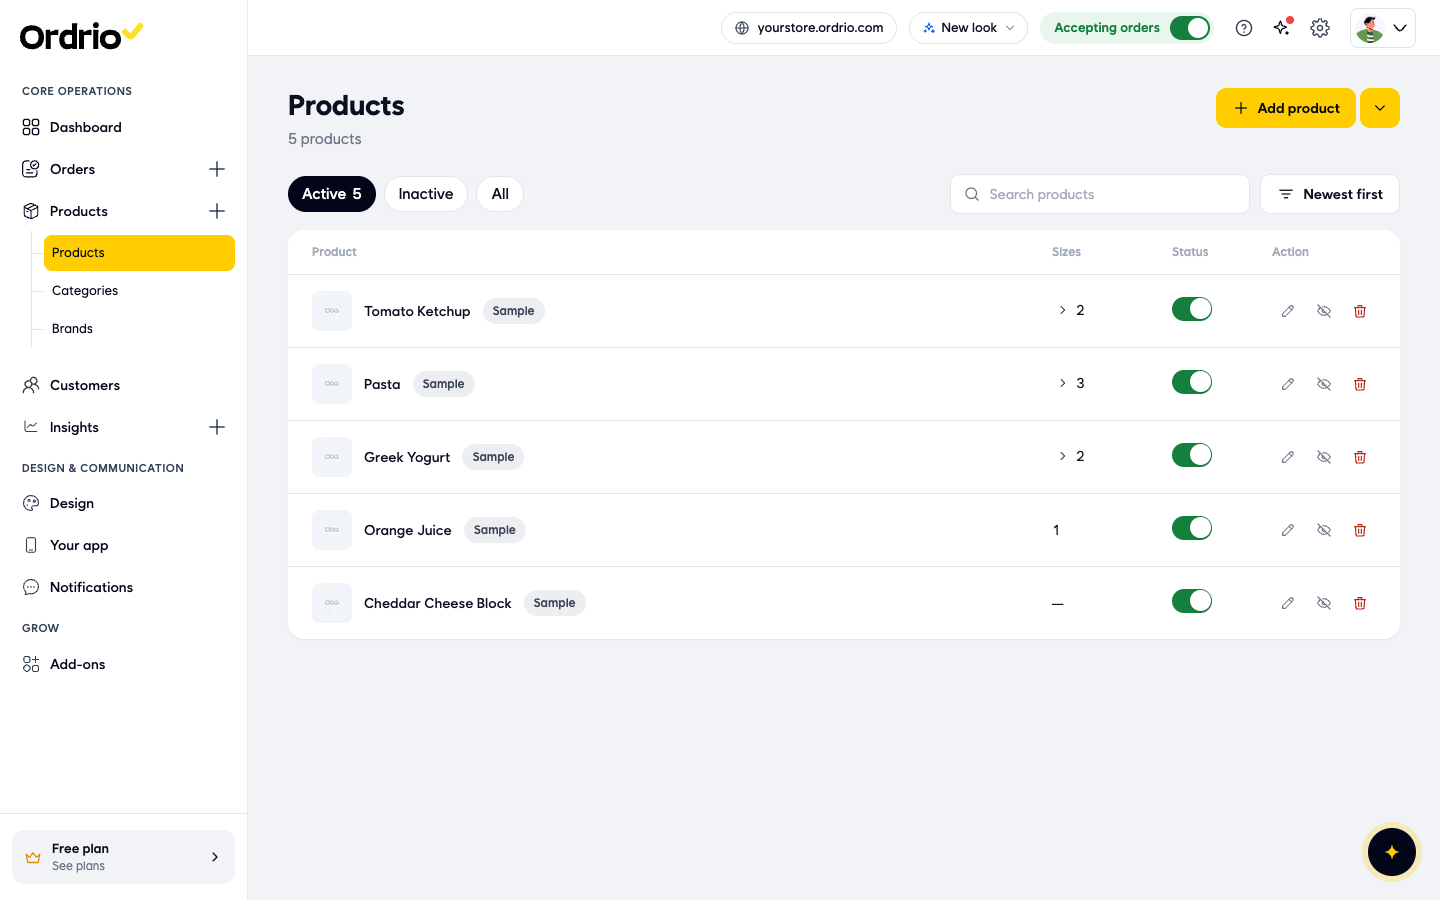
- Find your product and click the pencil icon (Edit) next to it. The product page opens. The Photos box is on the right. It shows how many items the product has, for example 1 of 12, and the large picture at the top is the Cover photo.
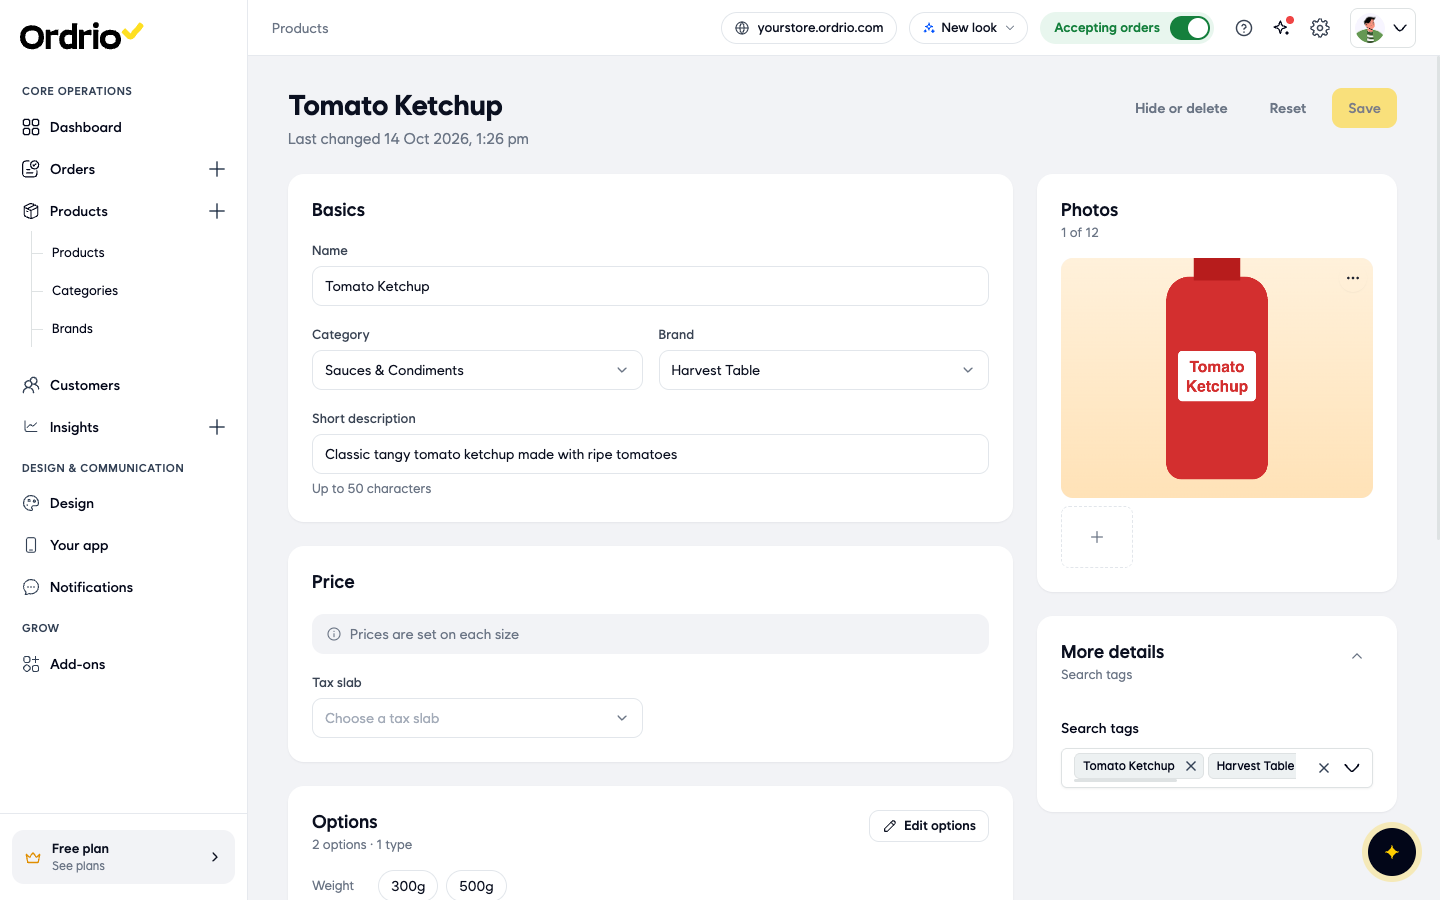
- Under the cover photo, click the + tile (Add photos). The Choose photos window opens. It says "Pick from your media library or upload. Up to 5 MB."
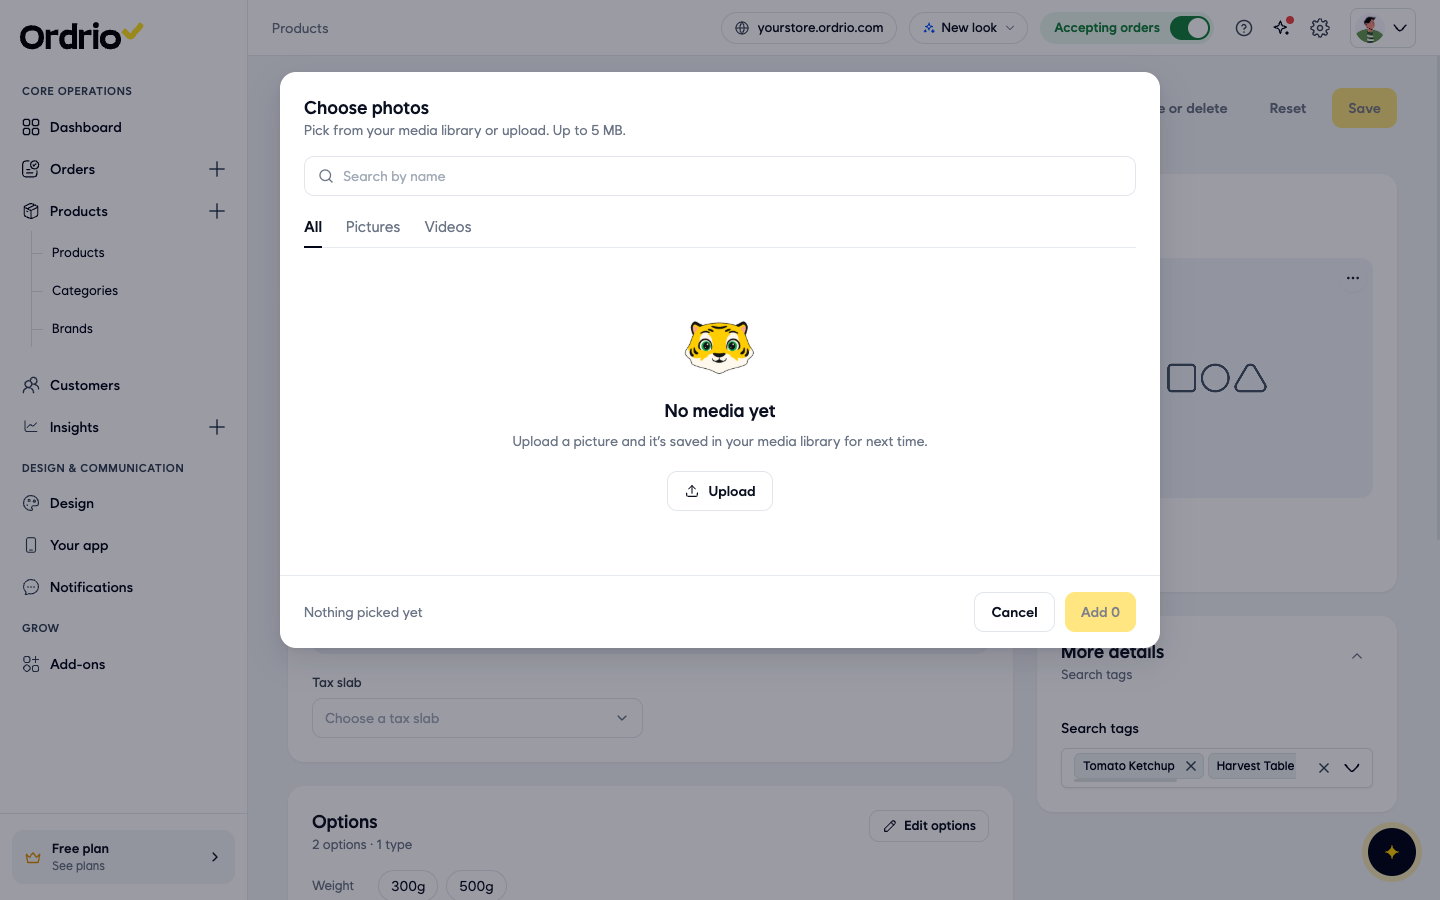
- To add a new file, click Upload and choose a picture or an MP4 video from your computer. The file is added to the product straight away and is also saved in your media library for next time.
- To use a file you uploaded before, find it in the window and click it to tick it. You can tick more than one. The bottom of the window shows how many you picked, for example 1 selected. Click Add 1 (the number changes with how many you ticked).
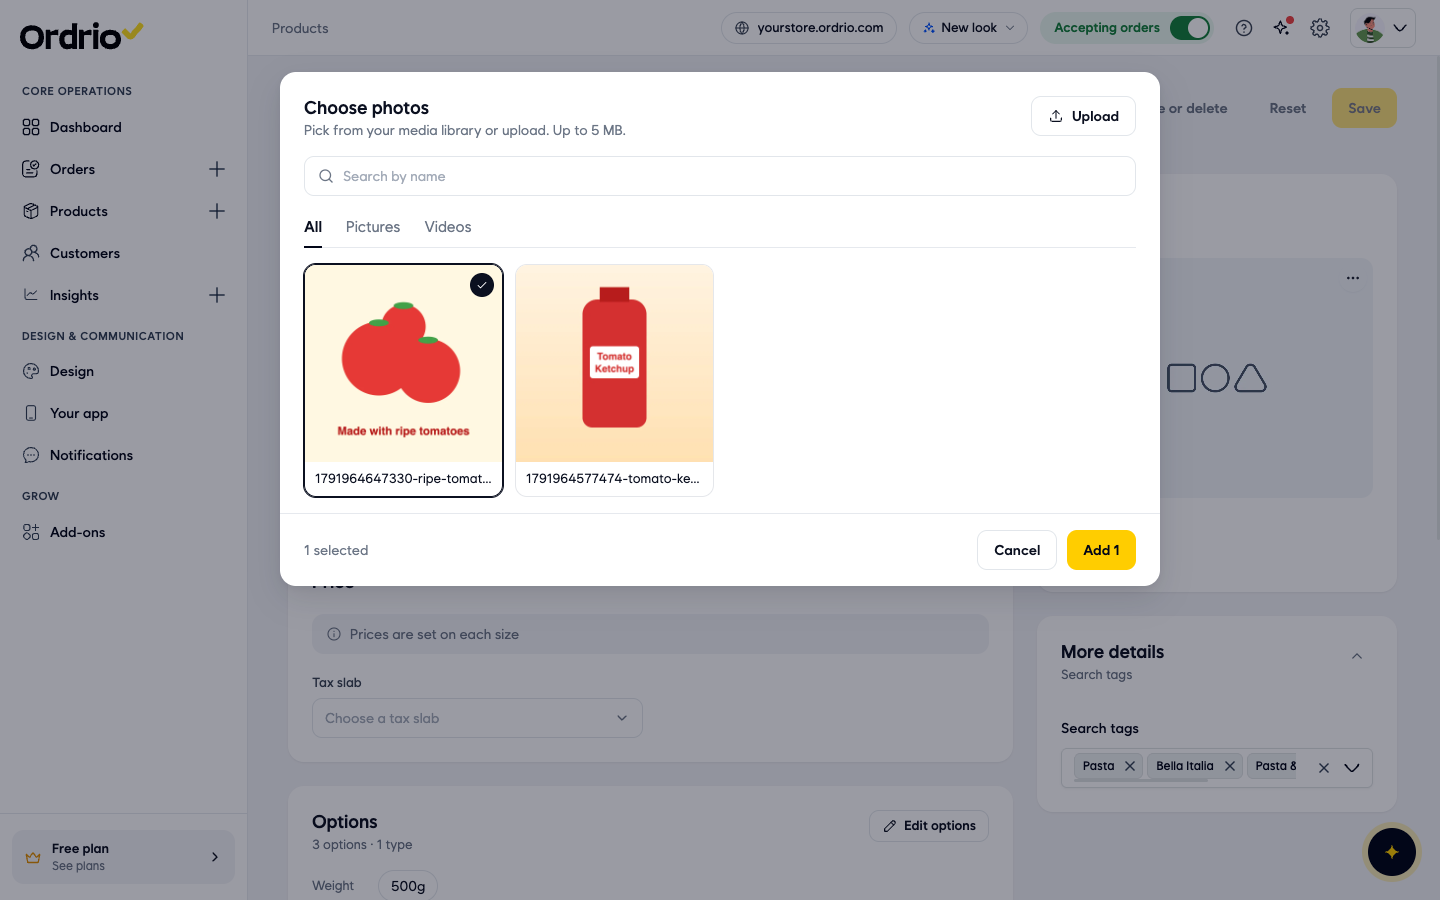
- To find a file quickly, type part of its name in Search by name, or use the tabs: All shows everything, Pictures shows only pictures and Videos shows only videos.
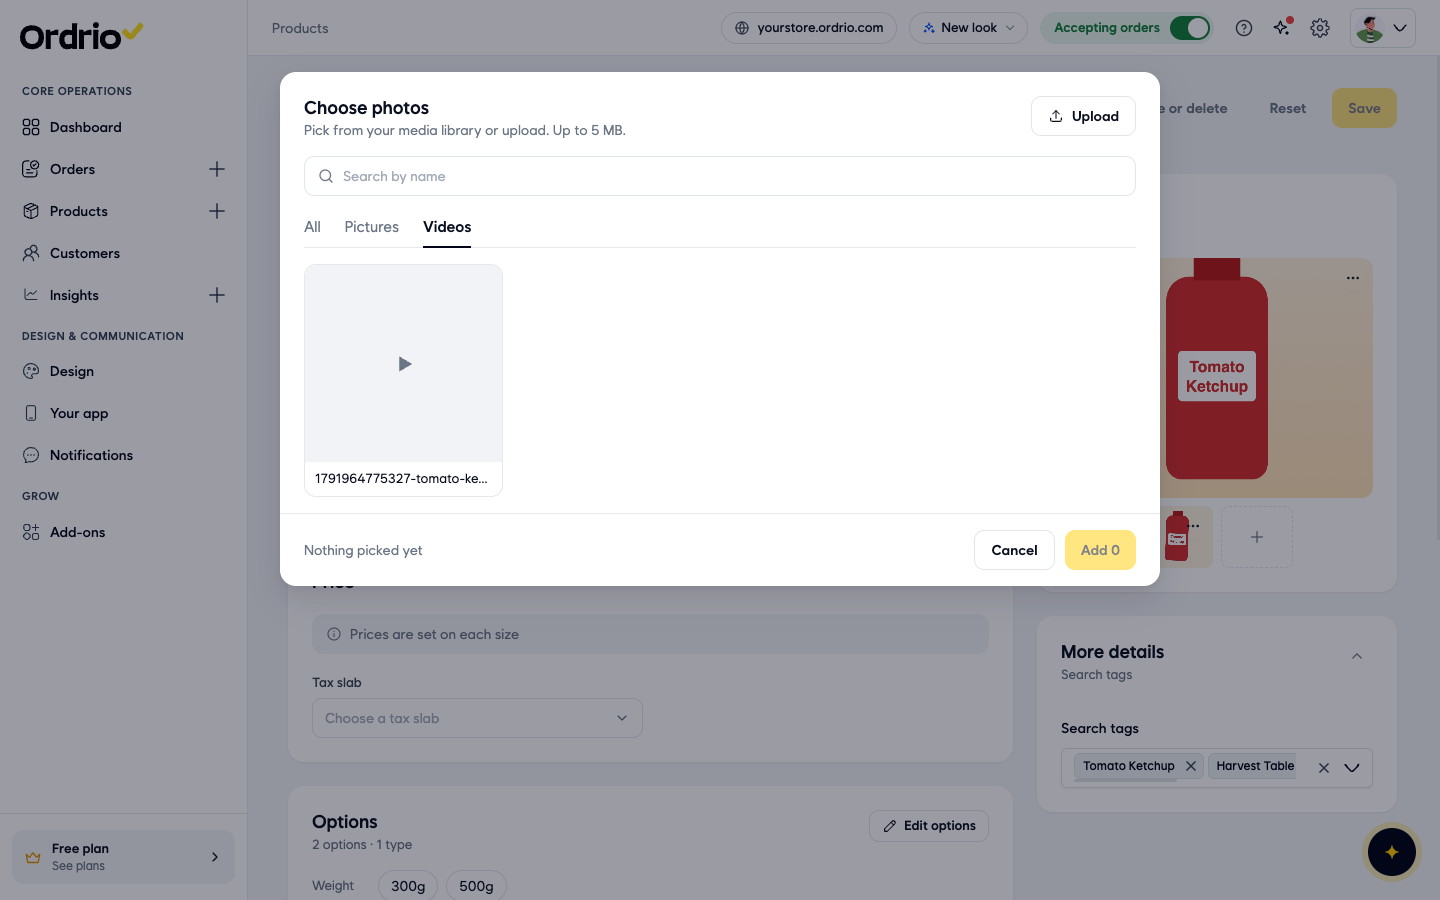
- Click Save at the top of the page, or Save product on the Unsaved changes bar at the bottom. Ordrio saves the product and takes you back to the Products list.
Change the cover photo and the order
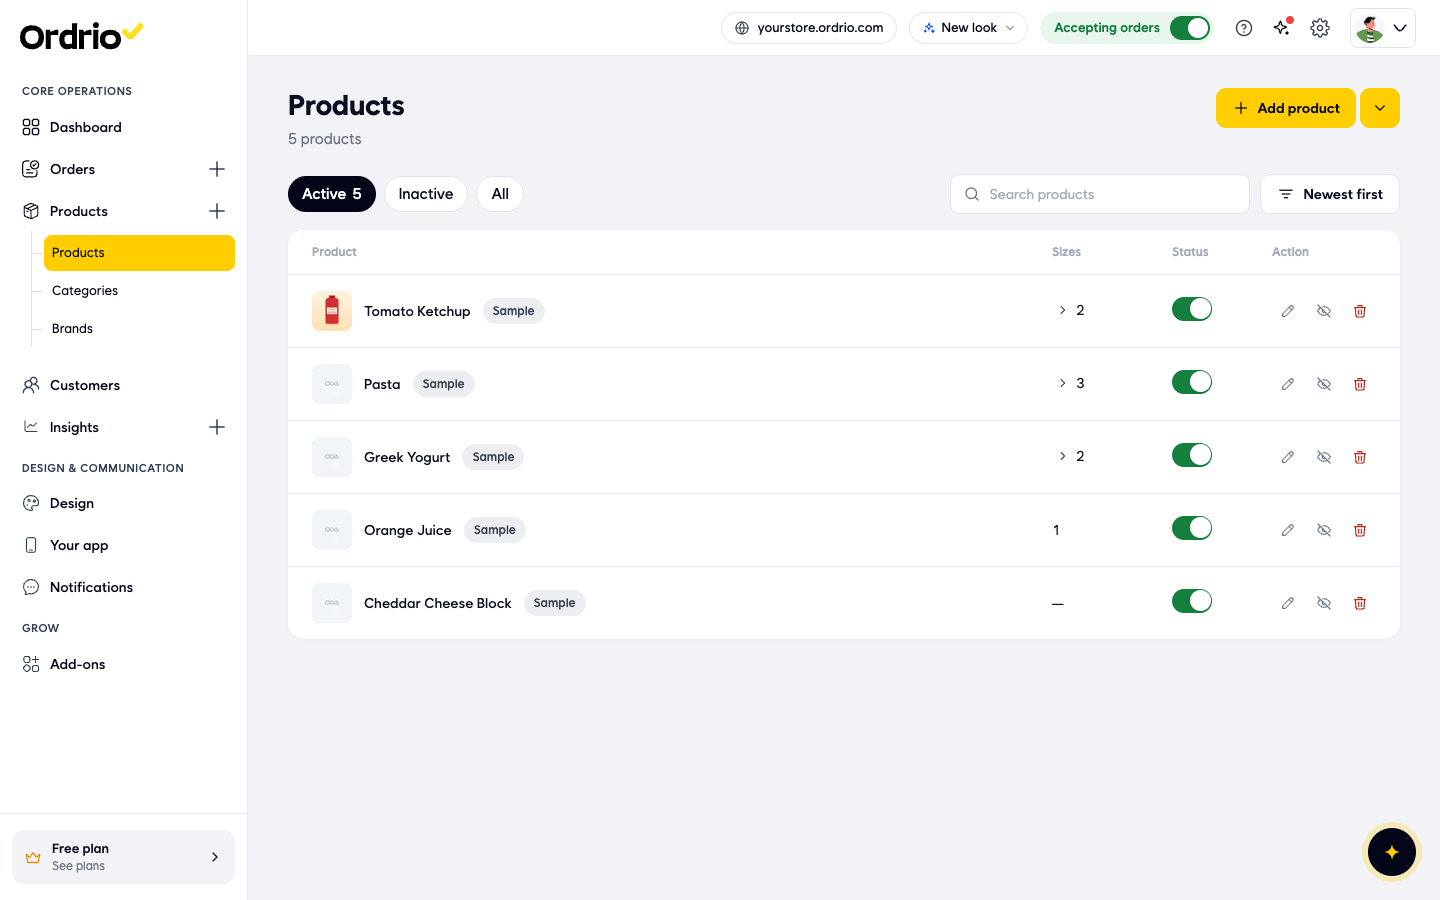
The cover photo is the first item and the large one at the top of the Photos box. It is also the small picture next to the product in your Products list.
- Open the product from Products > Products.
- In the Photos box, click the ... button on the photo you want to change. A menu opens with these choices:
- Use as cover: makes this photo the cover photo.
- Move earlier: moves it one place earlier in the order.
- Move later: moves it one place later in the order.
- Remove: takes it off this product.
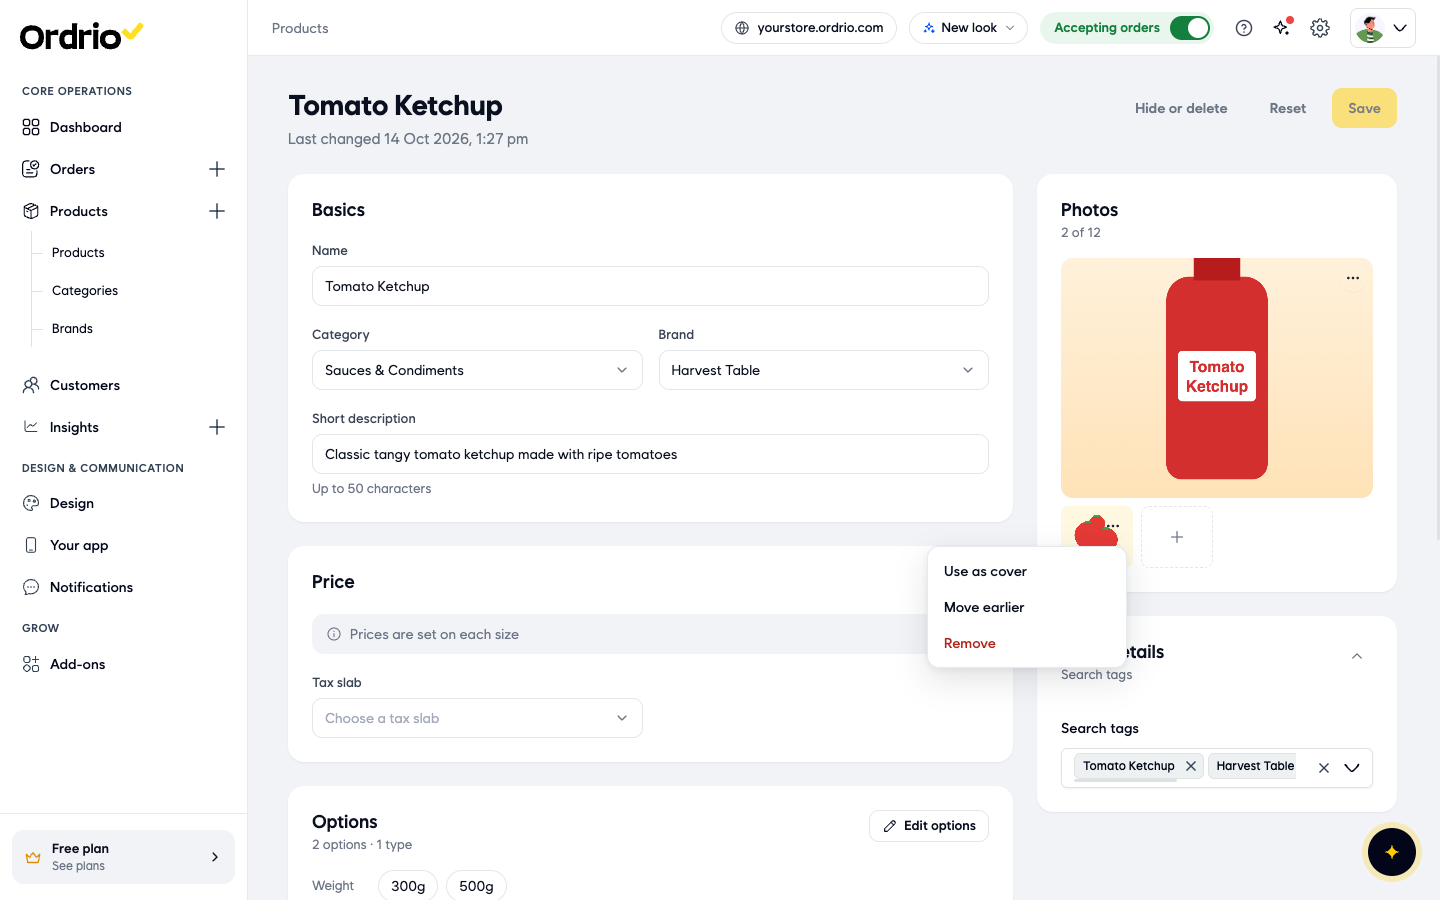
- Pick the choice you want. The photos change place on the page straight away.
- Click Save (or Save product on the bar at the bottom). Click Reset instead if you want to undo the changes you have not saved.
After saving, the product page shows your photos and videos in the new order, and Last changed under the product name shows the time you saved.
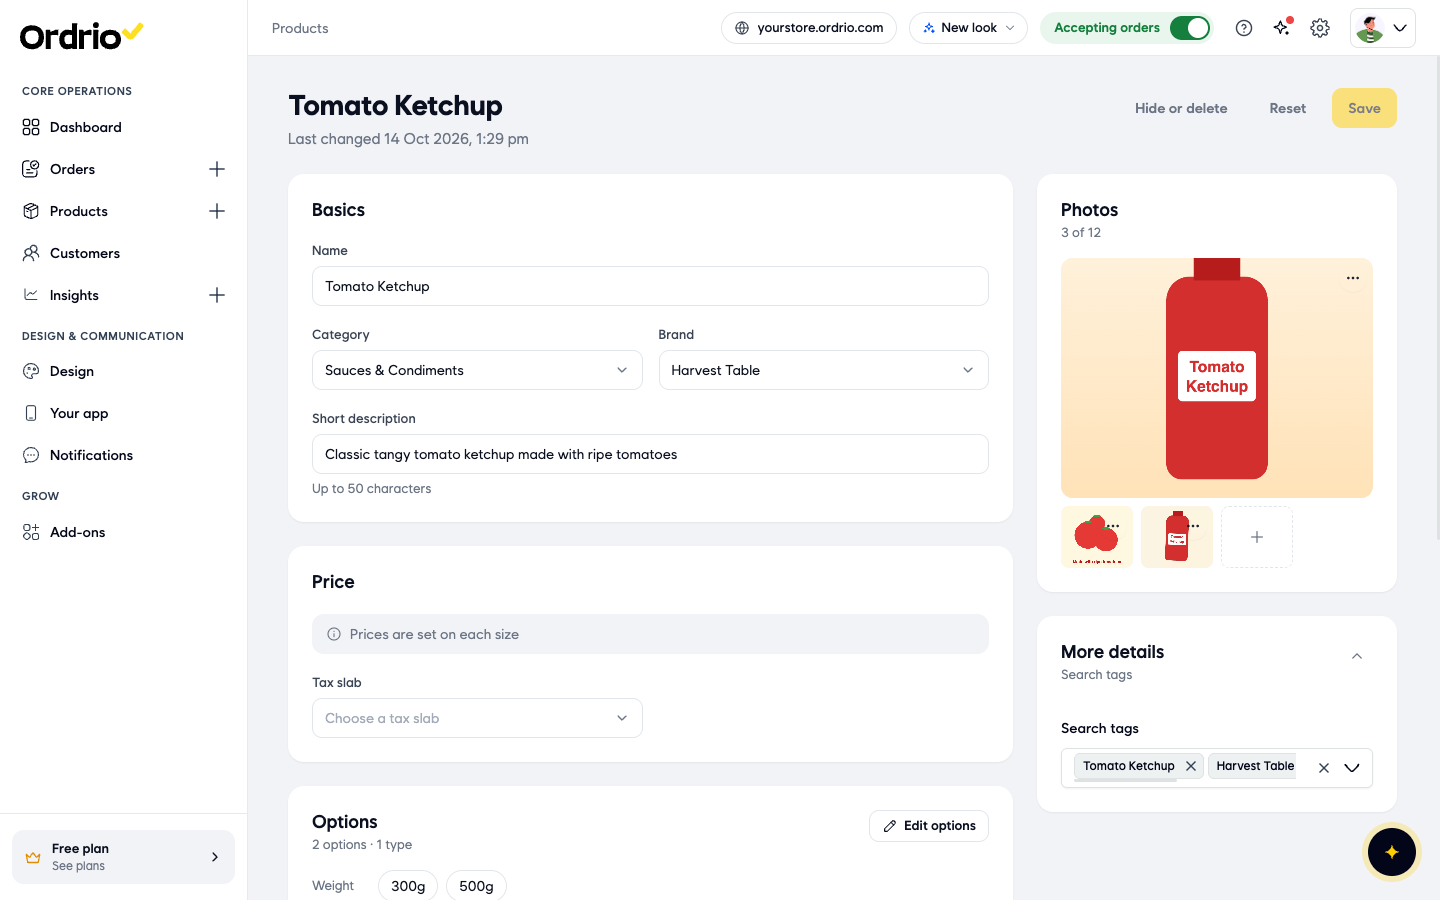
Back in the Products list, the new cover photo shows next to the product name.
Remove a photo or video
- Open the product from Products > Products.
- Click the ... button on the photo or video, then click Remove.
- Click Save.
Good to know
- Each product can have up to 12 photos and videos together. The counter in the Photos box (for example 3 of 12) shows how many you have used.
- Each file can be up to 5 MB. Allowed types are JPG, PNG, GIF and MP4.
- Videos sit in the same Photos box as pictures and count towards the 12. We suggest you keep a picture as the cover photo.
- Your media library is shared by all your products. Upload a picture once, then pick it on any other product with the tick and Add.
- New stores start with sample products that have a grey placeholder picture. Add your own photo, make it the cover with Use as cover, then Remove the placeholder.
- When you create a new product with Add product, the Photos box works the same way. Click Add photos, then click Create product to save.
- Use clear, bright photos on a plain background.
- The pictures in the screenshots are examples. Use your own product photos.
Related
- Adding your first product
- Product variations and options
- Managing product categories