هذا المقال غير متوفر بالعربية بعد، لذلك نعرضه بالإنجليزية.
دليل استخدام
Invoices, KOTs and billing documents
Generate invoices, kitchen order tickets and branded bills.
Ordrio makes a branded invoice for every order, with your logo, store details and a note of your choice. You can also print a kitchen order ticket (KOT) for your kitchen or packing team. This article shows you how to design your invoice, generate an invoice for an order and print a KOT.
Before you start
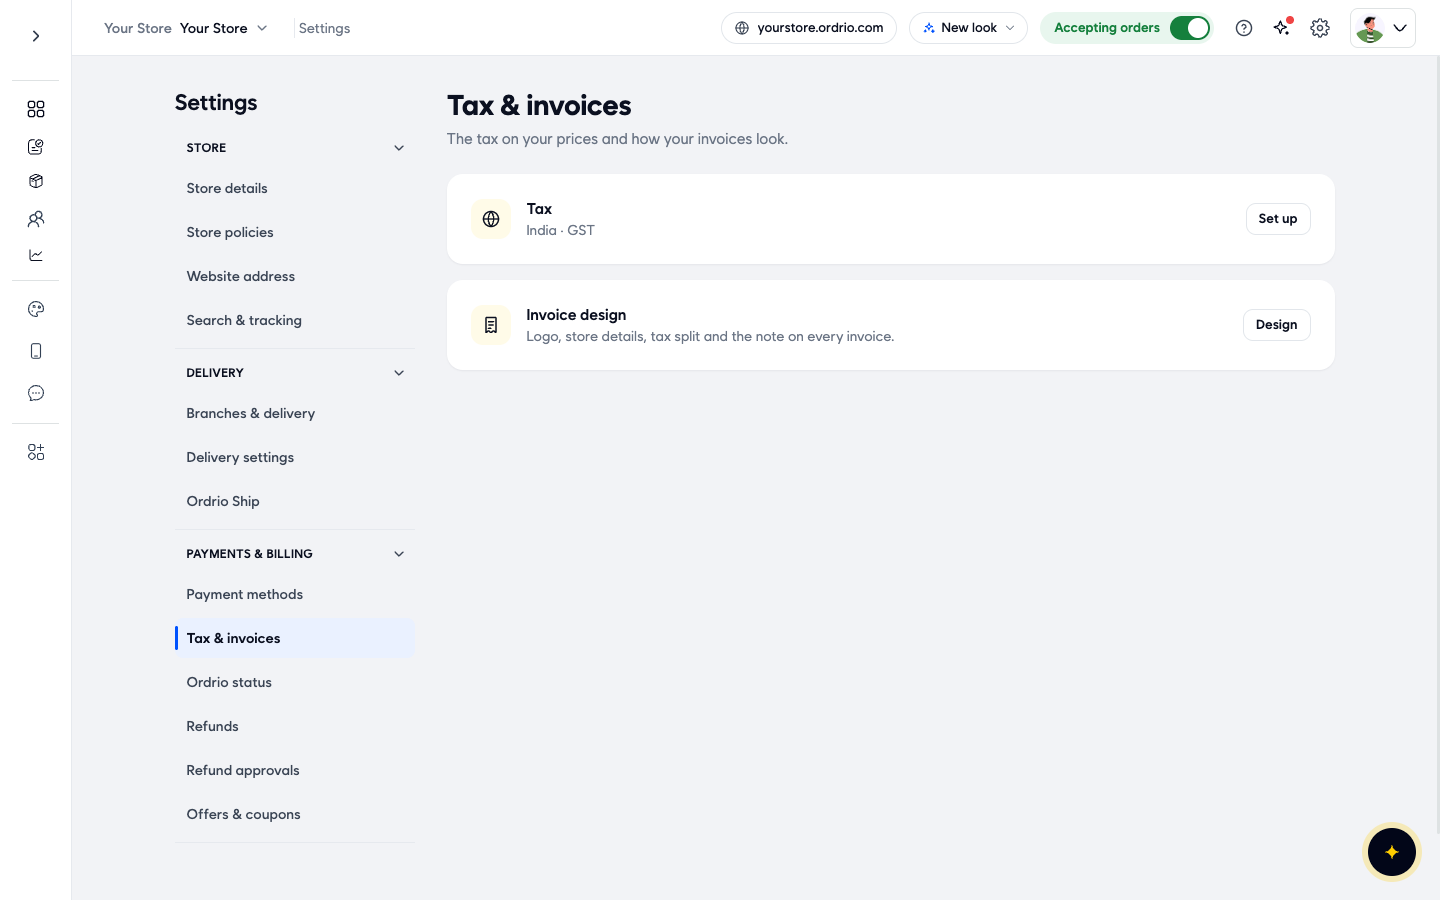
- If you want your GSTIN and the tax on each item to show on invoices, set up tax first. Go to Settings > Tax & invoices, and click Set up next to Tax. Type your GSTIN there.
- Keep your store logo ready if you want it on the invoice.
Design your invoice
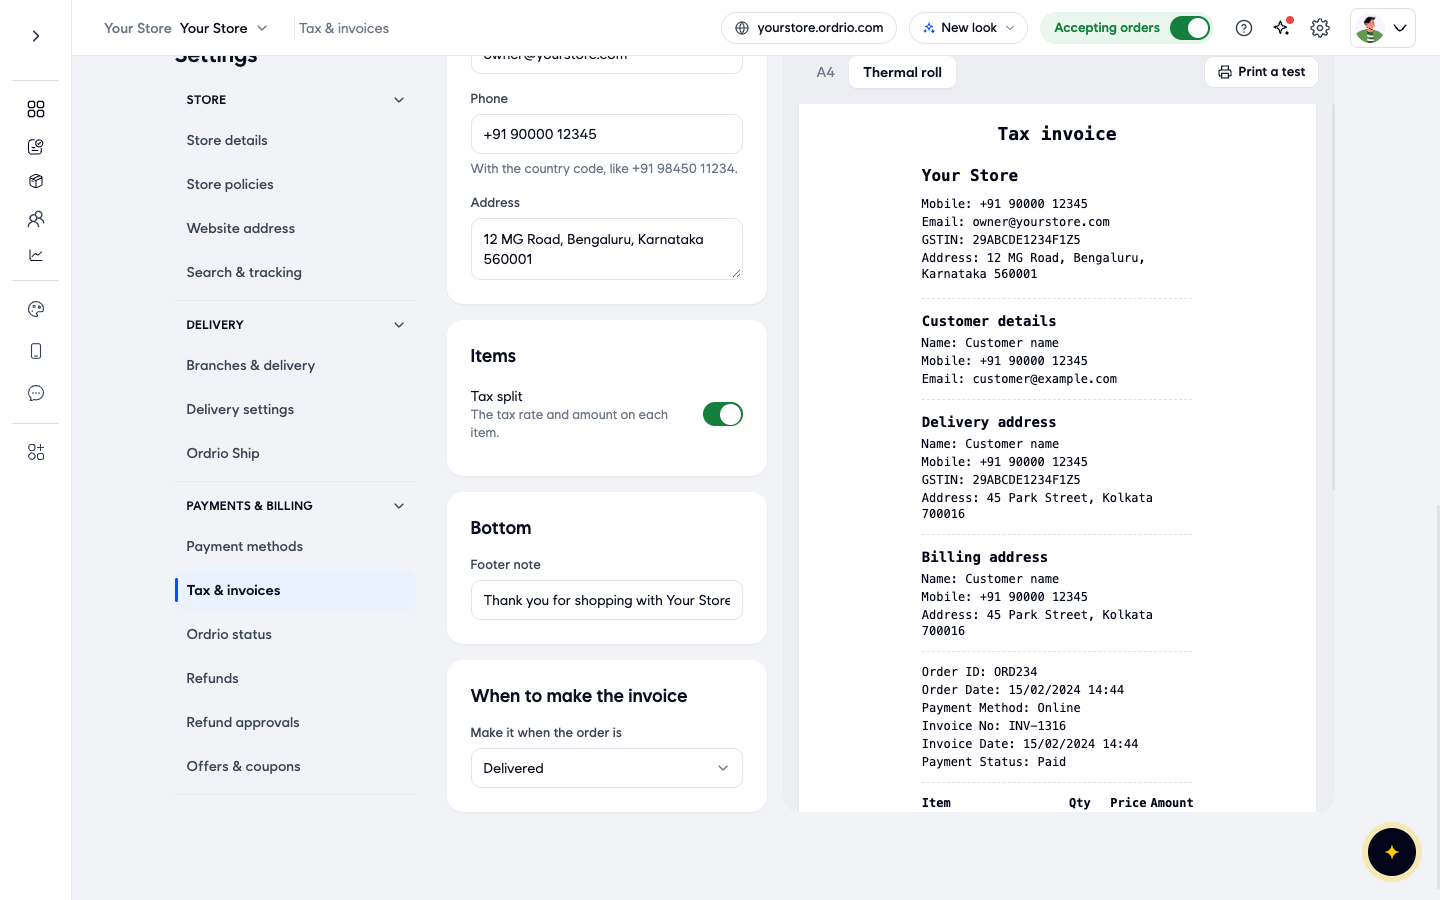
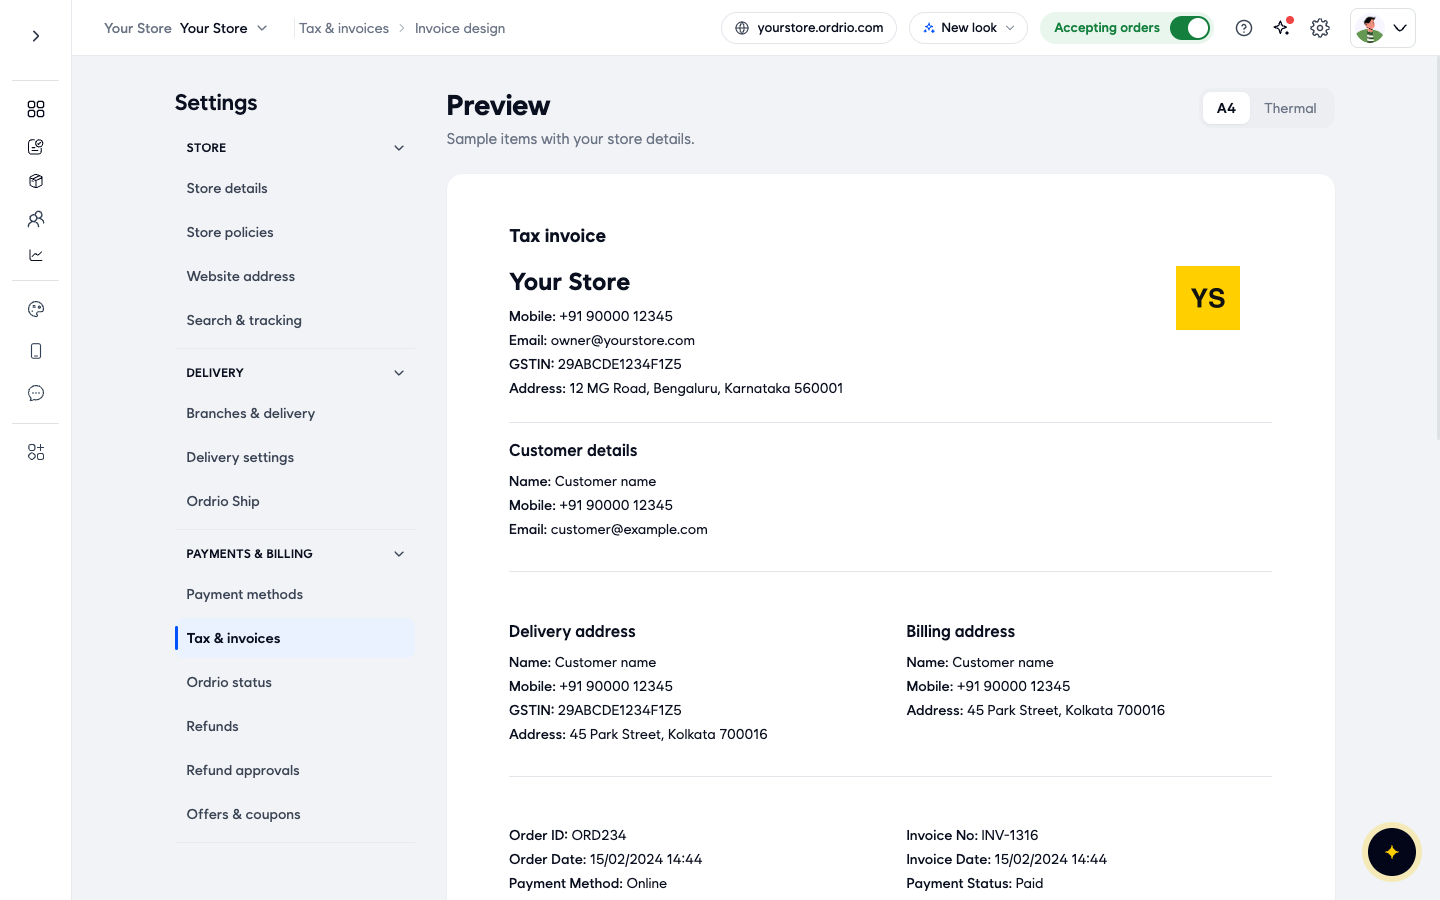
- Open nadi.ordrio.com (your Ordrio admin panel) and log in. Click the Settings gear at the top right, then click Tax & invoices. Next to Invoice design, click Design. The Invoice design page opens with your settings on the left and a live preview on the right. Choose A4 or Thermal roll above the preview to see the invoice at that size.
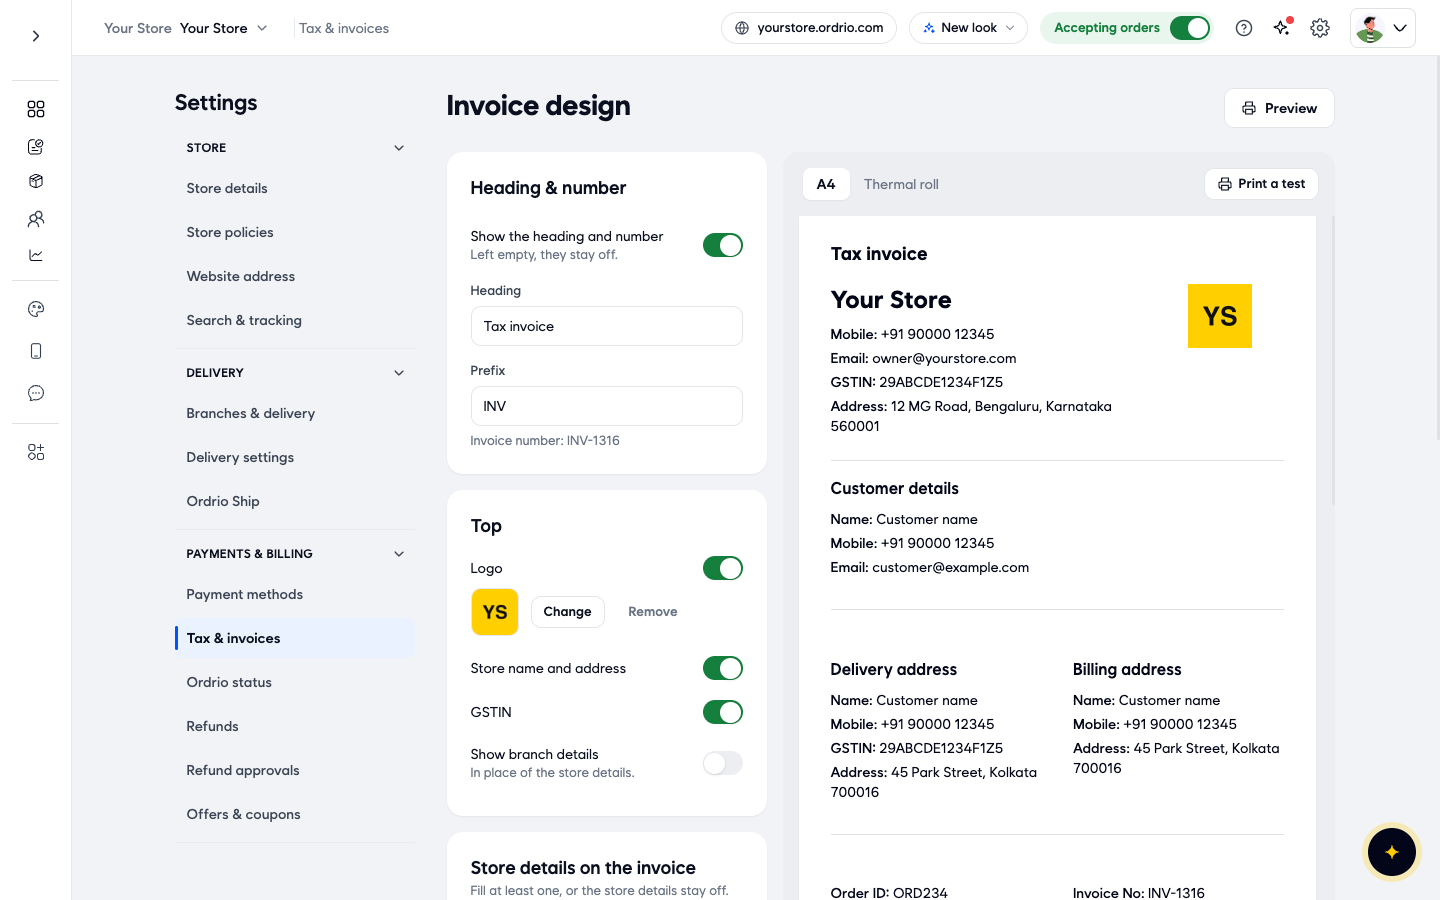
- Under Heading & number, set how the invoice title and number look:
- Show the heading and number: turn this on to print a title and an invoice number at the top.
- Heading: the title on the invoice, for example "Tax invoice".
- Prefix: the letters before every invoice number, for example "INV". The line below shows how the number will look, for example INV-1316.
- Under Top, choose what shows at the top of the invoice:
- Logo: turn this on to print your logo. Click Change to upload a different logo, or Remove to take it off.
- Store name and address: turn this on to print your store details.
- GSTIN: turn this on to print your GST number.
- Show branch details: turn this on to print the details of the branch that took the order, in place of your store details.
- Under Store details on the invoice, type the details you want printed. Use your own store's details, not the examples shown in the pictures.
- Store name: your business name, for example "Your Store".
- Email: the email customers can write to, for example owner@yourstore.com.
- Phone: your phone number with the country code, for example +91 90000 12345.
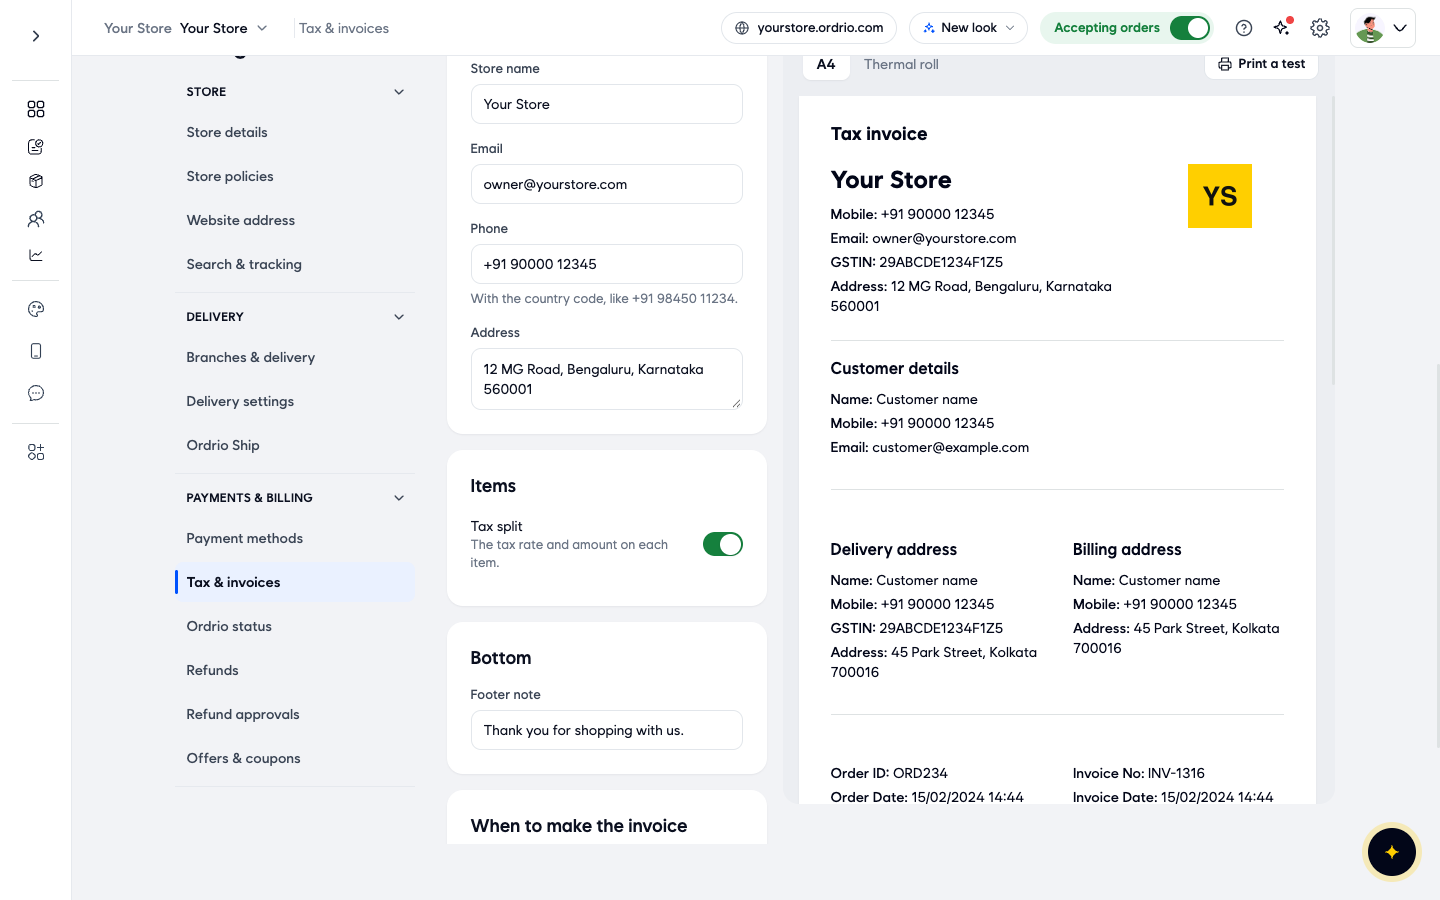
- Under Items, turn on Tax split to show the tax rate and tax amount for each item.
- Under Bottom, type a Footer note. This is printed at the end of every invoice, for example "Thank you for shopping with us." Under When to make the invoice, next to Make it when the order is, choose the order status at which Ordrio creates the invoice, for example Delivered.
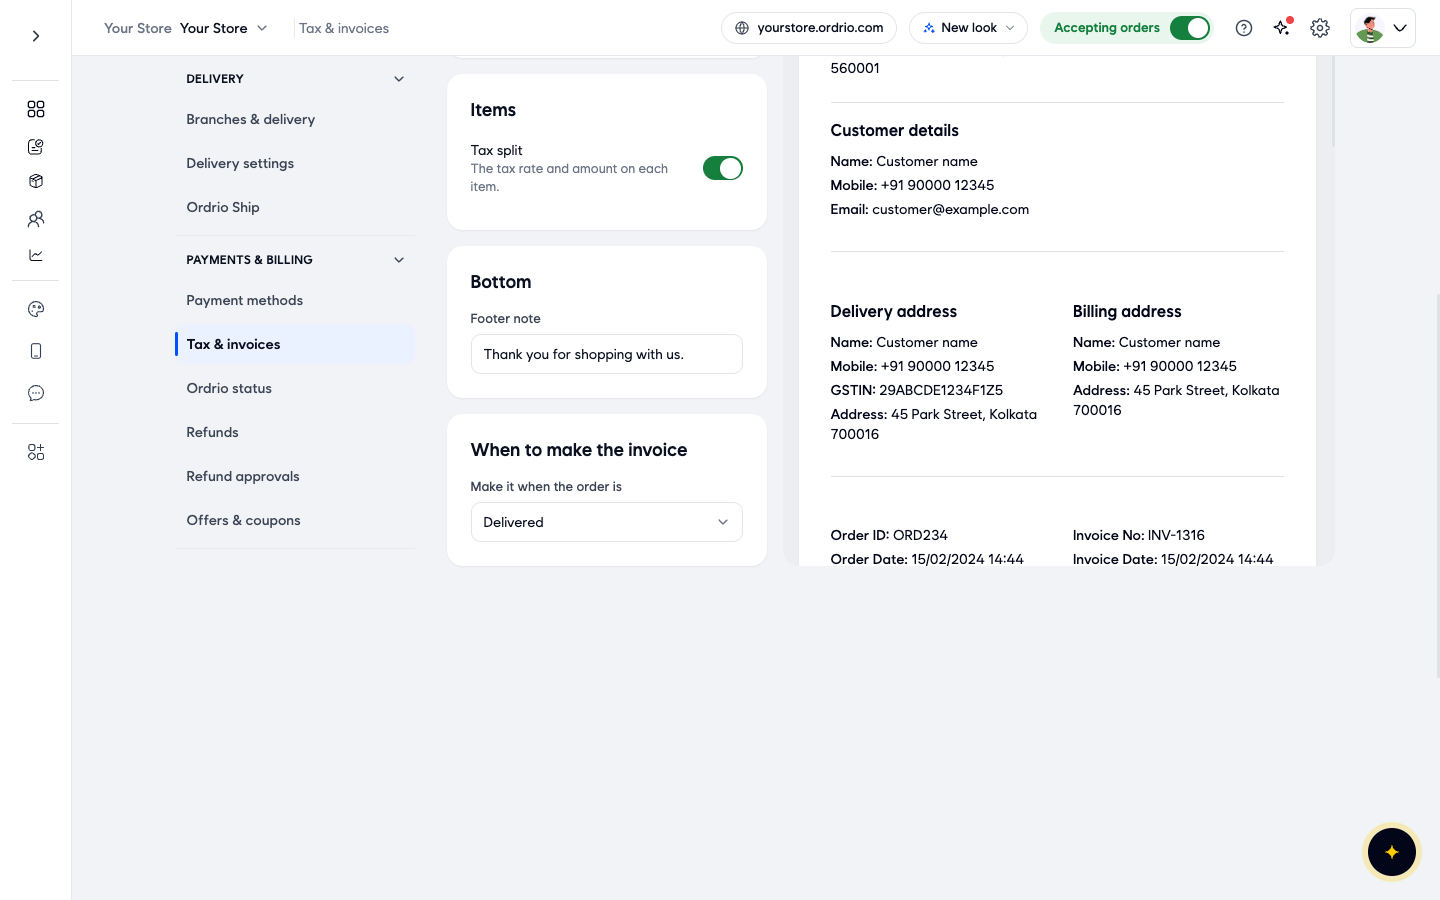
- When you change anything, a bar with You have unsaved changes appears at the bottom. Click Save to keep your changes, or Discard to undo them. Every new invoice uses the saved design.
Generate an invoice for an order
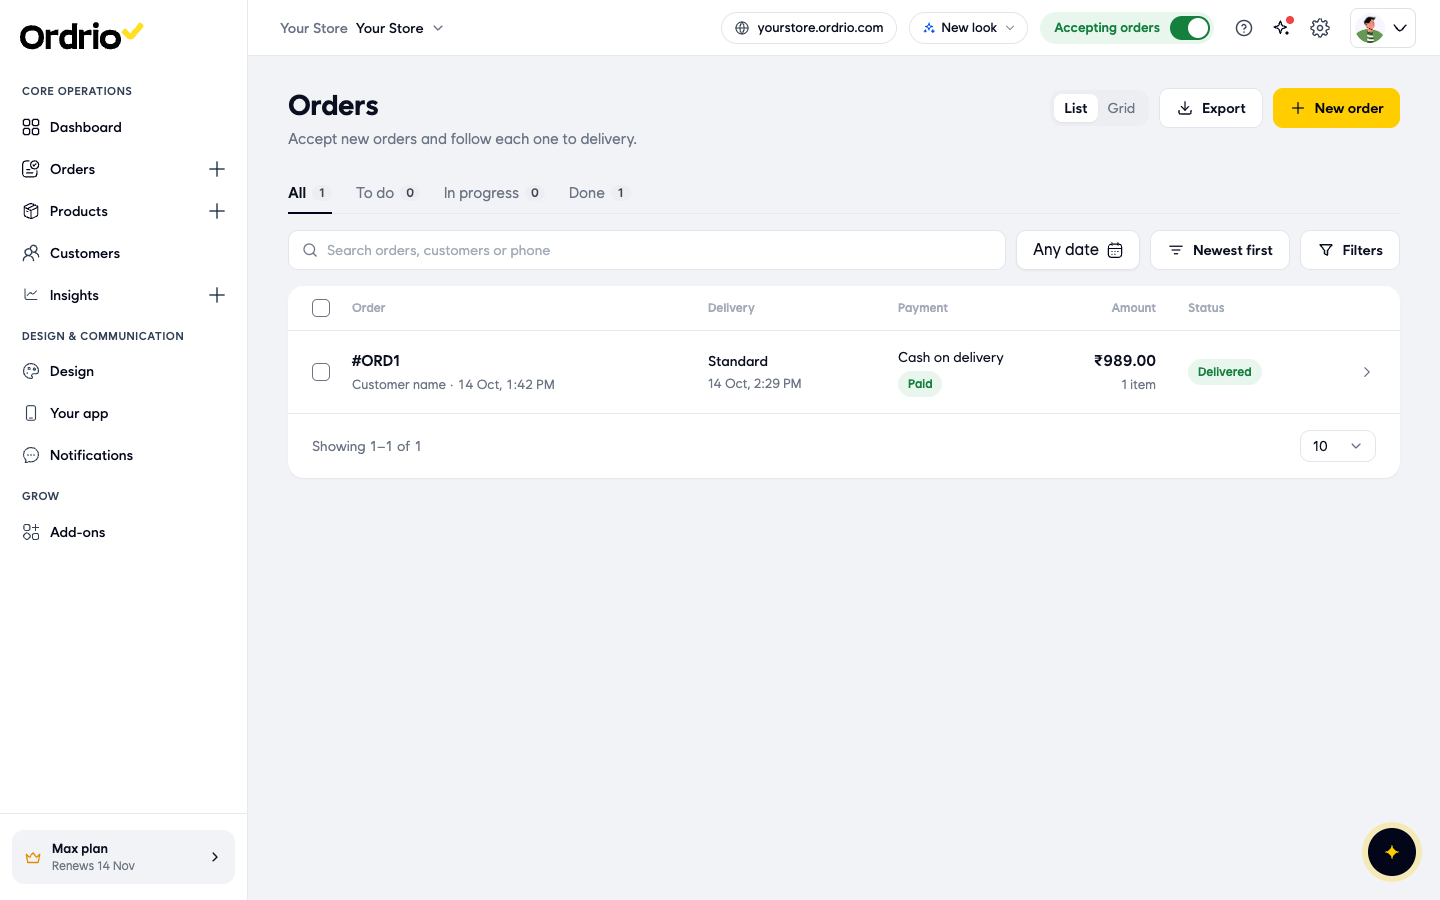
- Click the order you want an invoice for.
- At the top right of the order, click Generate invoice.

- Click Download PDF to save the invoice. You can print it or send it to your customer.
Print a kitchen order ticket (KOT)
A KOT tells your kitchen or packing team what to prepare for an order.
- In Orders, open the order.
- At the top right, click More actions (the three dots) next to Generate invoice, then click Print KOT.
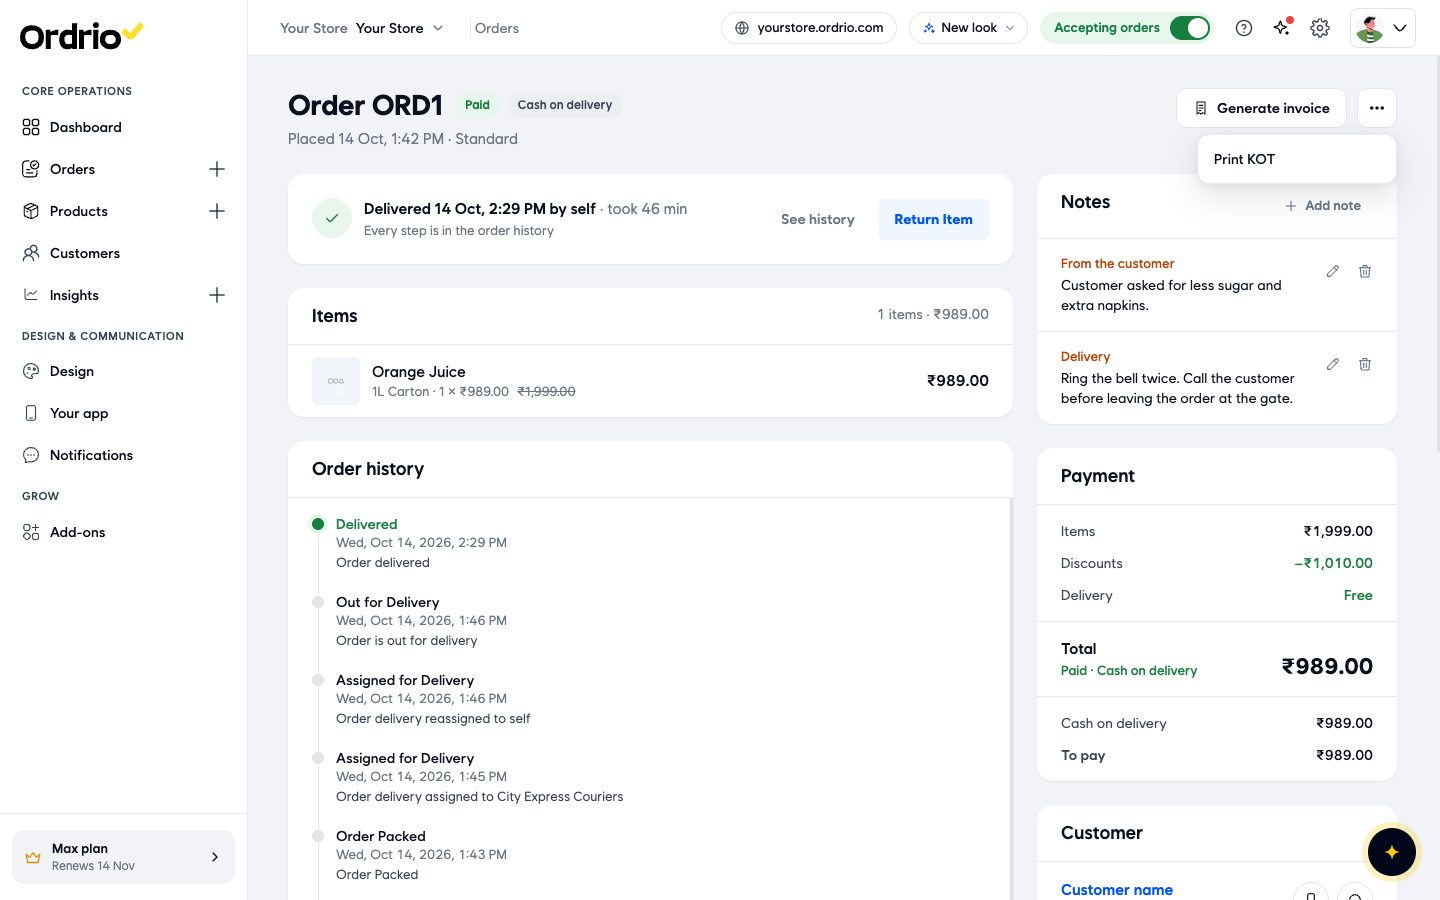
- The KOT opens as a PDF in a new browser tab. Print it from there.
Good to know
- If you leave Heading and Prefix empty, the heading and number stay off the invoice.
- Fill at least one of the Store details on the invoice fields. If all of them are empty, the store details stay off the invoice.
- The Preview button only works after you save. Until then, the page shows "Save your changes to preview them".
- The preview uses sample items and a sample customer. Your real invoices show the order's own items, customer and amounts.
- If you run more than one branch, turn on Show branch details so each invoice shows the branch that served the order.
- Use Thermal roll if you print on a small receipt printer, and A4 for normal office paper.
Related
- Product pricing and taxes
- Viewing and managing orders
- Branch-level inventory
هل كان هذا المقال مفيداً؟