هذا المقال غير متوفر بالعربية بعد، لذلك نعرضه بالإنجليزية.
دليل استخدام
Setting up a Flexi Box
Create a Flexi Box that customers build themselves by picking items from groups, set how many picks each group allows, and price it.
A Flexi Box is a product that customers build themselves. You put items into groups (called sections), decide how many items the customer can pick from each one, and set the price. For example, a milk box where the customer picks 1 milk and up to 2 extras.
The names, items and prices in the screenshots are examples. Use your own products and prices.
Before you start
- Add the items that will go in the box as regular products first. A Flexi Box can only use items that are already in your Products list.
- If you want to use a category or tax slab for the box, create it first. You can also create a new category while you add the box.
Create the box
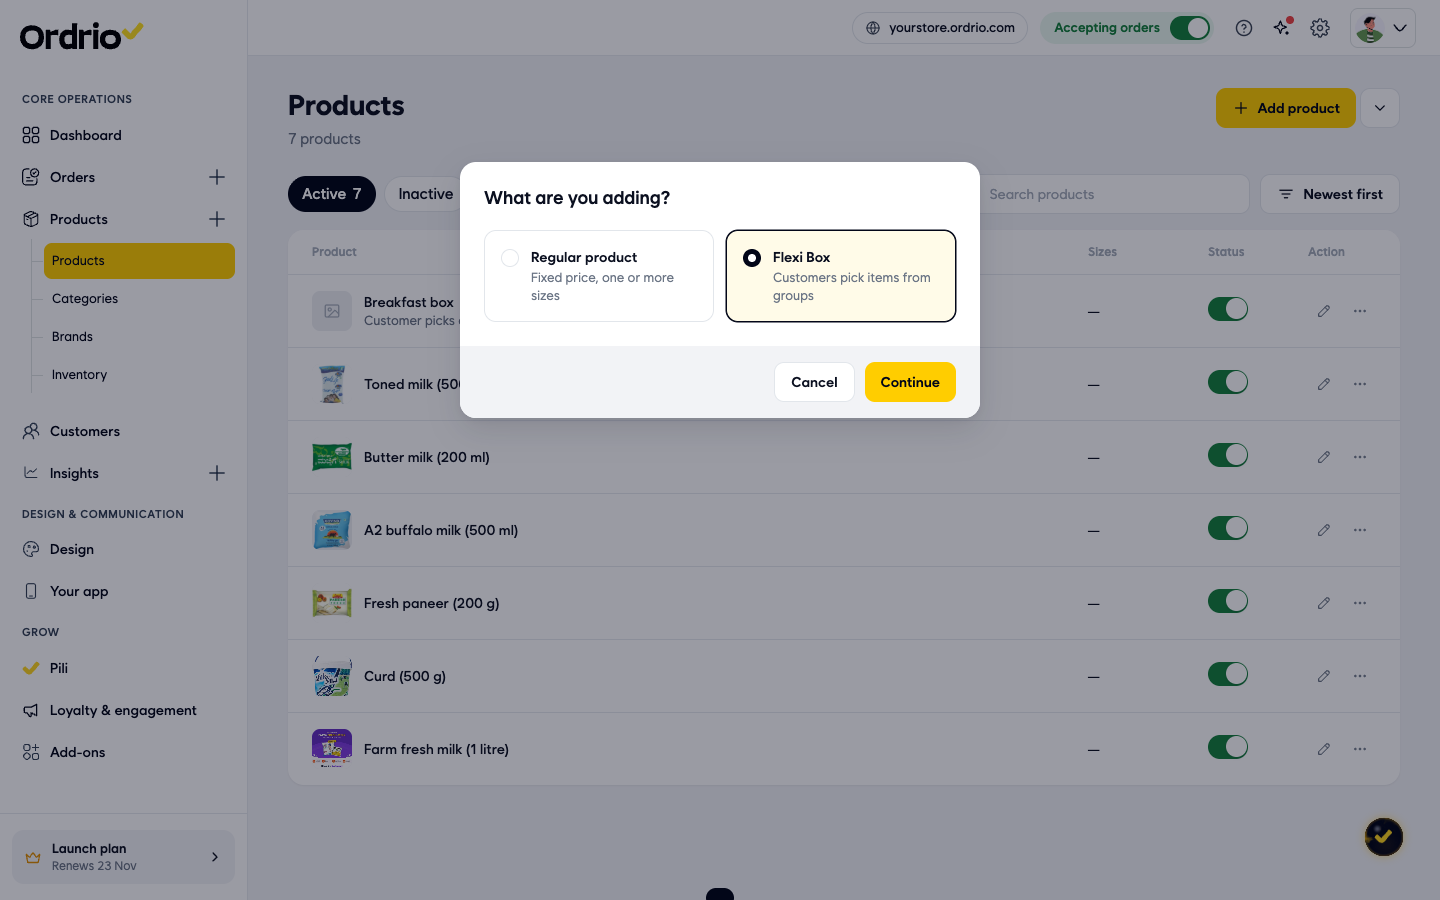
- Open manage.ordrio.com (your Ordrio admin panel) and log in. In the left menu, click Products, then Products.
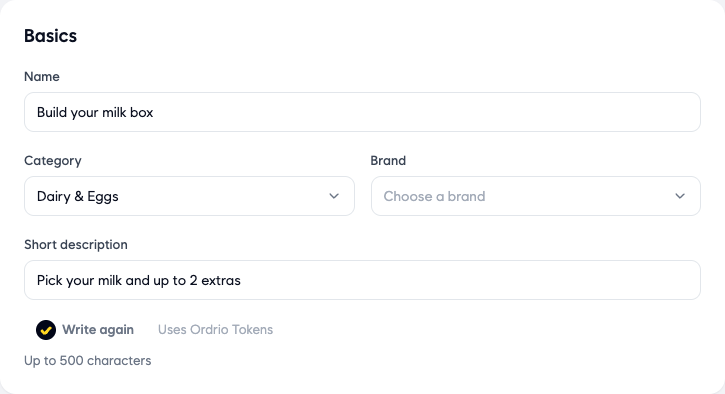
- Fill in Basics:
- Name: what customers see, for example "Build your milk box".
- Category: the category the box is listed under, for example "Dairy & Eggs". If you need a new one, click Create a new category.
- Brand: optional. Choose a brand if you use them.
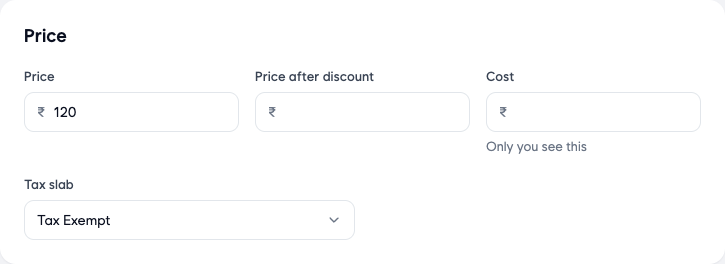
- Fill in Price:
- Price: the price of the box, for example ₹120. This also becomes the starting box price in the box setup.
- Price after discount: optional. Fill it in only if you sell the box at a discount.
- Cost: optional. What the box costs you. Only you see this.
- On the right, set Photos and Stock:
- Add photos: a JPG, PNG, GIF or an MP4 video, up to 5 MB each.
- Track stock: leave it on if you want Ordrio to count how many boxes you have.
- In stock: how many boxes you can sell, for example 50.
- Notify me when stock falls below: you get a reminder when stock drops below this number, for example 5.
- More details > Search tags: click Add a word to add words customers might search for.
Add item groups
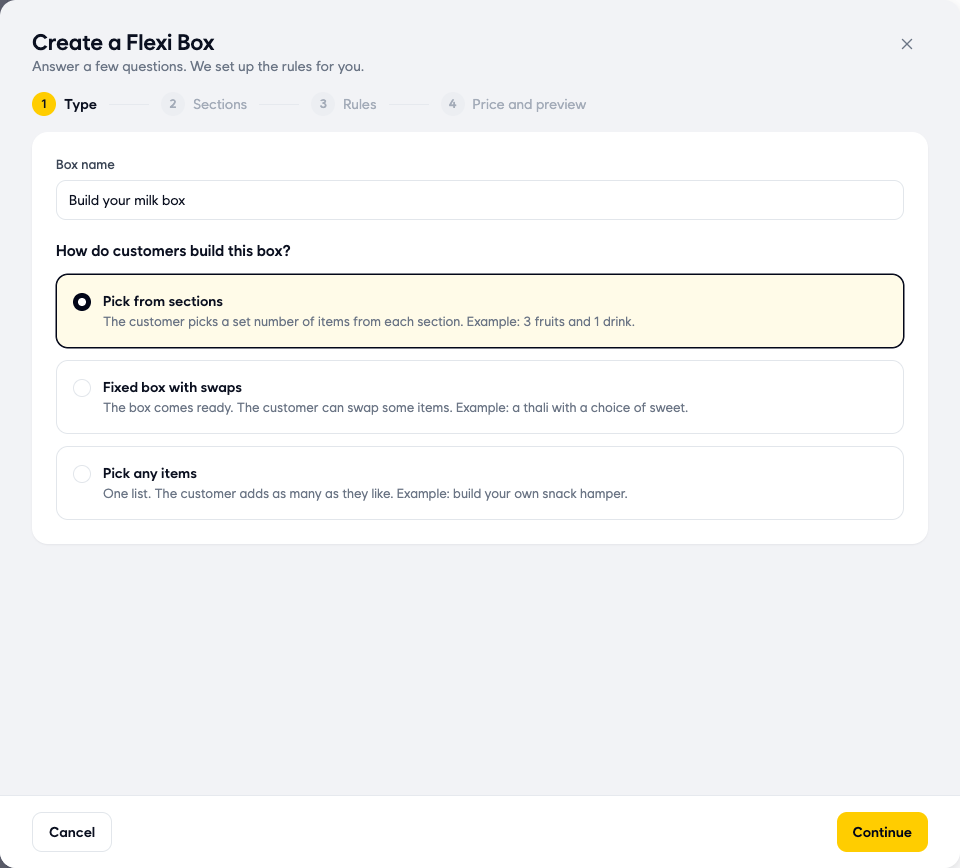
- On the Type step, check the Box name, then choose How do customers build this box?:
- Pick from sections: the customer picks a set number of items from each section. For example, 3 fruits and 1 drink.
- Fixed box with swaps: the box comes ready, and the customer can swap some items. For example, a thali with a choice of sweet.
- Pick any items: one list, and the customer adds as many as they like. For example, a build-your-own snack hamper.
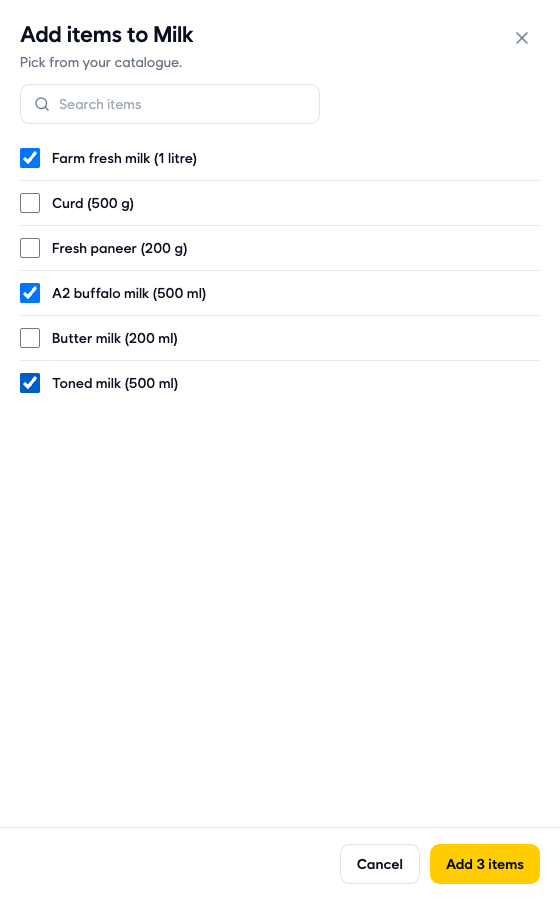
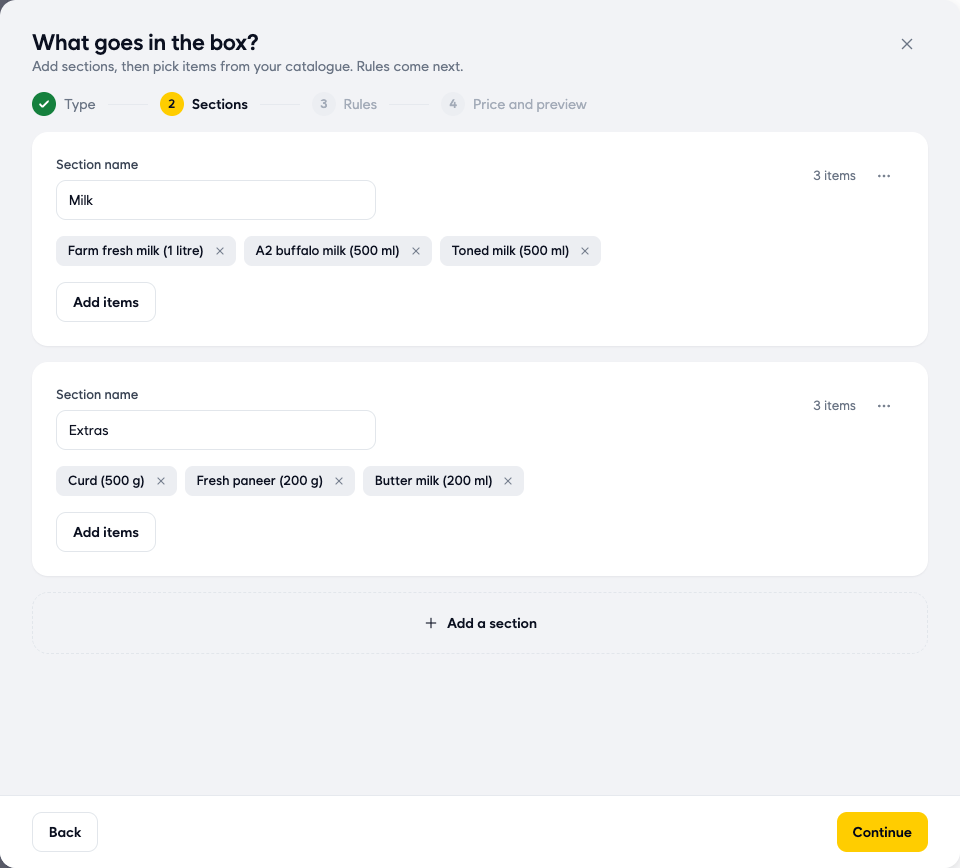
Set how many picks each group allows
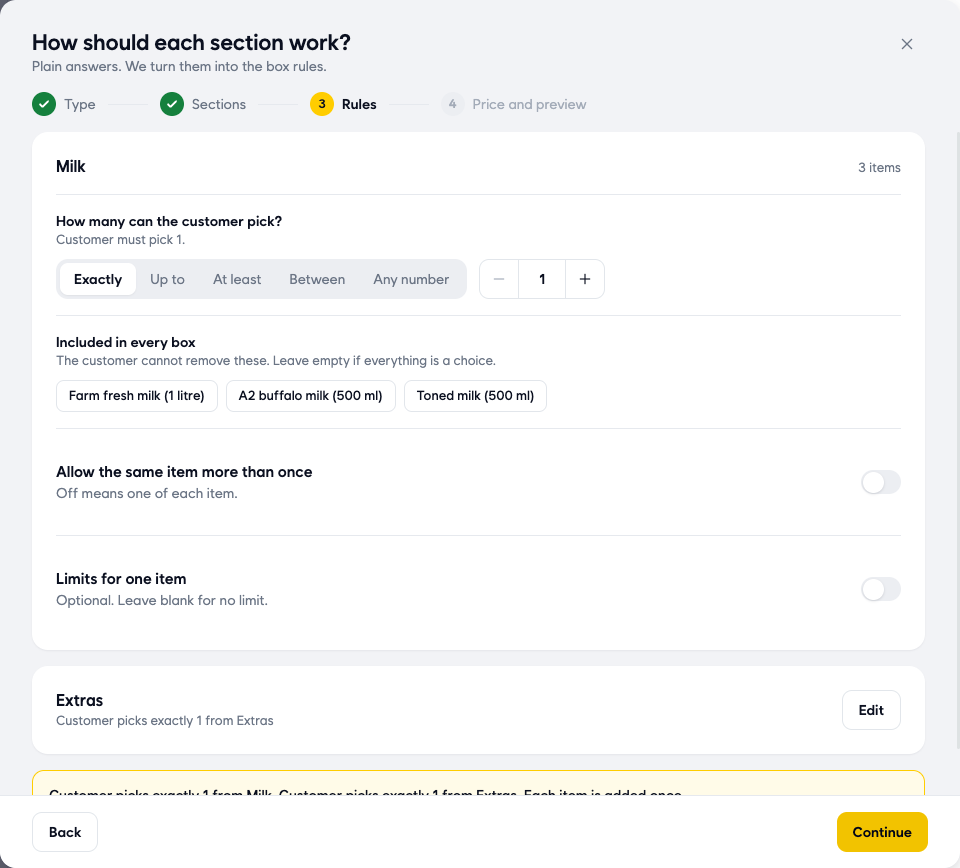
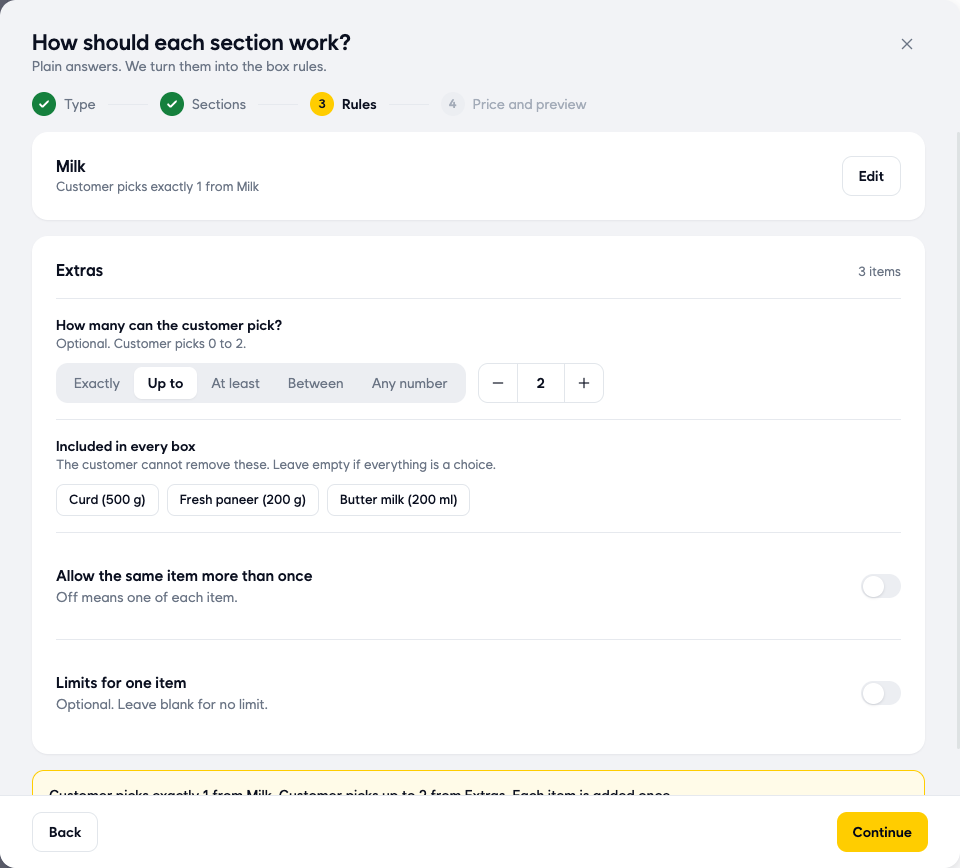
- On the Rules step, set How many can the customer pick? for the first section. Choose one option and set the number with - and +:
- Exactly: the customer must pick this many. For example, exactly 1 milk.
- Up to: the customer can pick none, or up to this many. The section is optional.
- At least: the customer must pick this many or more.
- Between: the customer picks between two numbers, for example 2 to 4.
- Any number: no limit. The customer picks as many as they like.
In the same section you can also set:
- Included in every box: click items that always come in the box. The customer cannot remove them. Leave this empty if everything is a choice.
- Allow the same item more than once: off means the customer can add each item only once. Turn it on to let them add, say, 2 of the same milk.
Price the box
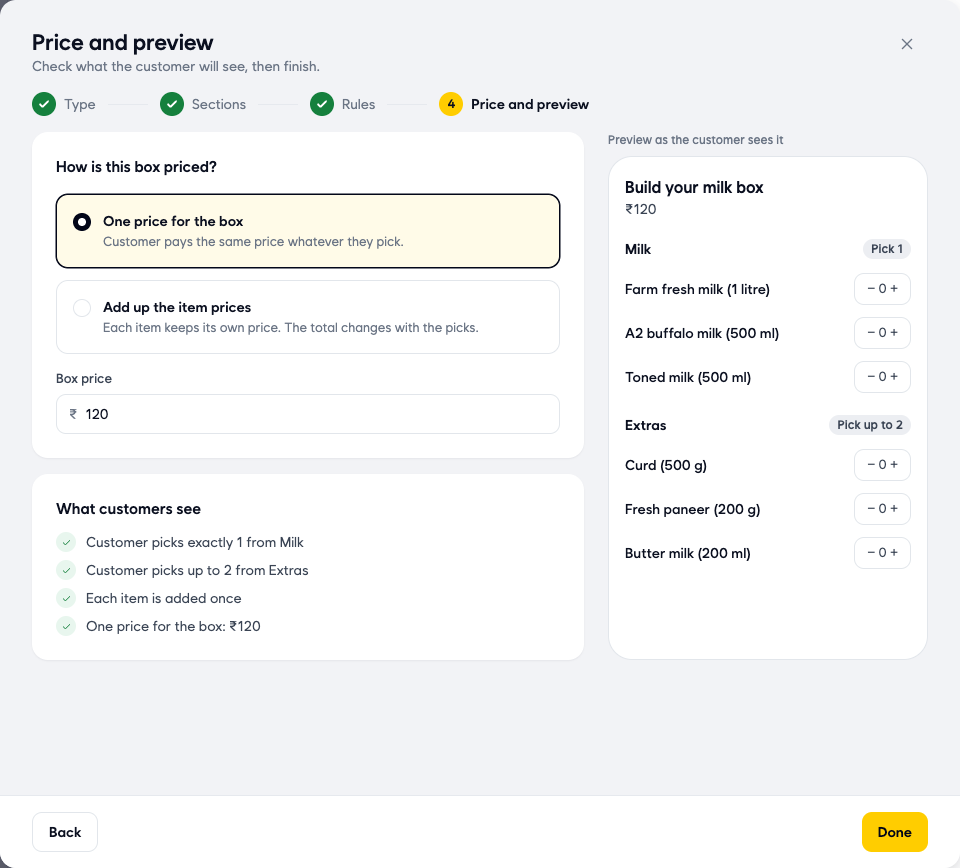
- On the Price and preview step, choose How is this box priced?:
- One price for the box: the customer pays the same price whatever they pick. Enter it in Box price.
- Add up the item prices: each item keeps its own price, and the total changes with the picks. Each item's price is shown in a list, filled in from your products, and you can change it.
- Click Create product at the bottom of the page.
Good to know
- What customers see: the box with its price, each section with a label like "Pick 1" or "Pick up to 2", and - and + next to every item. It is the same as the preview on the Price and preview step.
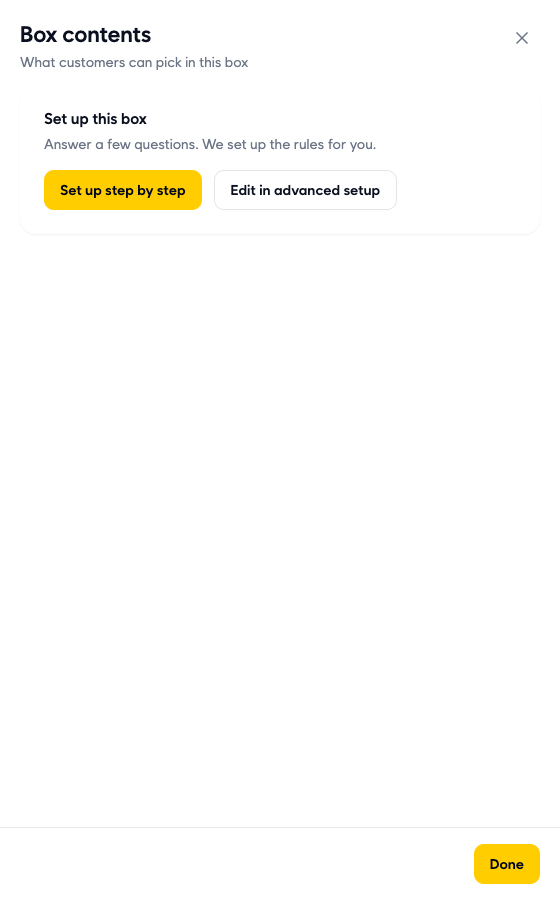
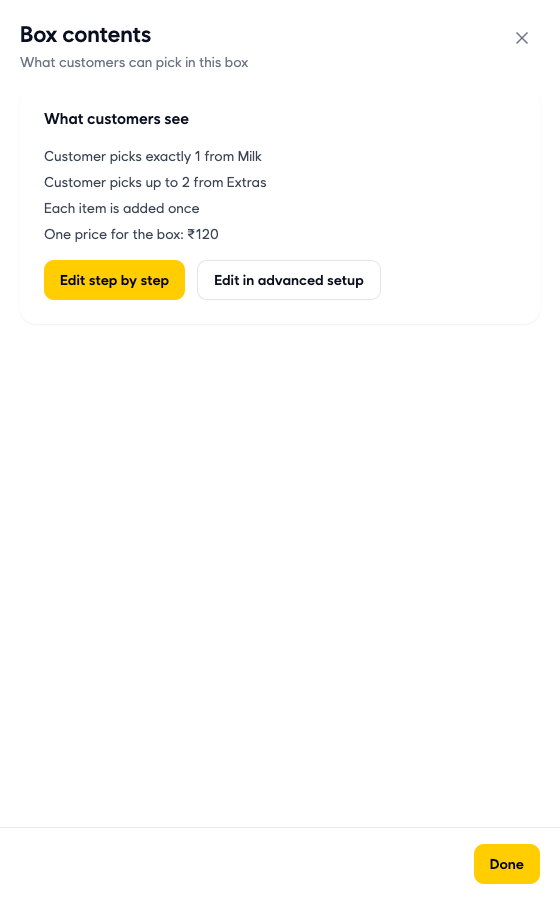
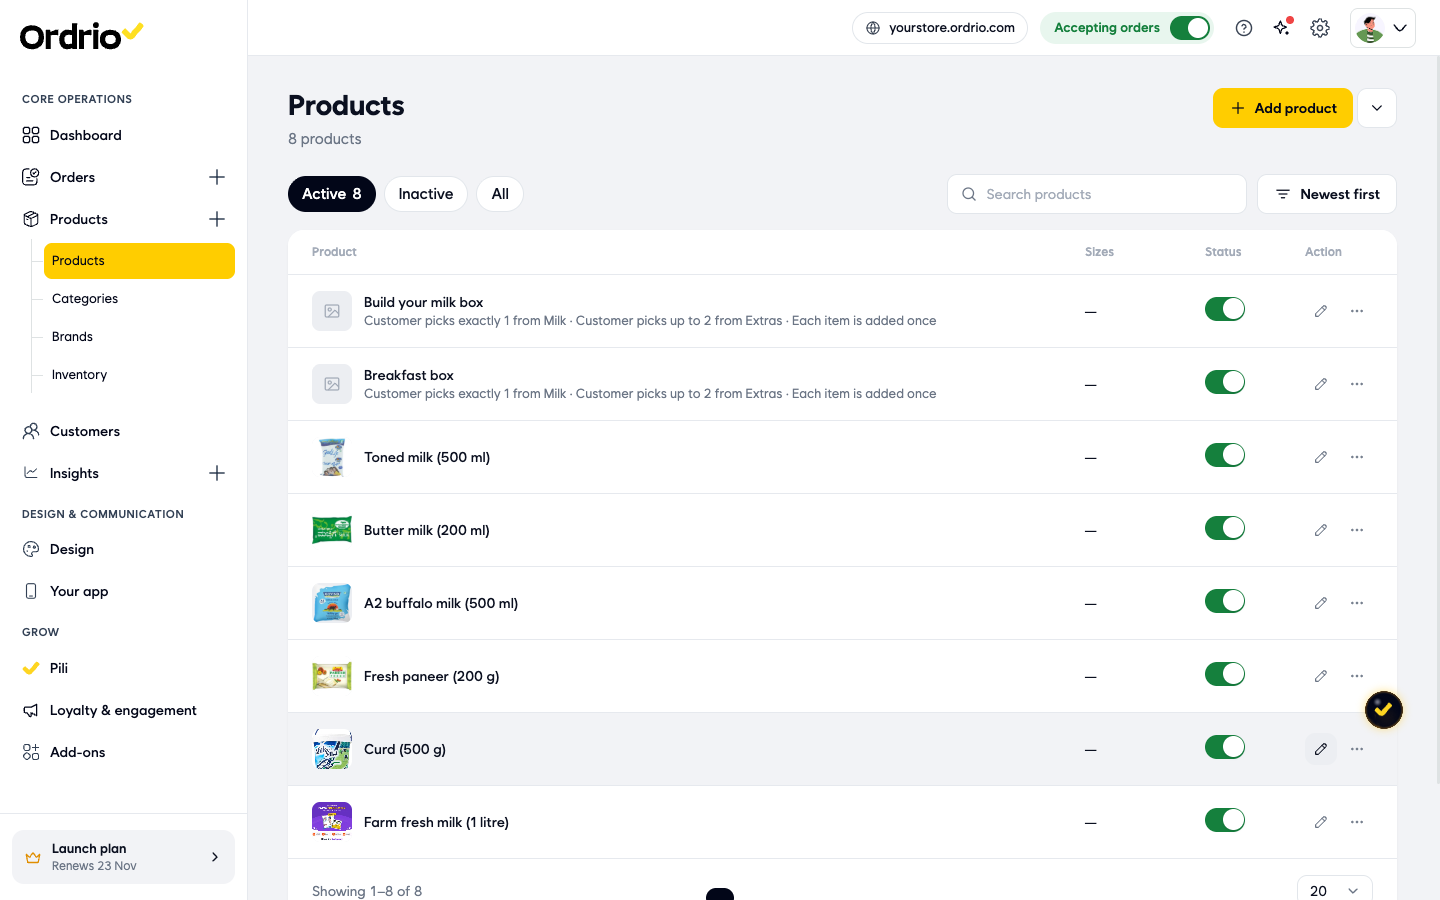
- Changing a box later: in Products, click the pencil next to the box. Open Box contents and click Edit step by step. After you change anything on the product page, click Save product in the bar at the bottom (or Reset to undo).
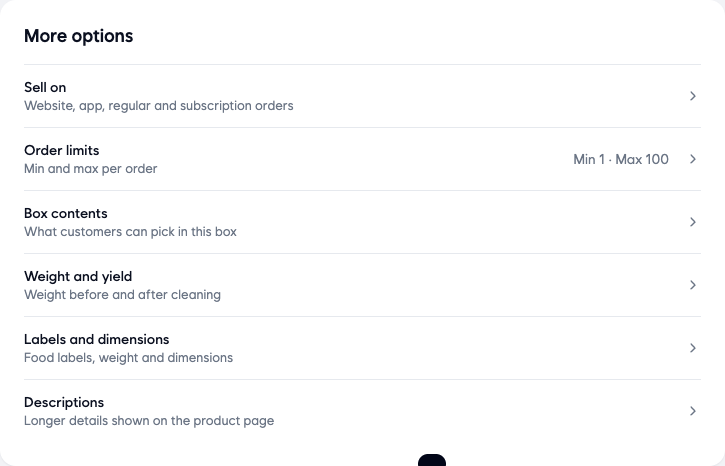
- Other options under More options: Sell on (by default website, app, regular and subscription orders) and Order limits (by default Min 1 and Max 100 per order) work the same as for a regular product.
- Hide a box without deleting it: turn off its switch in the Status column of Products.
- Many boxes at once: in Products, click the arrow next to Add product (More ways to add) and choose Flexi Box bulk upload or Flexi Box bulk update.
- Every section needs a name and items: Ordrio shows a message under any section that has no name or no items, and you cannot continue until the box has at least one section with items.
Related
- Adding a product
- Creating categories
- Setting up tax slabs
- Uploading products in bulk
هل كان هذا المقال مفيداً؟