هذا المقال غير متوفر بالعربية بعد، لذلك نعرضه بالإنجليزية.
دليل استخدام
Setting up your store home page: banners, carousels and sliders
How to build your store home page: add banners and sliders, scrolling rows of categories, products or brands, and arrange your sections.
Your home page is the first page customers see on your website and app. You build it from sections, such as banners for offers and scrolling rows (carousels) of categories, products or brands, so customers find what they want straight away.
Before you start
- Add the categories, products or brands you want to show. A carousel or a banner link can only point to items that already exist in your store.
- Keep your banner pictures ready. Each picture or video can be up to 5 MB.
Open the home page editor
- Open manage.ordrio.com (your Ordrio admin panel) and log in.
- In the left menu, under Design & Communication, click Design.
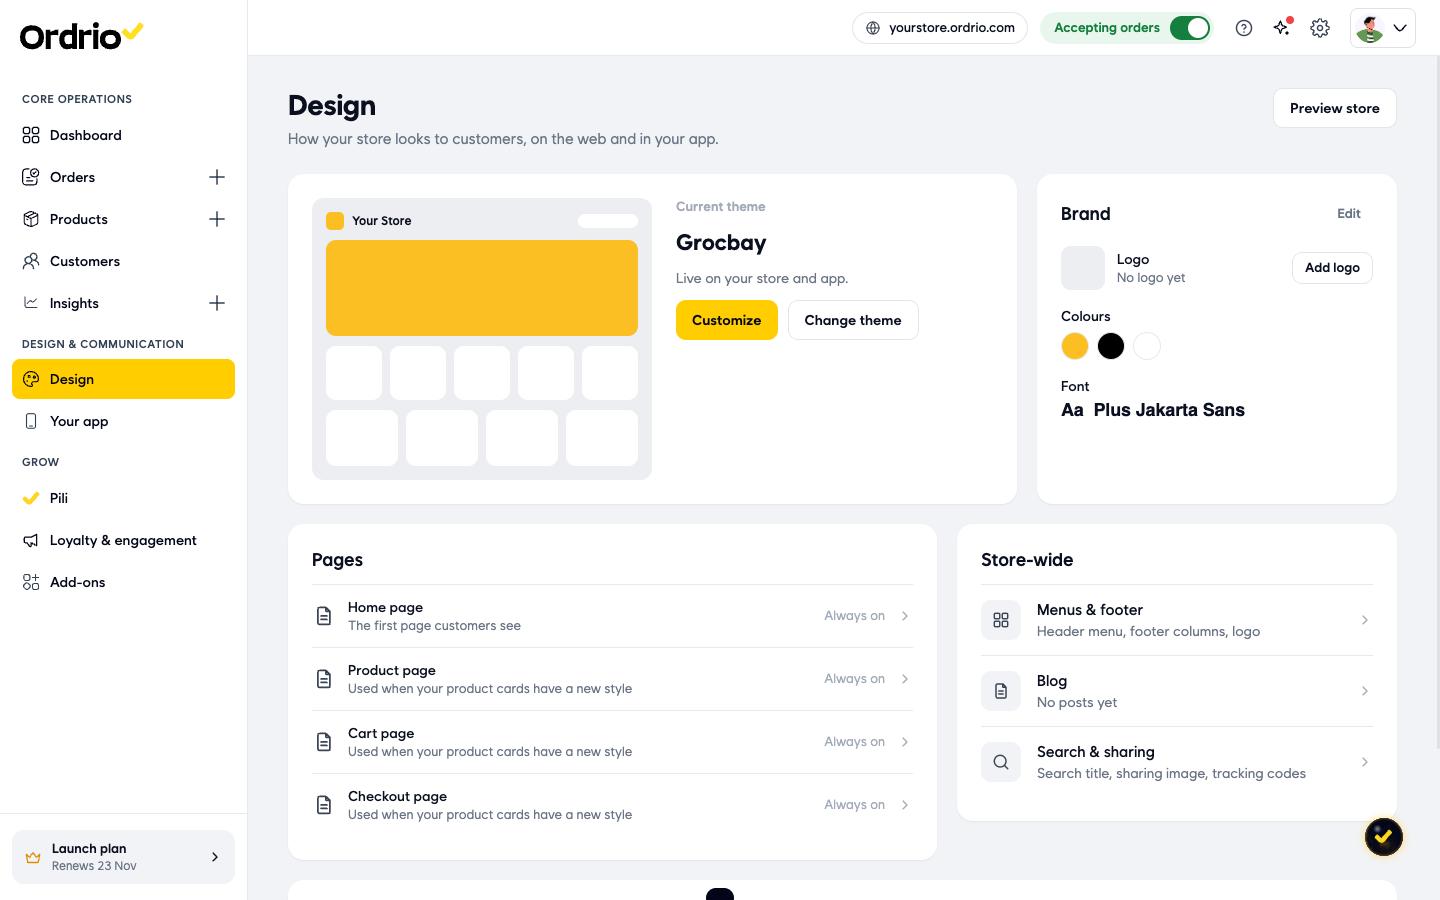
- Under Pages, click Home page (you can also click Customize under your current theme).
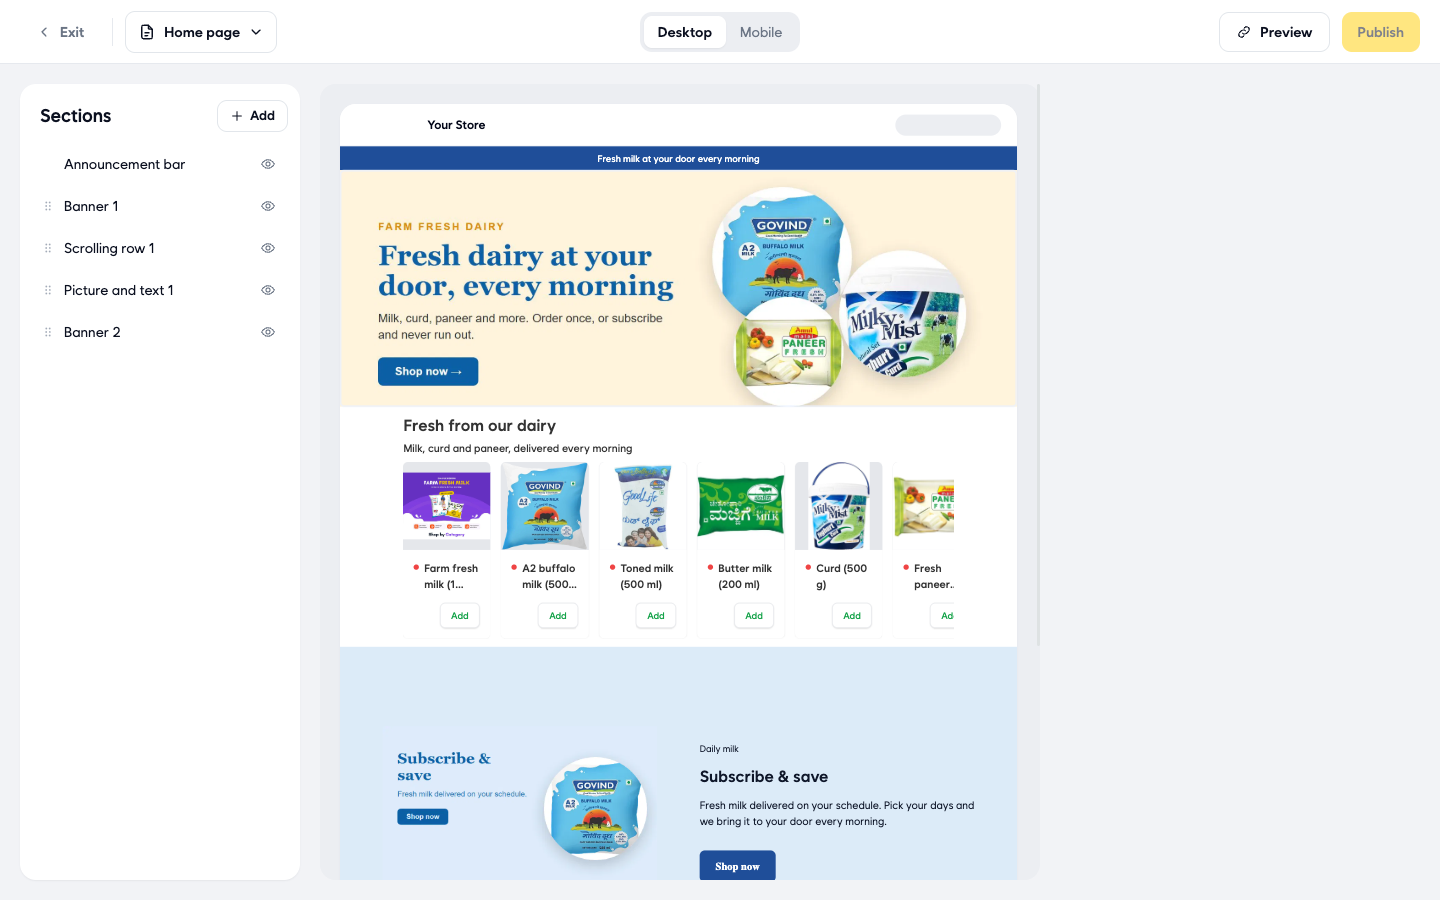
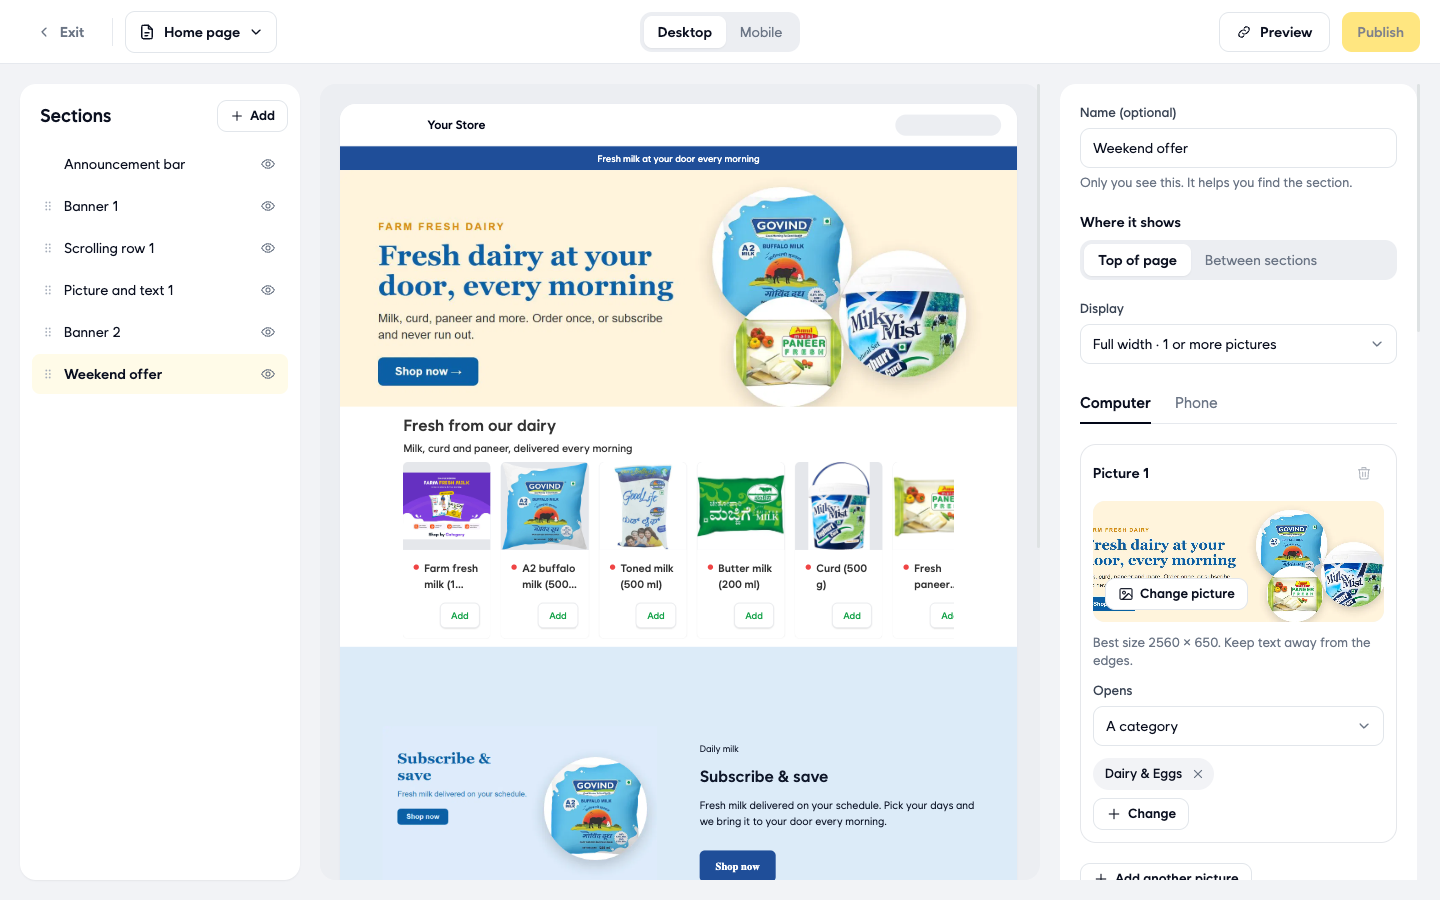
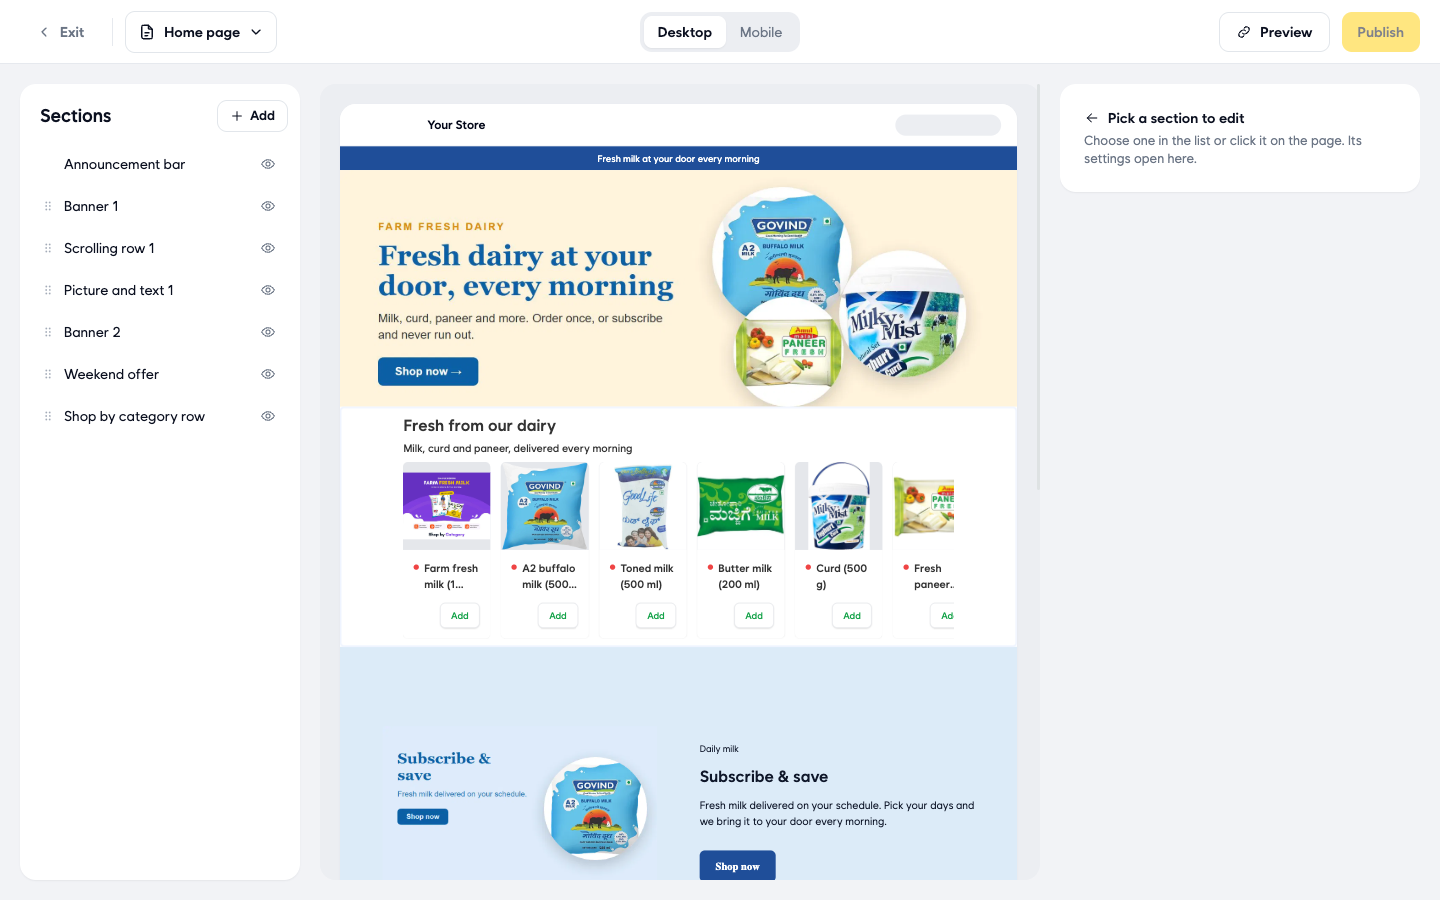
The editor opens. On the left, Sections lists every section on your home page, from top to bottom. In the middle you see a preview of the page. Use Desktop and Mobile at the top to see how it looks on a computer or a phone. When you click a section, its settings open on the right.
Add a banner
A banner shows one or more large pictures for offers and news. With one picture it stays still. With several pictures it becomes a slider: the pictures slide one after another.
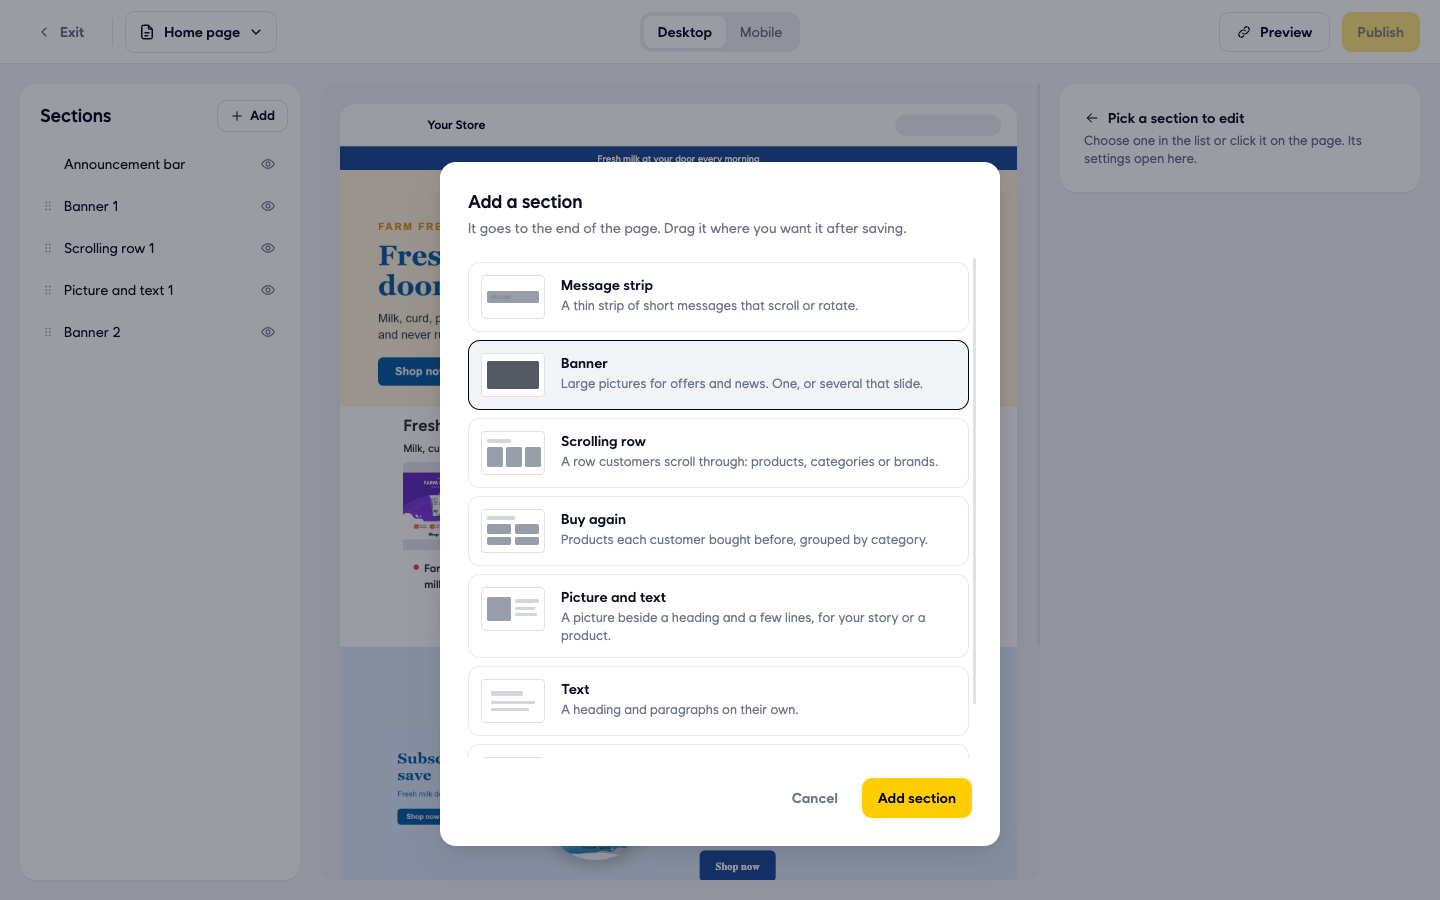
- Next to Sections, click Add.
- In Add a section, choose Banner and click Add section. The new section goes to the end of the page. You can move it after saving.
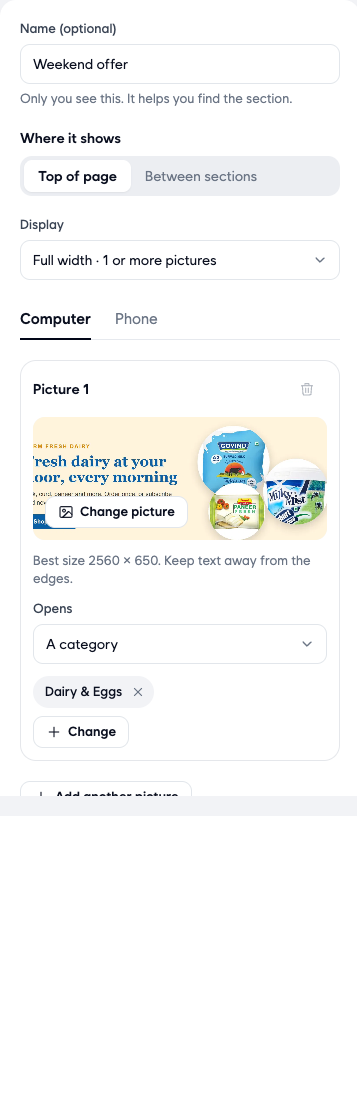
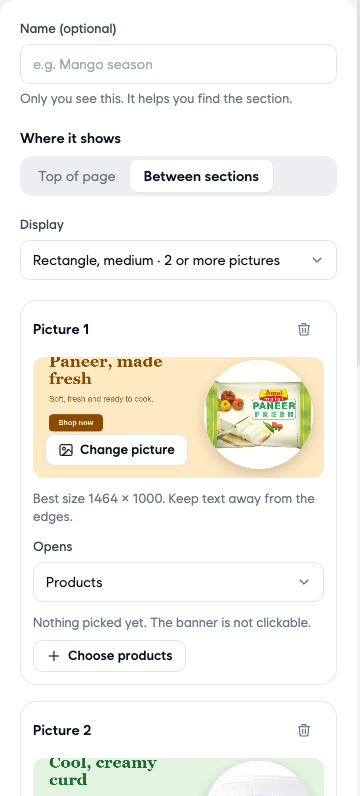
- In Name (optional), type a name, for example "Weekend offer". Only you see this name. It helps you find the section in the list.
- Under Where it shows, choose Top of page for a large banner at the top, or Between sections for a banner further down the page.
- In Display, choose how the pictures are laid out. The options are listed under Banner display types below.
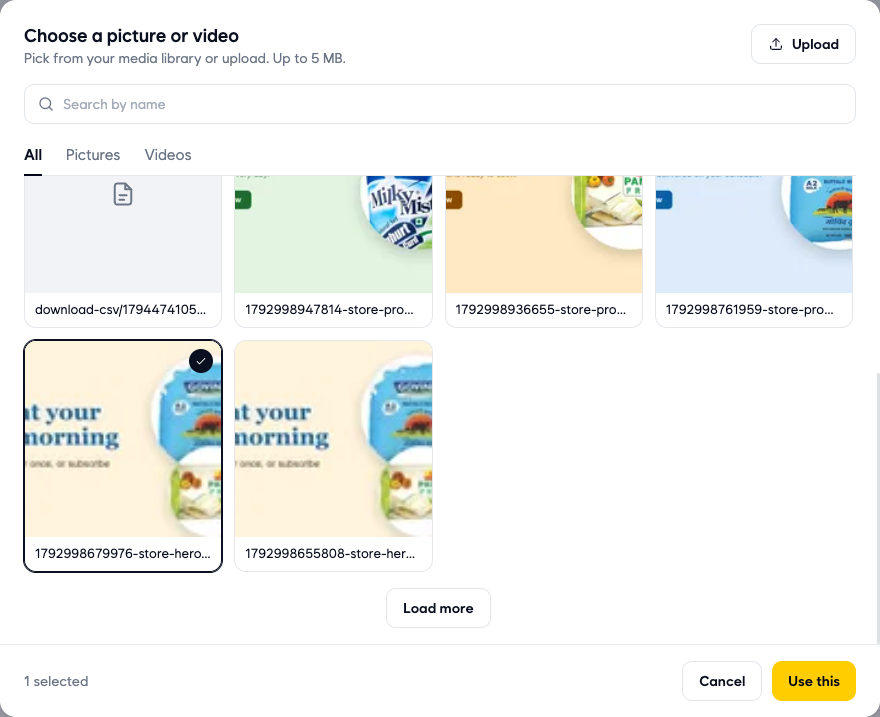
- Under Picture 1, click Add picture. In Choose a picture or video, pick a picture from your media library, or click Upload to add a new one. Click Use this.
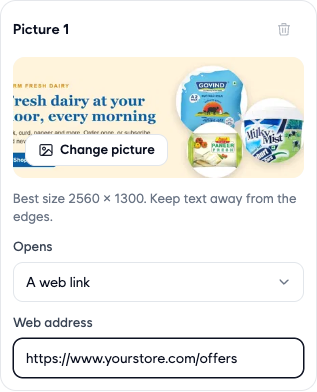
- Under the picture, check Best size. It shows the size that fits this banner best, for example 2560 × 650 for a full width banner on a computer. Keep any text in your picture away from the edges.
- In Opens, choose what happens when a customer taps the picture:
- A web link: type the address in Web address, for example a page on your own website.
- Products: click Choose products and pick one or more products.
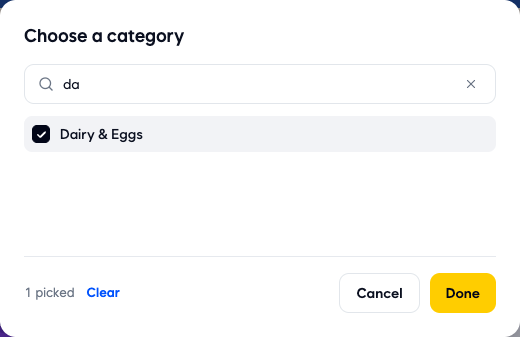
- A category: click Choose a category, type at least 2 letters to search, tick the category and click Done.
- A brand: choose the brand the picture opens.
If you pick nothing, the banner shows "Nothing picked yet. The banner is not clickable."
- For a Top of page banner, click the Phone tab and add a picture for phones too, with its own Opens setting. The best size for phones is different, for example 2560 × 1300 for a full width banner.
- To make a slider, click Add another picture and repeat steps 6 to 9 for each picture.
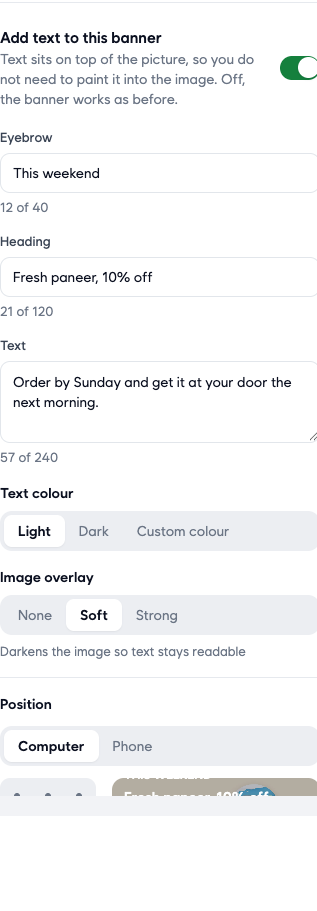
- To show text on the picture, turn on Add text to this banner and fill in:
- Eyebrow: a short line above the heading, up to 40 characters (for example "This weekend").
- Heading: the main line, up to 120 characters.
- Text: a few more words, up to 240 characters.
- Text colour: Light, Dark or Custom colour.
- Image overlay: None, Soft or Strong. This darkens the picture so the text stays readable.
- Position: choose Computer or Phone, then pick where the text sits, for example Middle left. Text and buttons sit together at this position.
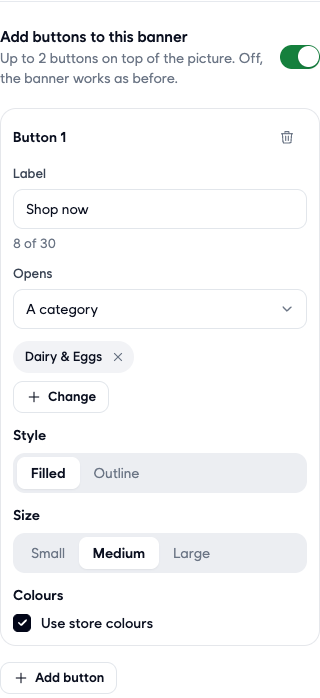
- To add buttons, turn on Add buttons to this banner. You can add up to 2 buttons. For each button, fill in:
- Label: the button text, up to 30 characters (for example "Shop now").
- Opens: A web link, Products, A category or A brand, the same as for pictures.
- Style: Filled or Outline.
- Size: Small, Medium or Large.
- Colours: keep Use store colours ticked to use your brand colours.
Click Add button for a second button.
- Click Save at the bottom of the settings panel. The banner now shows in the Sections list under its name, and in the preview.
The names, pictures, text and links in these screenshots are examples. Use your own offers, pictures and links.
Banner display types
The Display list changes with Where it shows. Each option tells you how many pictures it needs.
For Top of page:
- Full width · 1 or more pictures: one wide banner across the page. Add more pictures to make it slide.
- Rectangle, medium · 2 or more pictures
- Rectangle, small · 3 or more pictures
- Thin strip · 1 or more pictures: a narrow banner, good for a short offer.
For Between sections:
- Rectangle, medium · 2 or more pictures
- Rectangle, small · 3 or more pictures
- Square, medium · 2 or more pictures
- Square, small · 3 or more pictures
- Square, extra small · 4 or more pictures
- Wide · 1 or more pictures
A Between sections banner has one set of pictures instead of separate Computer and Phone tabs. It also has a Background setting: click Add background picture, or type a colour in Background colour.
Add a scrolling row (carousel)
A scrolling row is a carousel that customers scroll through. It can show categories, products or brands.
- Next to Sections, click Add.
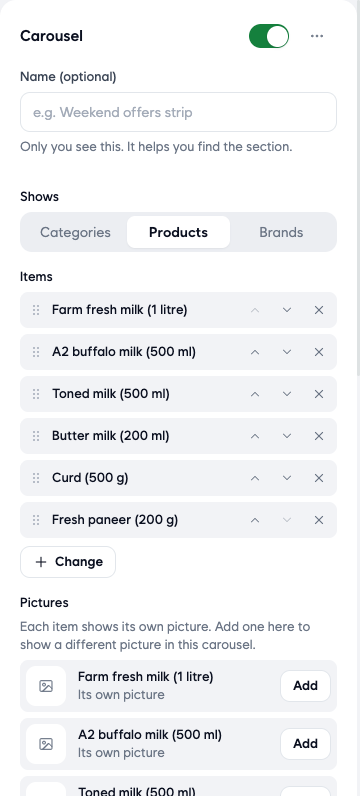
- Choose Scrolling row and click Add section. Its settings open on the right under Carousel.
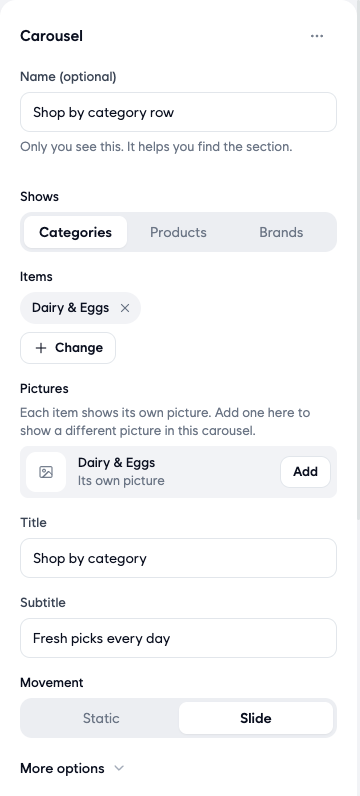
- In Name (optional), type a name only you see, for example "Shop by category row".
- Under Shows, choose Categories, Products or Brands.
- Under Items, click Choose categories (or Choose products, or the brands option), type at least 2 letters to search, tick each item you want and click Done. You must pick at least one item to save.
- Under Pictures, each item uses its own picture. To show a different picture in this carousel only, click Add next to the item.
- In Title, type the heading customers see above the row, for example "Shop by category".
- In Subtitle, type a short line under the title, for example "Fresh picks every day".
- Under Movement, choose Static for a row customers scroll themselves, or Slide for a row that moves on its own.
- Click More options to change how the row looks:
- Picture shape (for categories and brands): Large portrait, Wide, large, Wide, small, Square, large or Square, small.
- Title place (for categories and brands): No title, Below the picture or On the picture.
- Background picture: click Add picture to put a picture behind the row.
- Background colour and Text colour: the colours of the row.
- For a product row, you also get Card style, which sets how product cards look in this carousel only. Use store default follows the style under Design > Advanced options. You can change the order of products with the up and down arrows next to each item, or by dragging them.
- Click Publish at the top right. The row now shows in the Sections list under its name.
Change the order, hide or delete a section
- To move a section, drag it by the handle on its left in the Sections list. Save or discard your changes first: you cannot move sections while a section has unsaved changes.
- To hide a section without deleting it, click the eye icon next to it in the Sections list.
- To delete a banner, open it and click Delete at the bottom of its settings, then click Delete again to confirm.
- To delete a scrolling row, open it, click the three dots (More actions) at the top of its settings, choose Delete section and confirm.
Good to know
- A deleted section is removed from your store straight away. This cannot be undone. If you only want to take it down for a while, hide it instead.
- Your home page sections show on both your website and your app.
- Click Preview at the top of the editor to open your store in a new tab and check how it looks.
- While you edit, the top bar shows Unsaved changes. Save the section (or click Publish) before you leave the editor, or use Discard changes to go back.
- Use pictures close to the Best size shown under each picture, and keep text away from the edges so it is not cut off on small screens.
- A banner or button with nothing picked in Opens is not clickable.
Related
- Adding your logo and brand colours
- Adding categories
- Adding a product