How-to guide
Setting up your business
Business profile basics, legal information and brand basics.
Your store details are the name, contact details and address your customers see, plus the legal details behind your business. Set them up first, so your website, app and invoices show the right information from day one.
Before you start
- Create your store and log in to your Ordrio admin. The store name you chose when you signed up is already filled in. You can change it here.
- Keep your logo image, store phone number, store email and shop address ready. Logo images can be up to 1 MB.
Add your store details
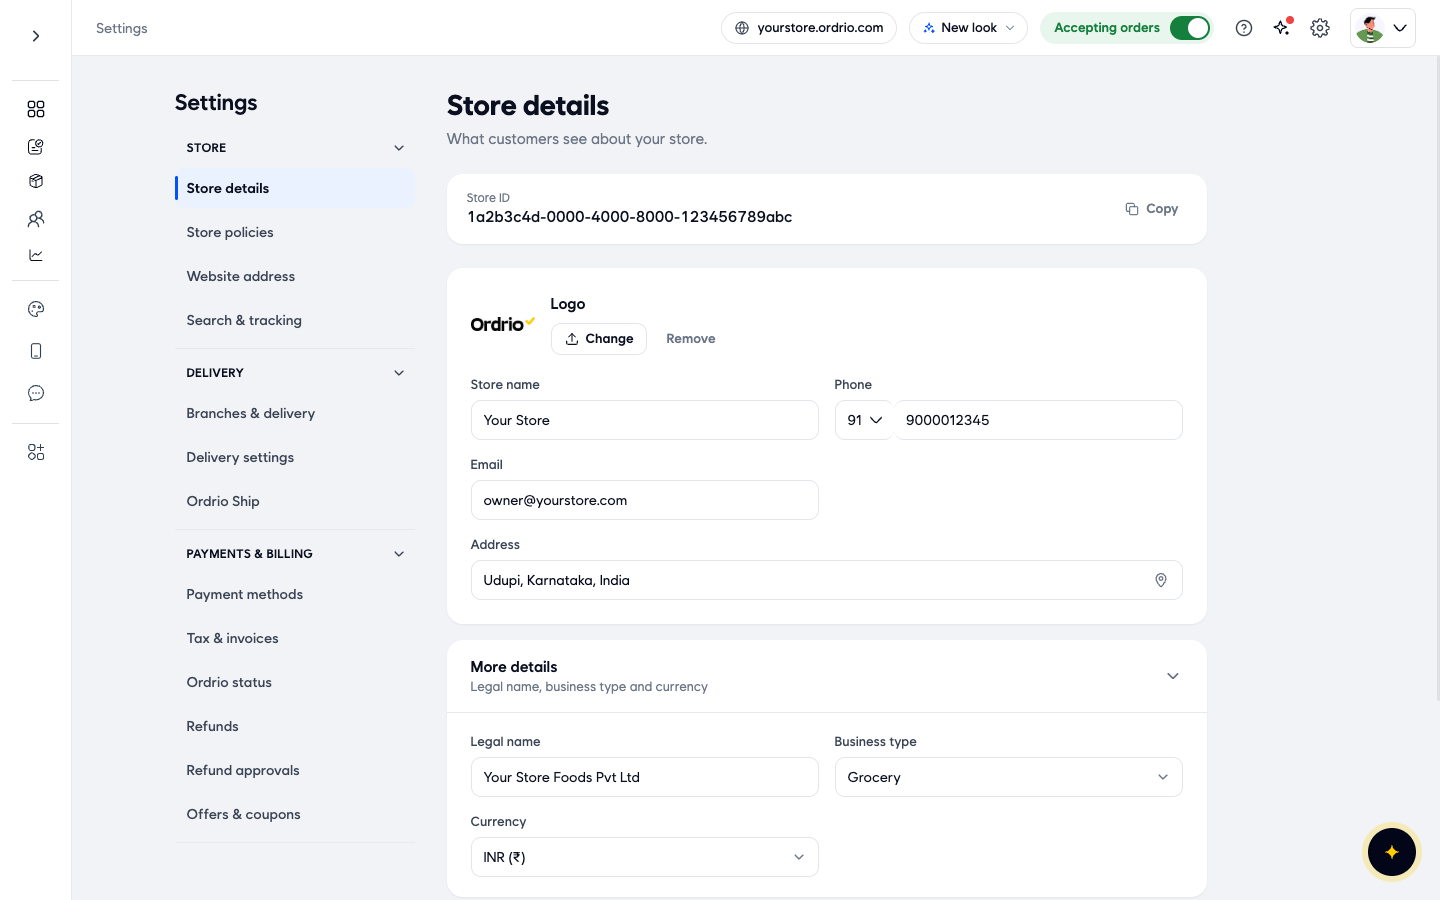
- In your Ordrio admin, click Settings (the gear icon at the top right). You can also click Add store details in the Get ready for your first order list on your Dashboard.

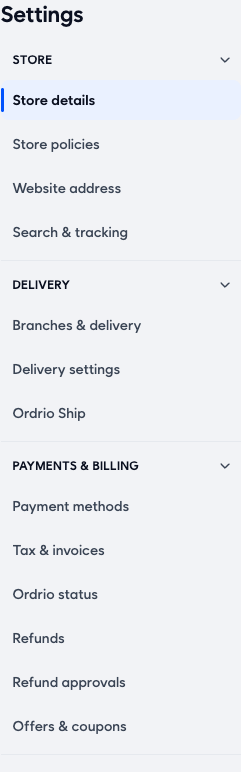
- Under Store, click Store details.
- Next to Logo, click Change and upload your logo.
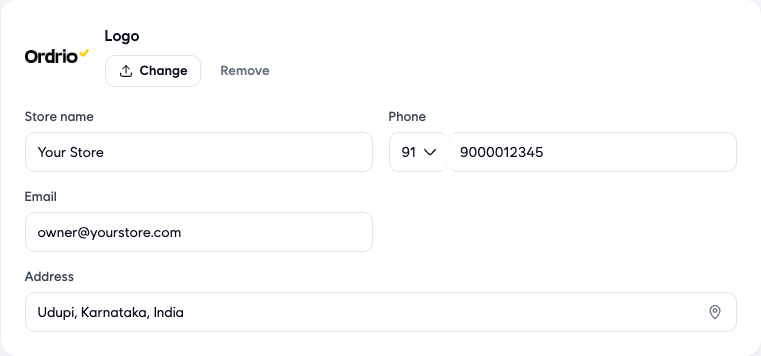
- Check your Store name. This is the name customers see.
- In Phone, choose your country code and type your own store phone number, the one customers should call.
- In Email, type your own store email address, the one customers should write to.
- Click Address and pick your shop's location in Select Business Location, then click Confirm. You must add an address before you can save. Until you do, the screen shows Address is required.
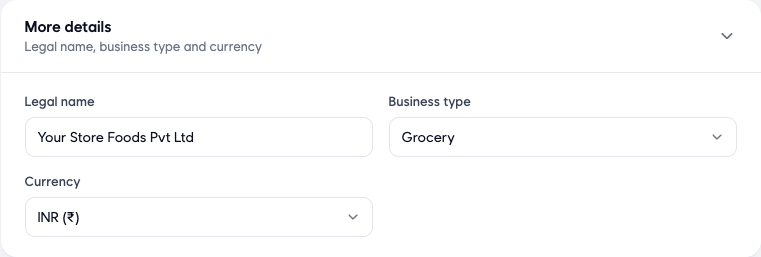
- Open More details. It has three fields:
- Legal name: the registered name of your business, for example a name ending in "Pvt Ltd".
- Business type: for example Grocery, Restaurant or Pharmacy. Choose Others if nothing fits.
- Currency: the currency your store sells in, for example INR (₹).
- Click Save in the You have unsaved changes bar at the bottom of the screen. To undo your changes, click Discard. Once your details are saved, the bar goes away.
Set up your brand basics
- In the left menu, click Design. The Brand box shows your logo, colours and font.
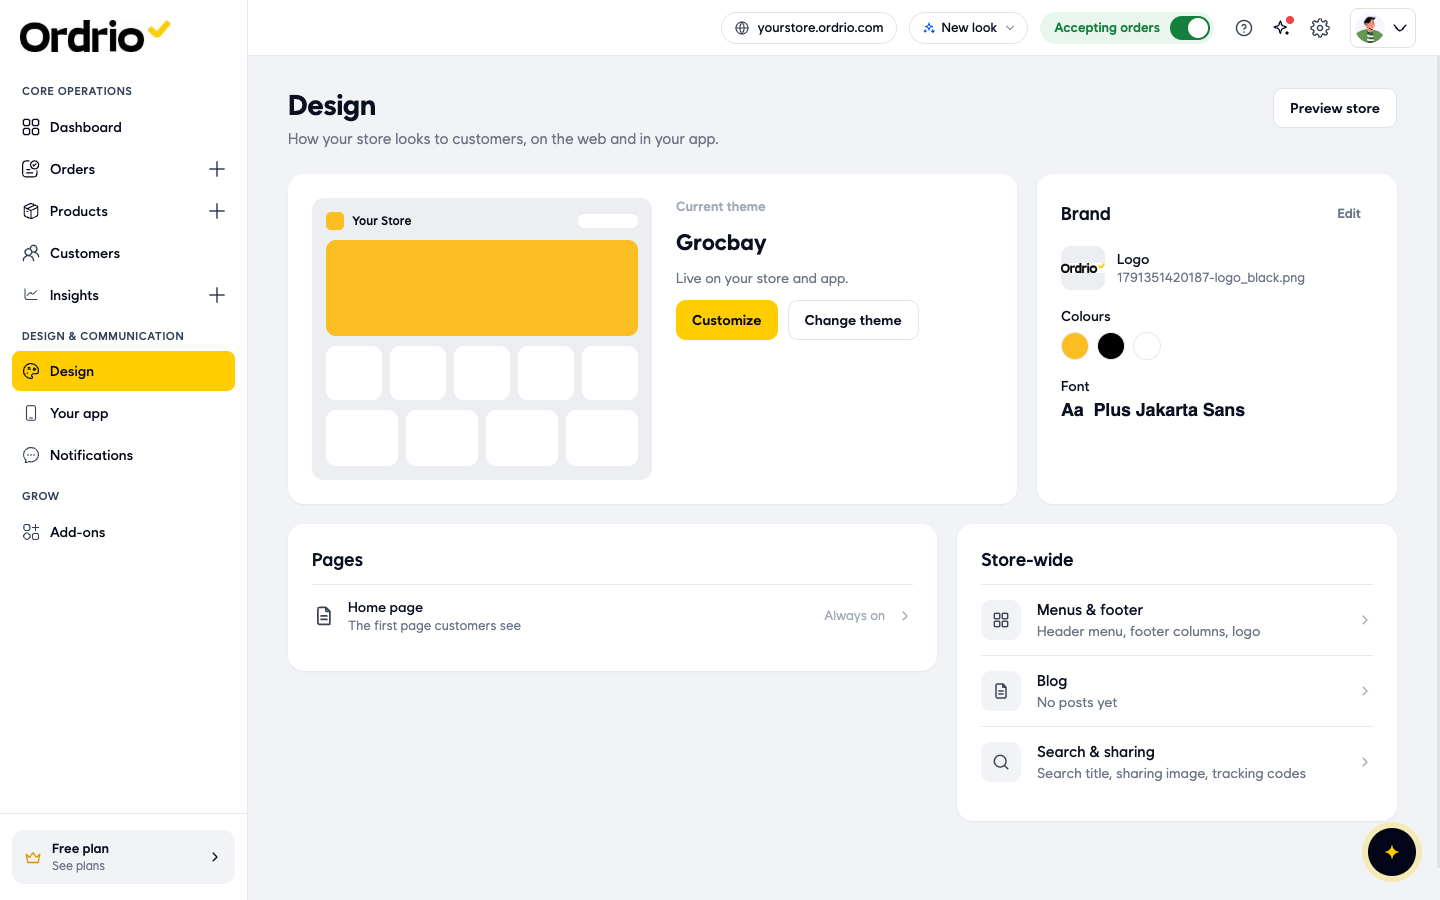
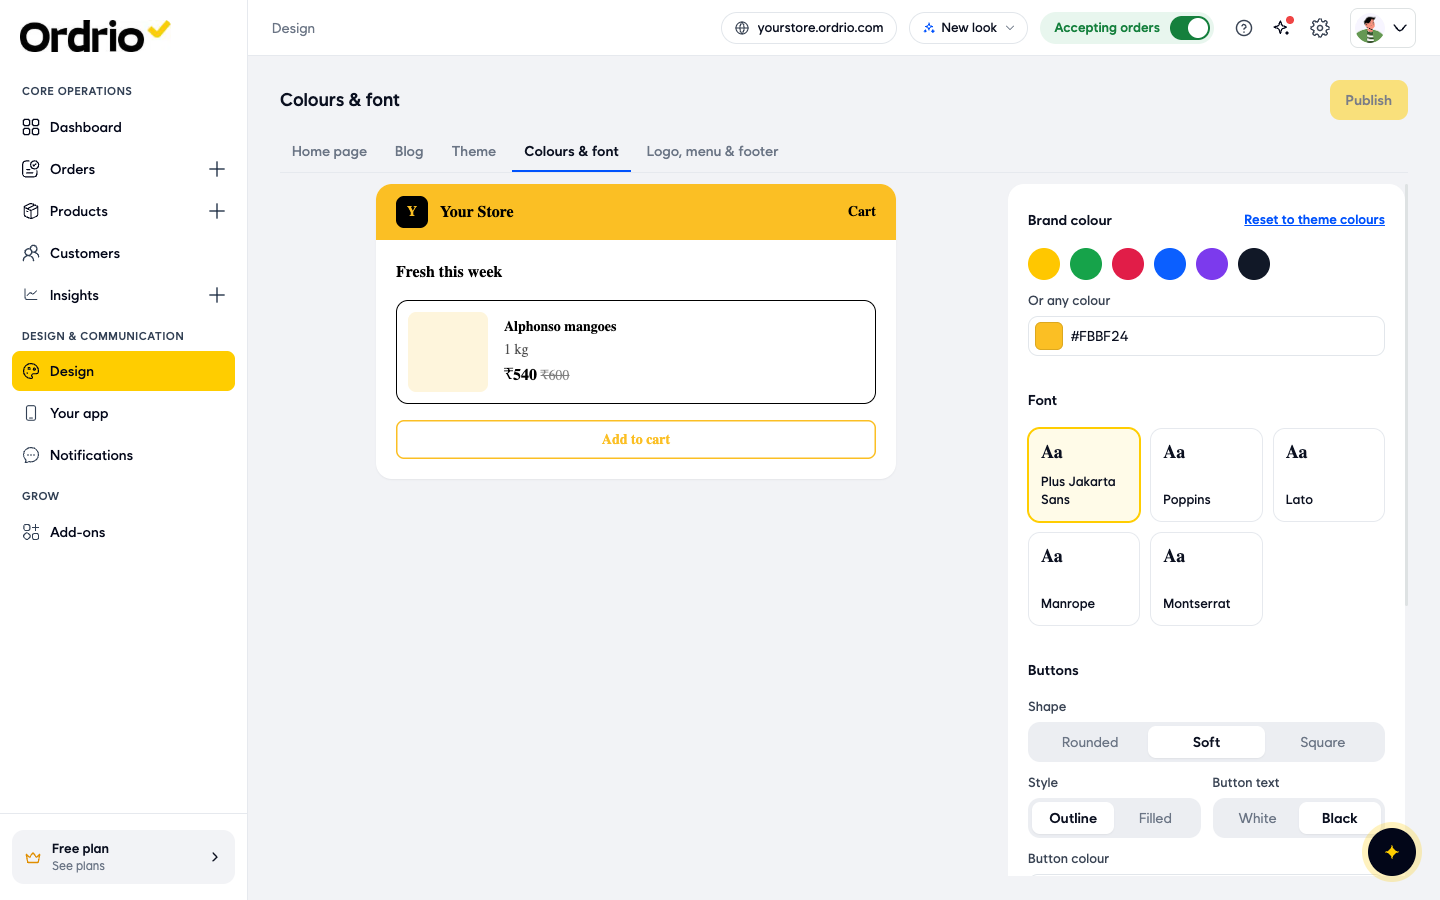
- In the Brand box, click Edit to open Colours & font. Pick your Brand colour and Font, and set your Buttons and Page colours. The preview on the left shows how your store will look.
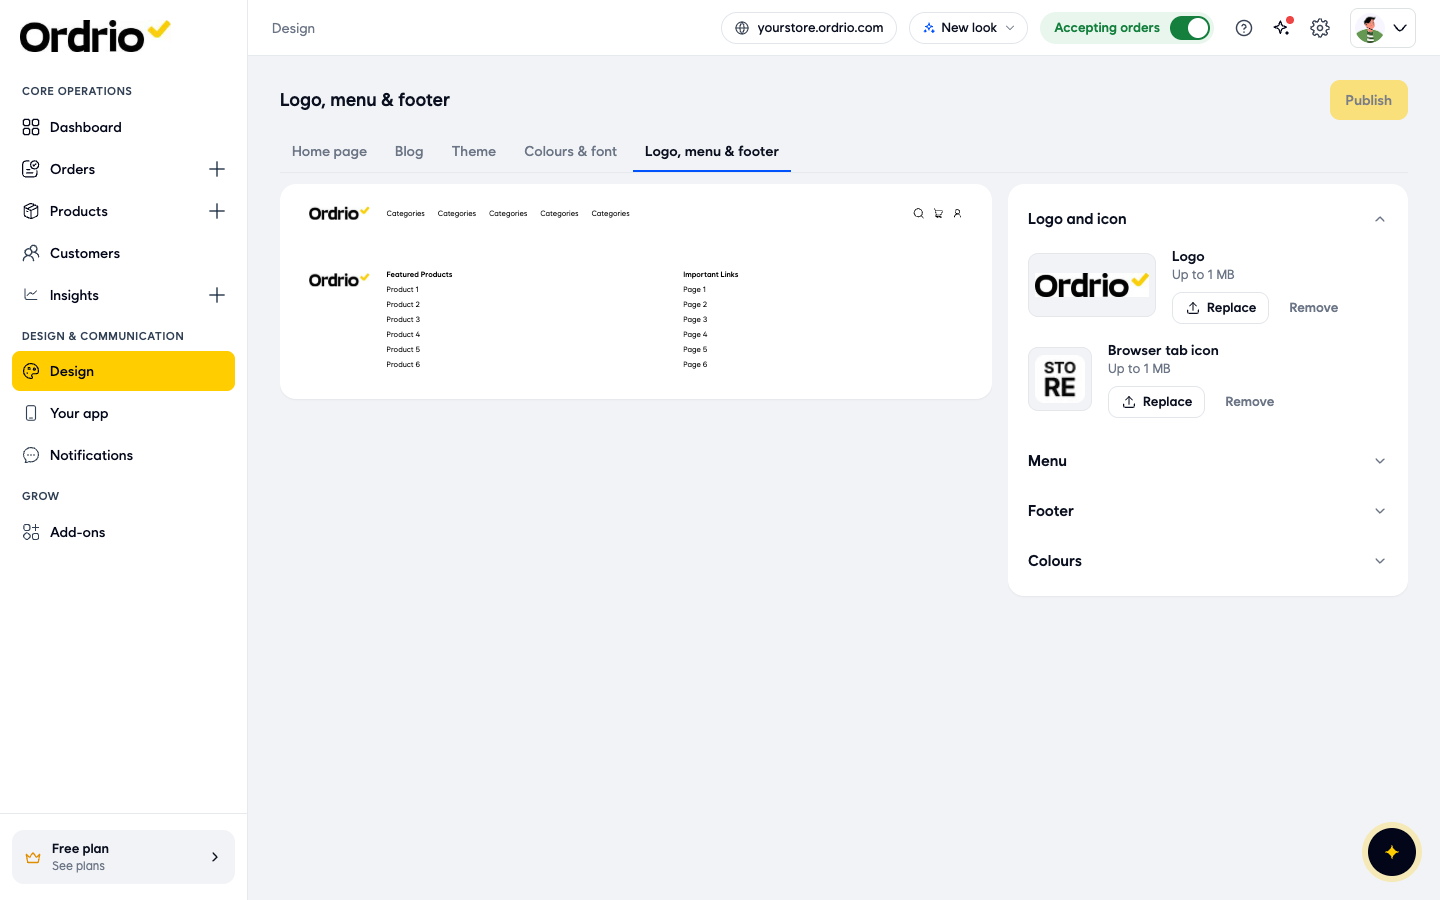
- Click the Logo, menu & footer tab. Under Logo and icon, click Replace next to Logo to change your logo. You can also add a Browser tab icon here. If you have no logo yet, you can also click Add logo in the Brand box.
- To change your home page, go back to Design and click Customize. Pick a section in the Sections list to edit it, or click Add to add a new one.
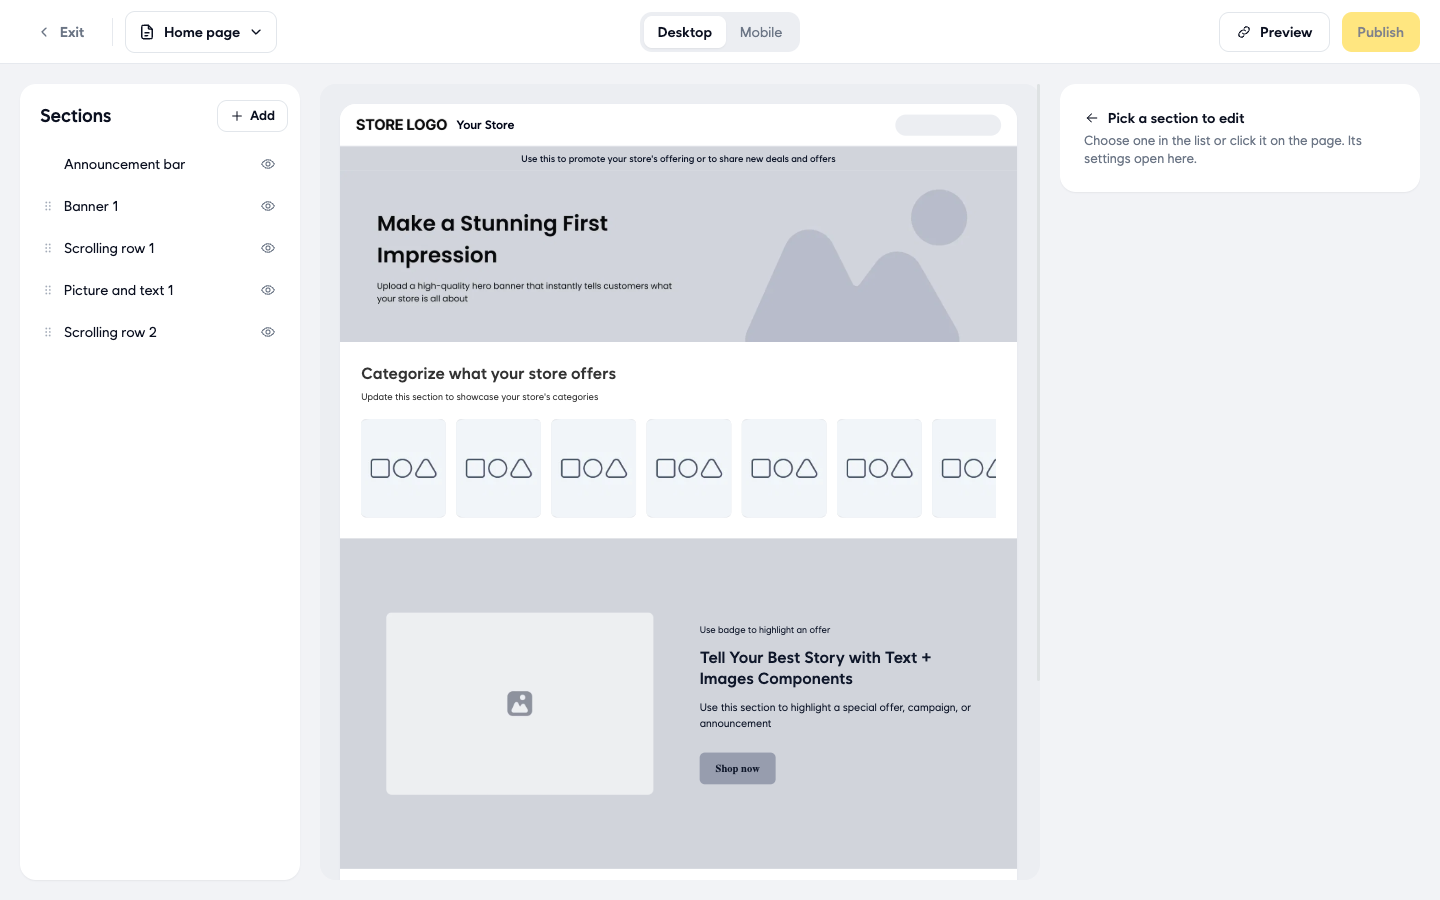
- Click Publish to put your design changes live on your store.
- To use a different look for your whole store, go back to Design and click Change theme.
Good to know
- The phone number, email, address and names in the screenshots are only examples. Type your own store's details.
- Your logo shows in both Store details and Design. Both places show the same logo. After you change it in one place, check that the new logo shows in the other one too.
- Tax and invoice settings are in Settings > Tax & invoices. Under Invoice design, you choose what your invoices show, for example your logo, store name and address, GSTIN and the Tax split on each item.
- Your store policies are in Settings > Store policies. Privacy Policy, Refund Policy, Return Policy and Terms and Conditions are shown in your store footer and at checkout, and they must stay on. Click a policy's edit button to change its text.
- Store hours are at the bottom of the Store details screen, but they need the Store timings add-on. Click Activate to turn it on.

- The Store ID at the top of Store details is your store's unique ID. Click Copy if our support team asks for it.
Related
- Accessing Ordrio for the first time
- Recommended setup order for new stores
- What you need before getting started
Was this article helpful?