How-to guide
Inventory and stock movement reports
Stock levels and movement across branches.
See how much stock you have in every branch, find what is running low, and track how much of each product went out. Use these screens to plan restocking before a best seller runs out.
You use two places in your Ordrio admin panel for this:
- Inventory (under Products) shows current stock for every product in every branch.
- Products and Categories (under Insights) shows how many items of each product were sold in a time period, for one branch at a time.
The products, branches and numbers in the screenshots are examples. You will see your own products and branches.
Check stock levels across branches
- Open nadi.ordrio.com (your Ordrio admin panel) and log in.
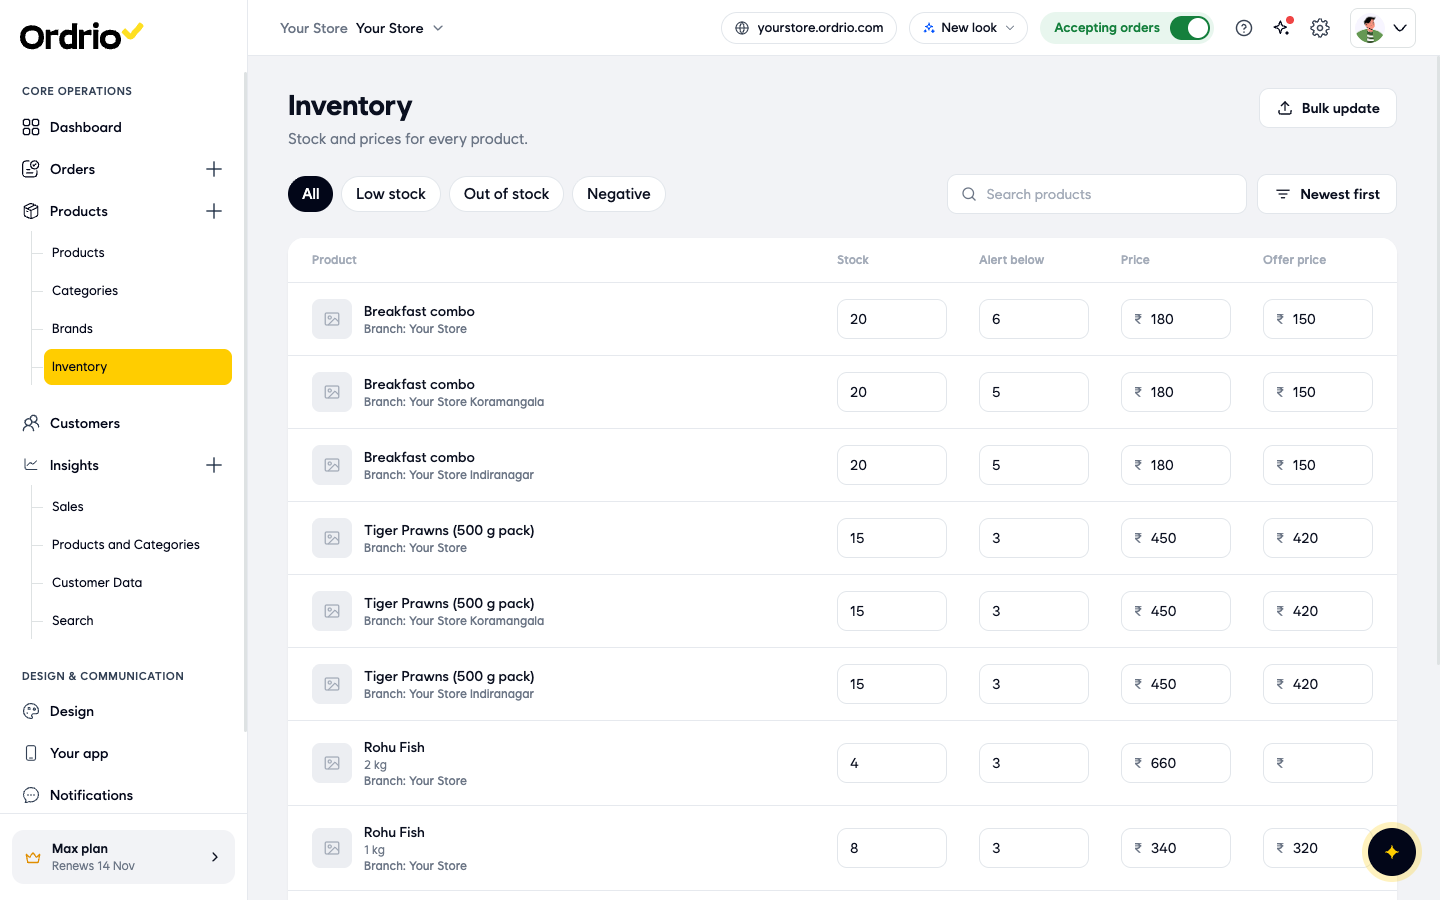
- In the left menu, click Products, then click Inventory. The Inventory page lists stock and prices for every product. Each product has one row per branch, and the line under the product name tells you the branch (for example "Branch: Your Store Koramangala"). Products with options also show the option, for example a pack size. Each row has these columns:
- Product: the product name, its option if it has one, and the branch.
- Stock: how many you have in that branch right now.
- Alert below: your low stock level. When stock falls low, the product shows under Low stock.
- Price: the normal selling price.
- Offer price: the discounted price, if you set one.
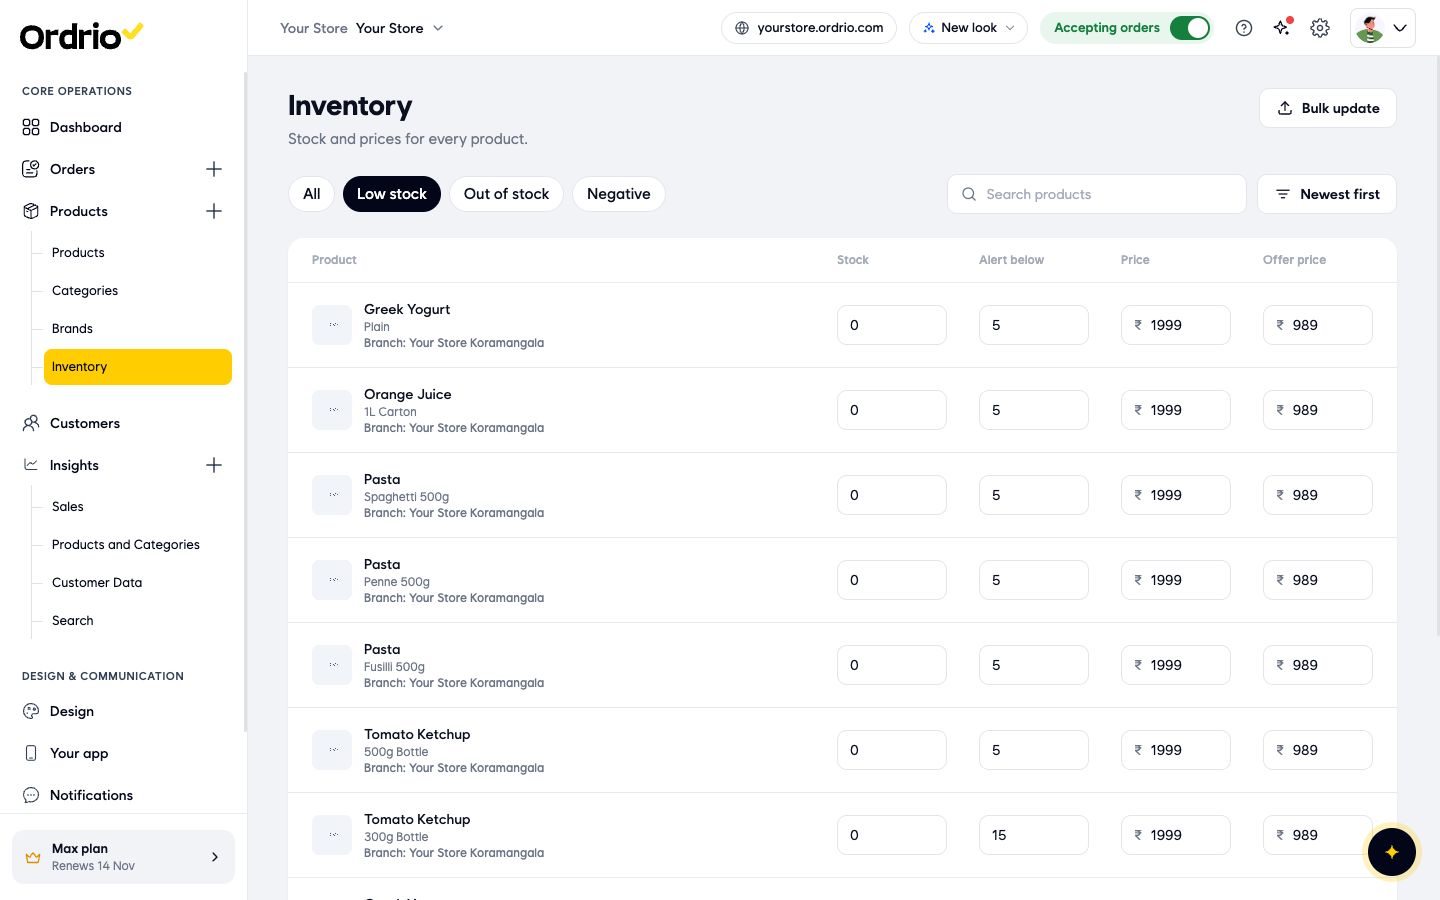
- Click Low stock above the list to see only products that are running low, based on the Alert below number. Products that are out of stock also show here.
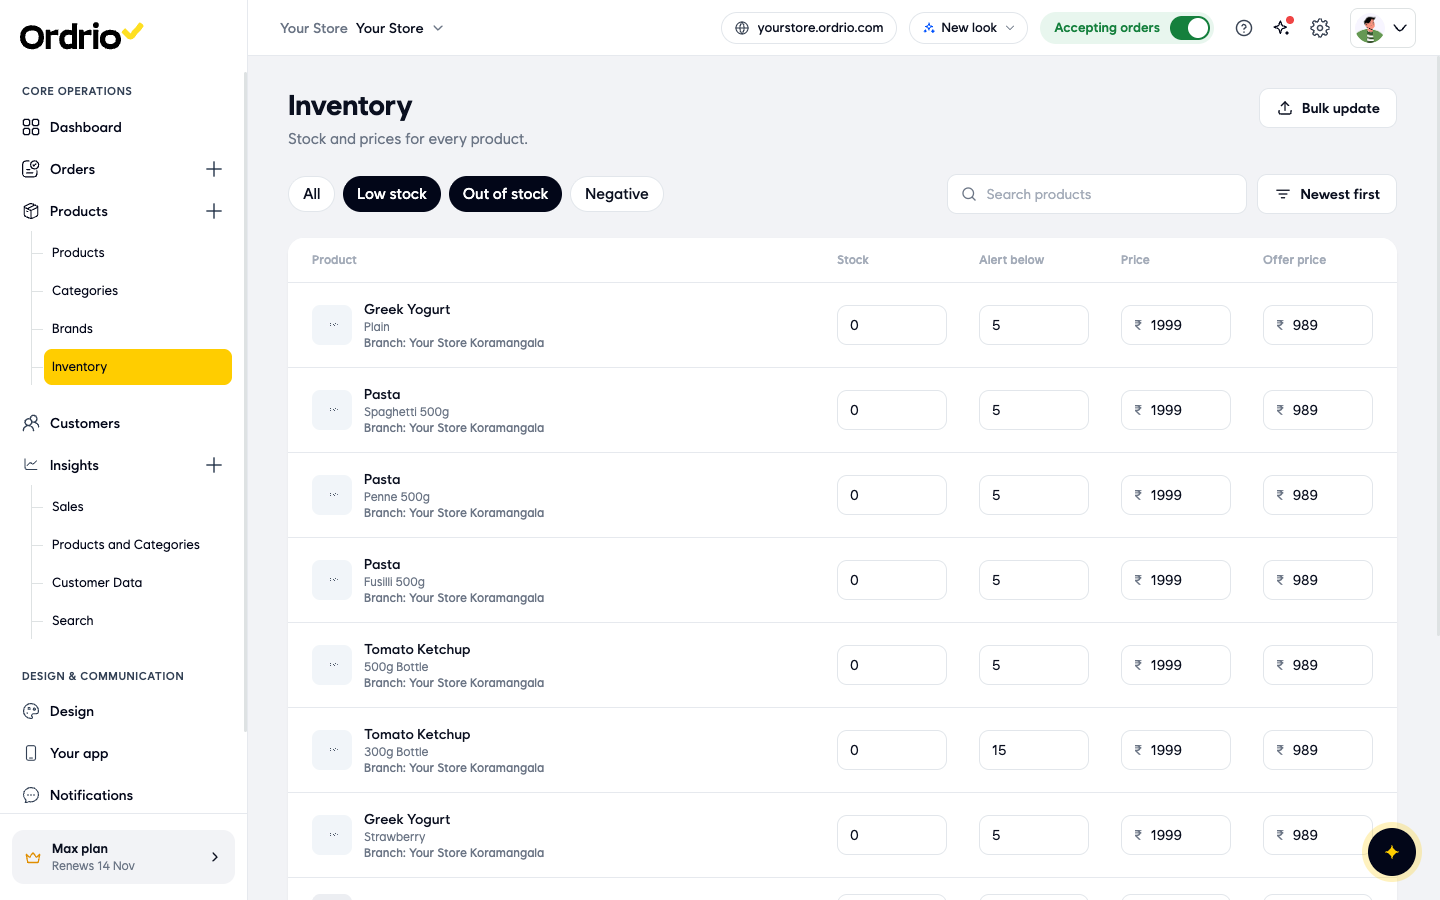
- Click Out of stock to see only products with no stock left. Click Negative to see products whose stock has gone below zero. If nothing matches a filter, you see Nothing matches. Click All to see every product again.
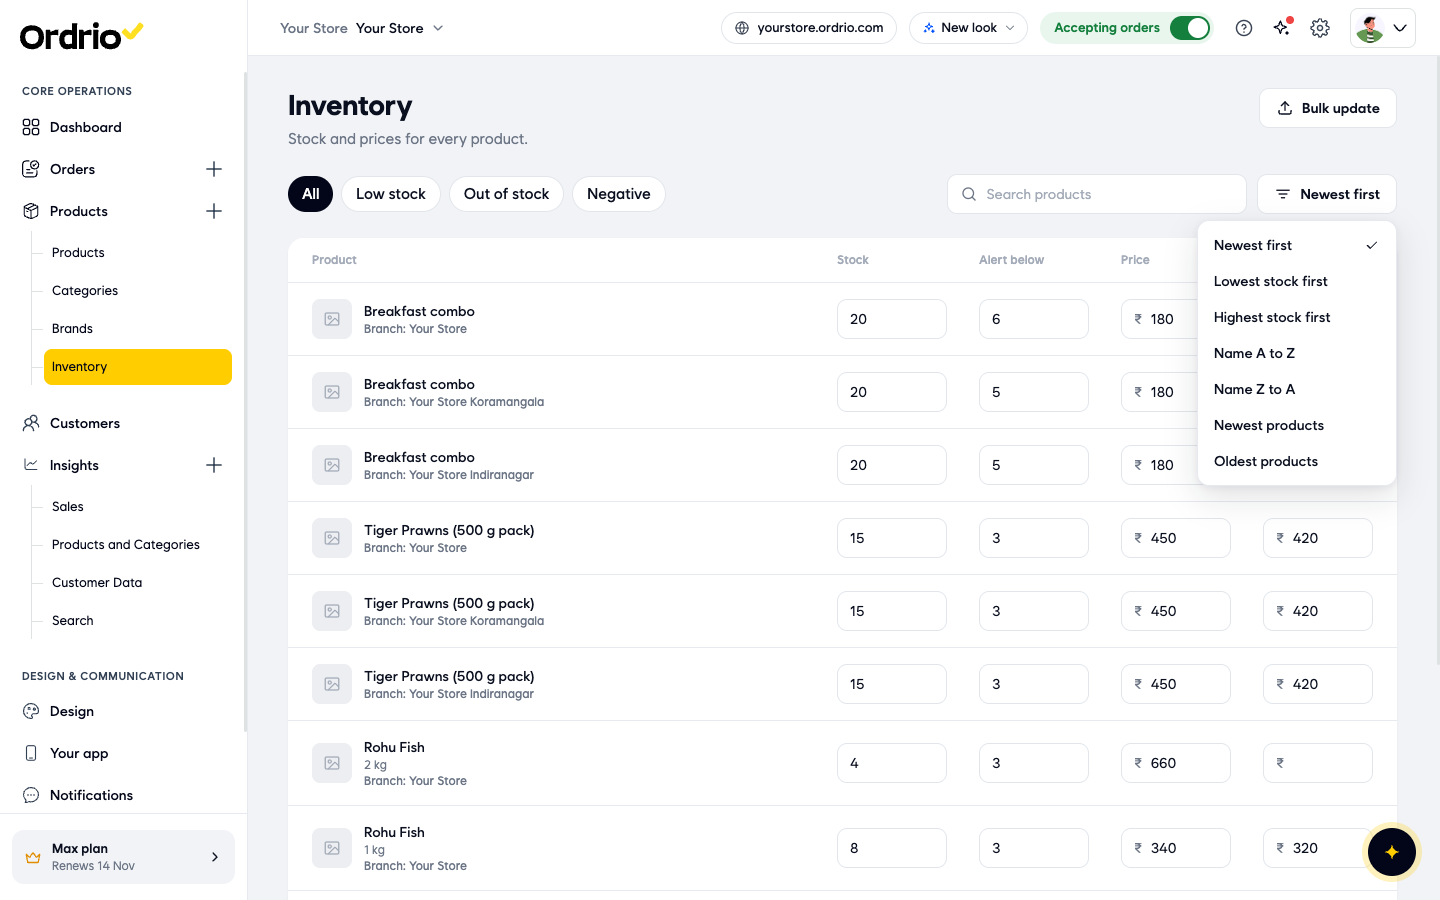
- Click the sort button on the right (it shows Newest first at the start) and choose how to order the list: Newest first, Lowest stock first, Highest stock first, Name A to Z, Name Z to A, Newest products or Oldest products. Lowest stock first is handy before you reorder.
- To compare one product across branches, type its name in Search products. You see that product's rows for every branch together, so you can spot a branch that has run out while another still has stock.
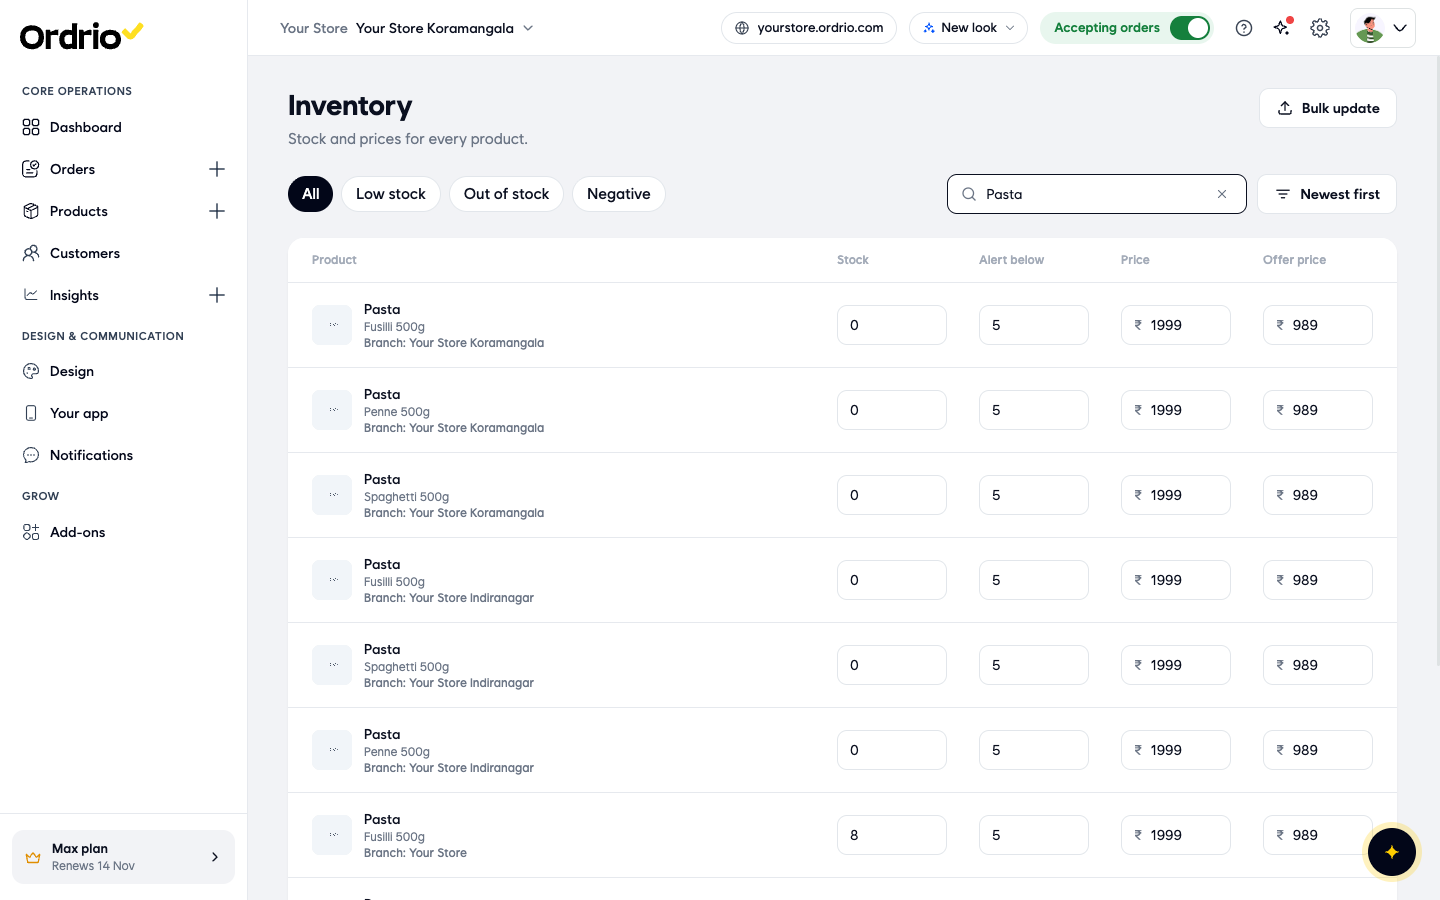
- If a count is wrong, for example after a stock check, click the Stock box for that product and branch and type the correct number. You can also change Alert below, Price or Offer price the same way. A bar appears at the bottom with the number of unsaved changes and two buttons, Discard and Update.
- Click Update to save. The bar goes away and the new stock shows in the list. Click Discard instead if you want to undo your changes.
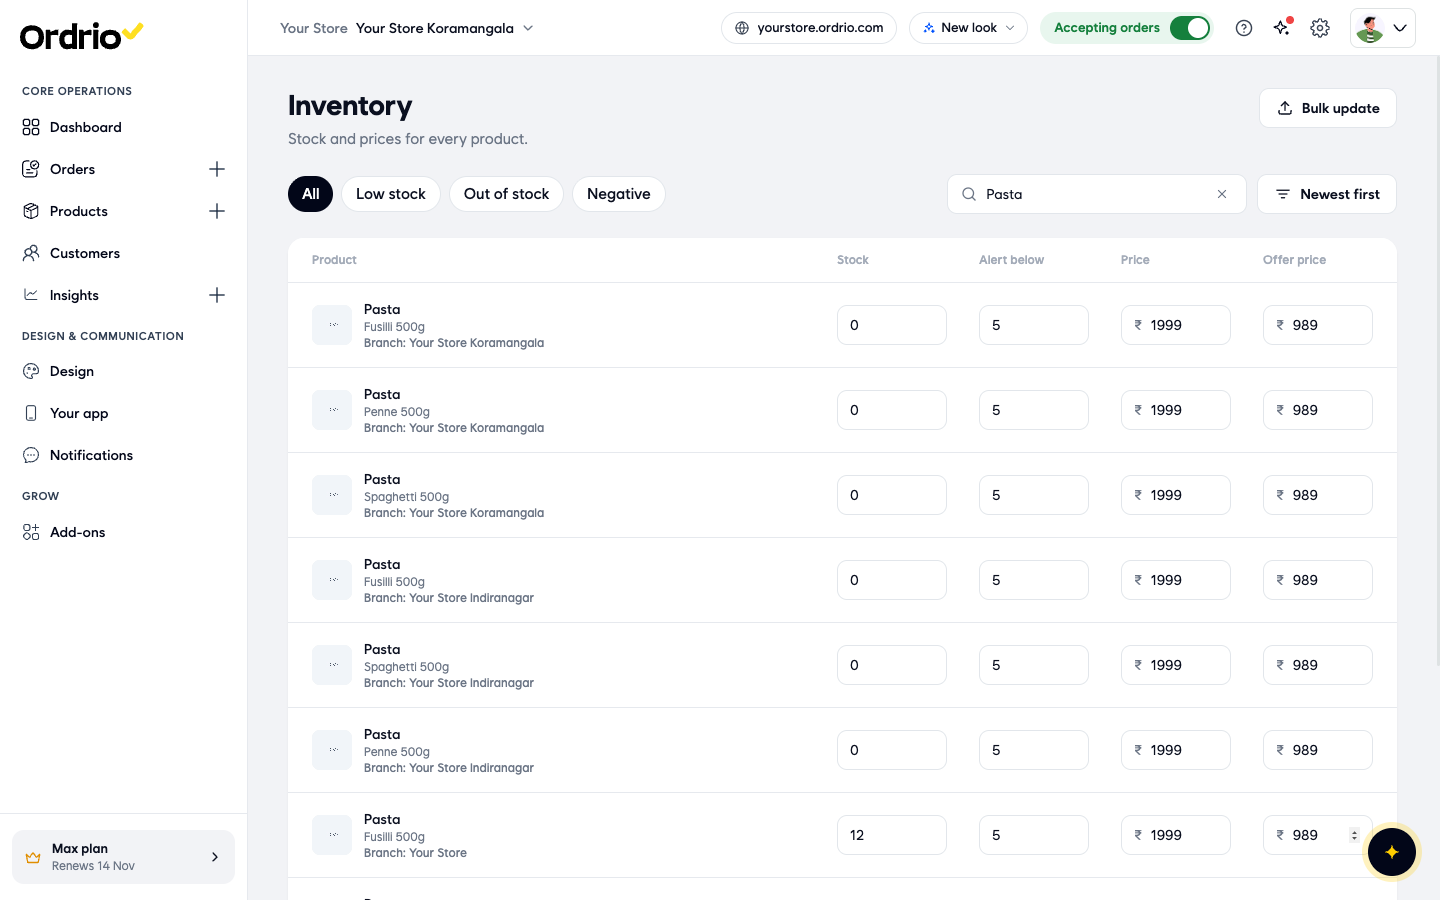
- To check or change stock for many products at once, click Bulk update at the top of the Inventory page. The Update stock page opens. It works in three steps: Download your products, Upload file, and Check & update.
- Click Download all products to get a CSV file of all your products, or Choose products to pick only some. The file is also a handy stock list for each branch.
- Under Upload your file, drop your edited CSV or click Choose file. It must be a CSV file of up to 20 MB.
- What the template has lists the columns. Product ID, Batch ID, Branch ID and name and Product name are needed. Stock, Low stock alert, SKU and barcode and Rack number are optional.
- Recent uploads lists each file you uploaded, with its date and result, so you can see when stock was changed in bulk.
Track stock movement with sales reports
The Inventory page shows where your stock stands now. To see how much went out over a period, use the sales reports under Insights. These reports show one branch at a time.
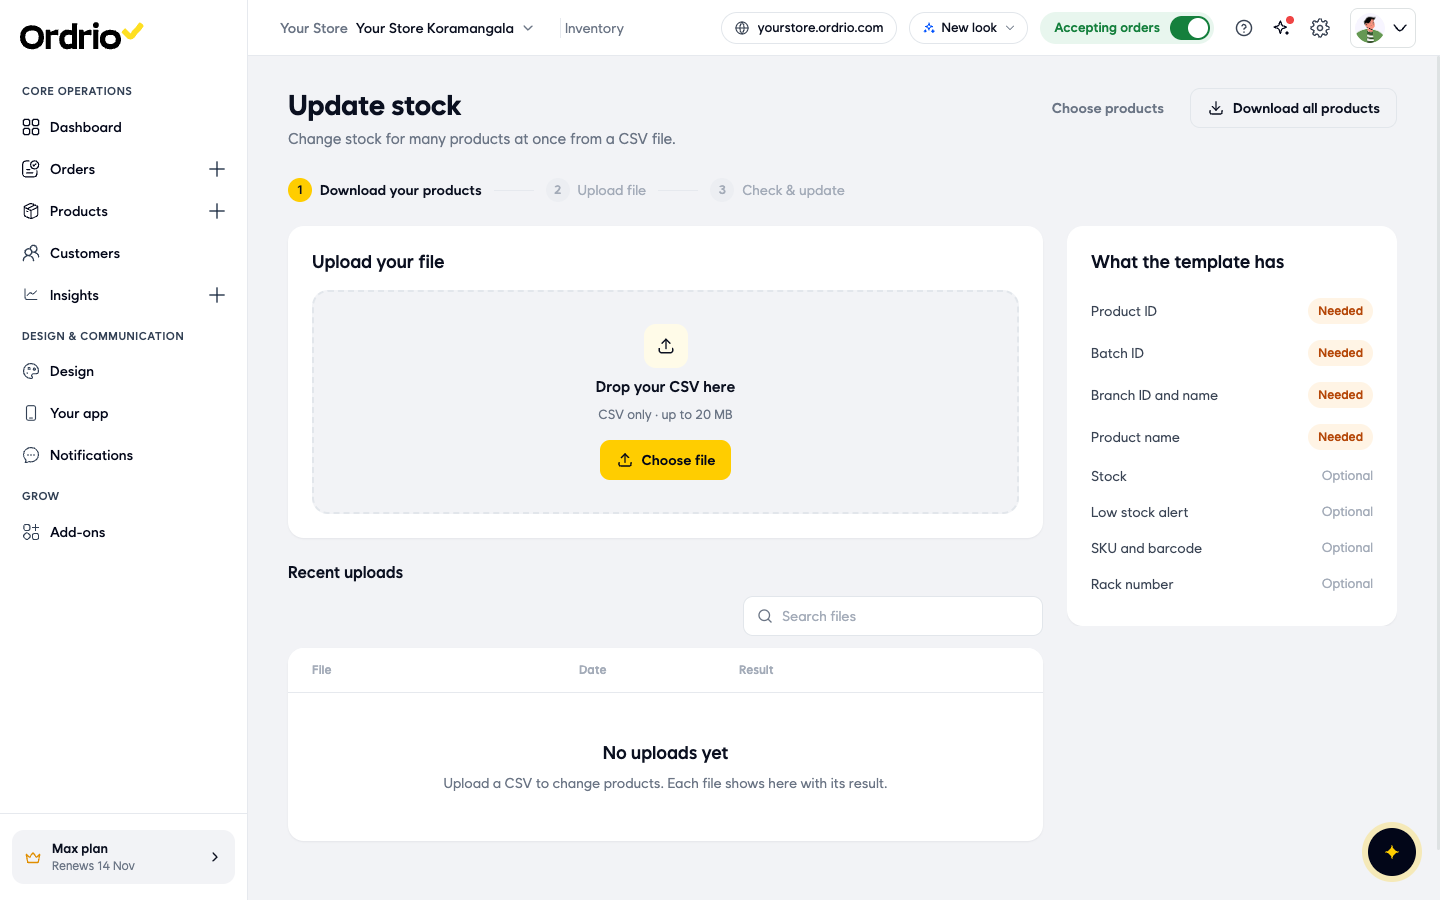
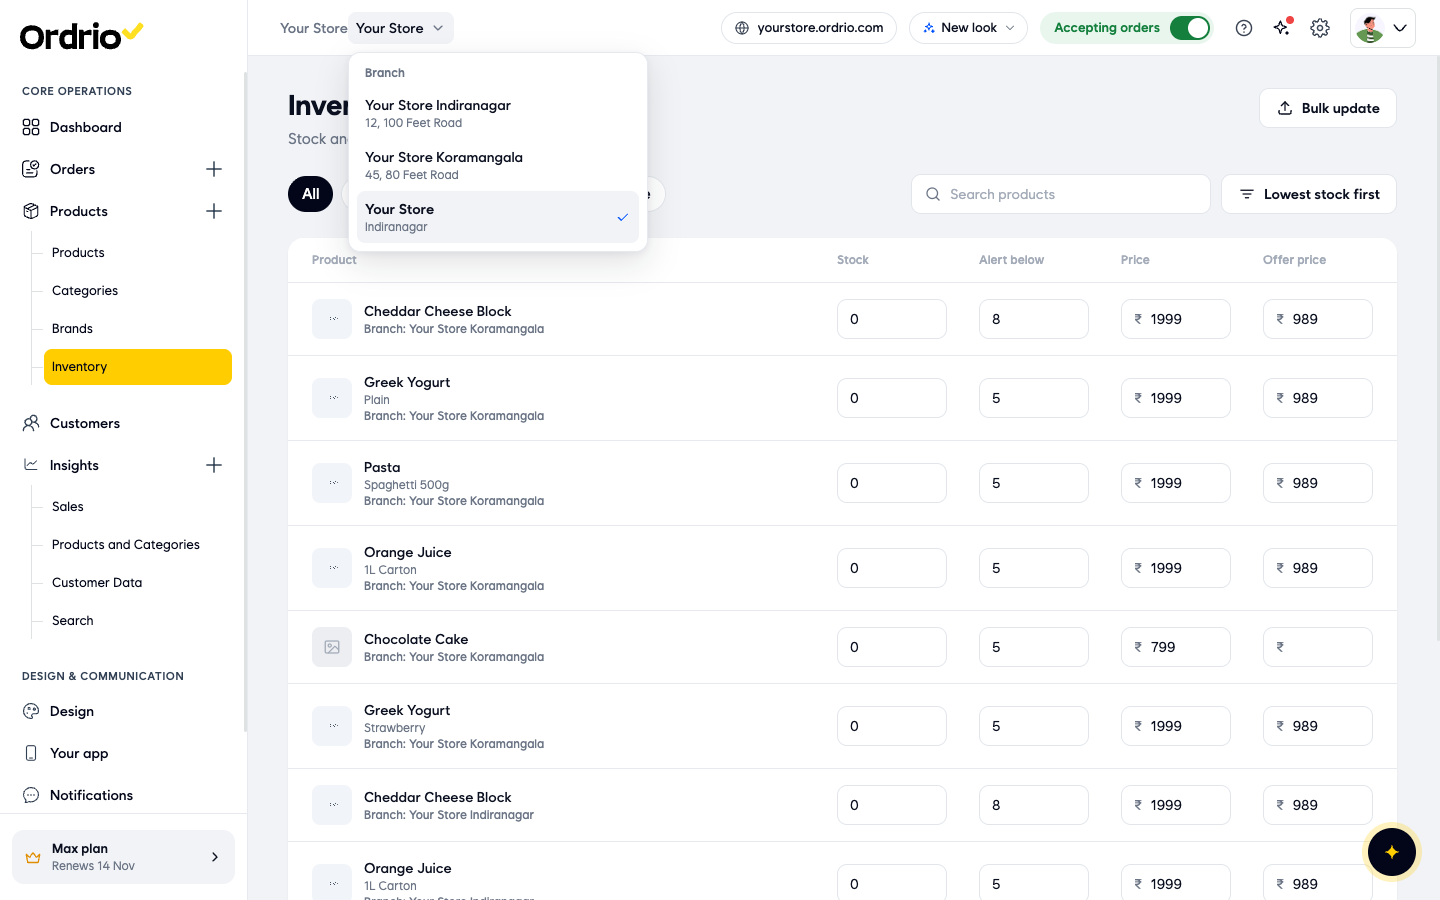
- Click the branch name at the top of the page (next to your store name) and choose the branch you want to check. The selected branch has a tick.
- In the left menu, click Insights, then click Products and Categories. The Products & categories page shows Top products (by items sold) and Top categories (each category's share of items sold, with its number of orders).
- Click the time period button at the top right (it shows This month at the start) and choose Today, Yesterday, This week, This month, This year or Custom range.
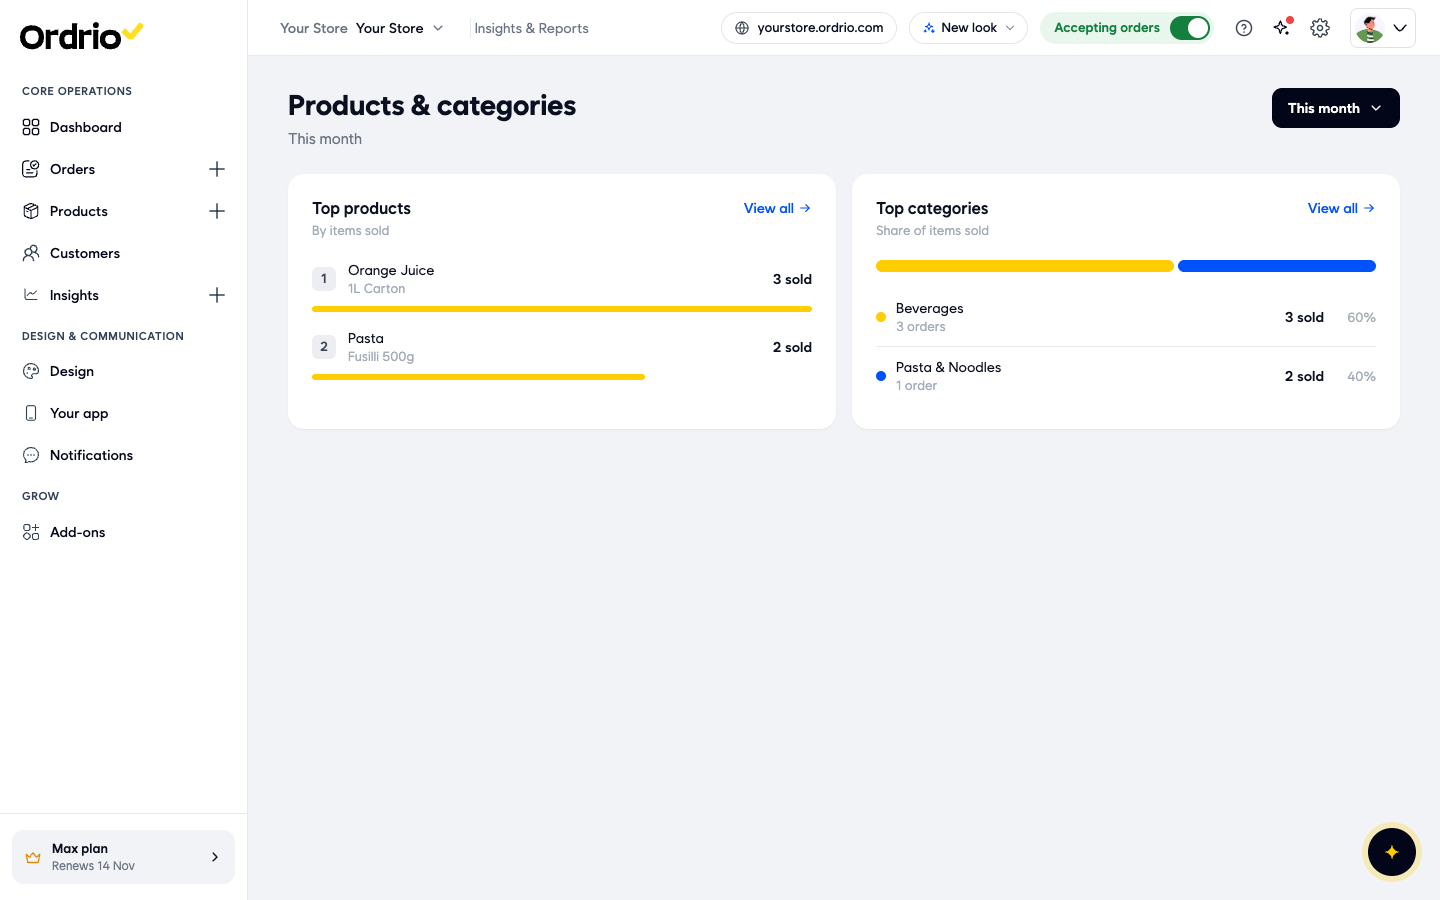
- Next to Top products, click View all. The Products report lists every product sold in that period with these columns:
- Product: the product and its option.
- Orders: how many orders included it.
- Items sold: how many units went out.
- Sales: the money from those sales.
- Use Search products to find one product. Compare Items sold with the Stock on the Inventory page to judge how long your stock will last.
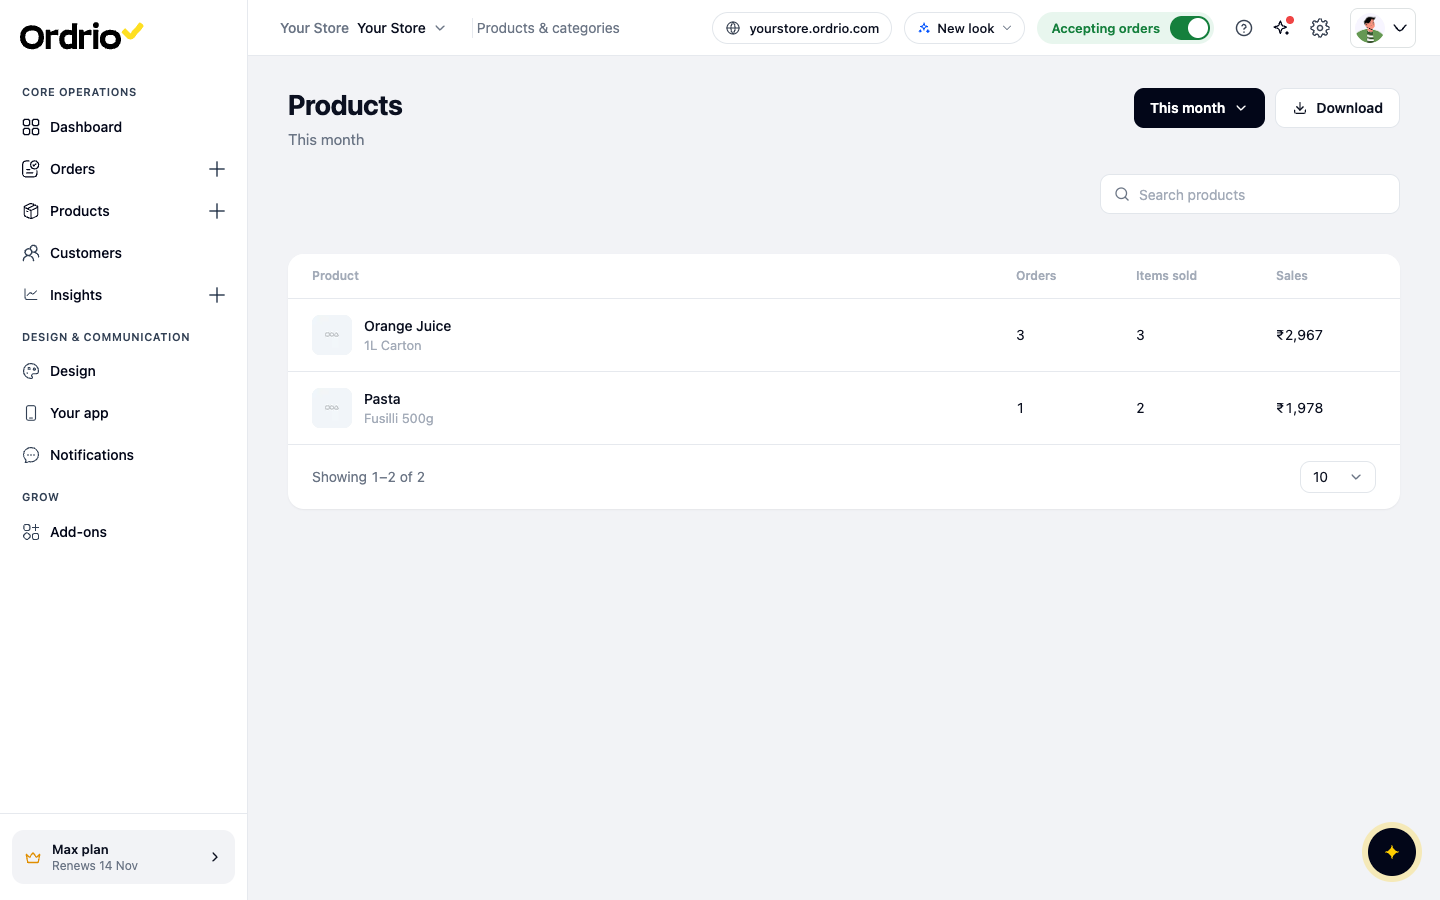
- Click Download to save the report as a CSV file. A message tells you the file is being generated and will be ready shortly.
- To check another branch, choose it from the branch list at the top again. The report updates for that branch.
Good to know
- The Inventory page always lists every branch, whichever branch you have selected at the top. Look at the "Branch:" line under each product to see which branch a row is for.
- The Insights reports follow the branch selected at the top. If a report says No products sold in this period., check that you picked the right branch and time period.
- Set a sensible Alert below number for each product in each branch, so Low stock shows products before they run out.
- Changes on the Inventory page are only saved when you click Update.
- Stock is kept per branch. Changing the stock of a product in one branch does not change it in your other branches.
Related
- Sales and revenue reports
- Adding your first product
- Creating and managing branches
- Bulk product upload
Was this article helpful?