How-to guide
Home page banners: how they look and how to add one
Shows what a home page banner looks like and how to add one in Design, with its pictures and what a tap opens.
A banner is a large picture on your store's home page. Use it to show an offer, a new product or seasonal news, and to send customers straight to the products they should see.
How a banner looks on your home page
A banner can have one picture or several.
- One picture. A single wide picture across the page, often at the top.

- Several pictures. Add more than one picture and they are shown together, or slide one after another.
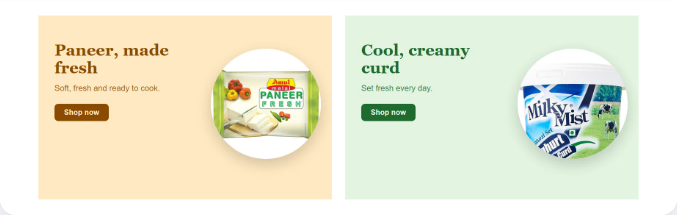
When a customer taps a picture, it opens the products, category, brand or web link you chose for it.
Before you start
Have your banner picture ready. Pictures can be up to 5 MB. The best size is 2560 × 650 for computers and 2560 × 1300 for phones. Keep any text away from the edges.
Add a banner
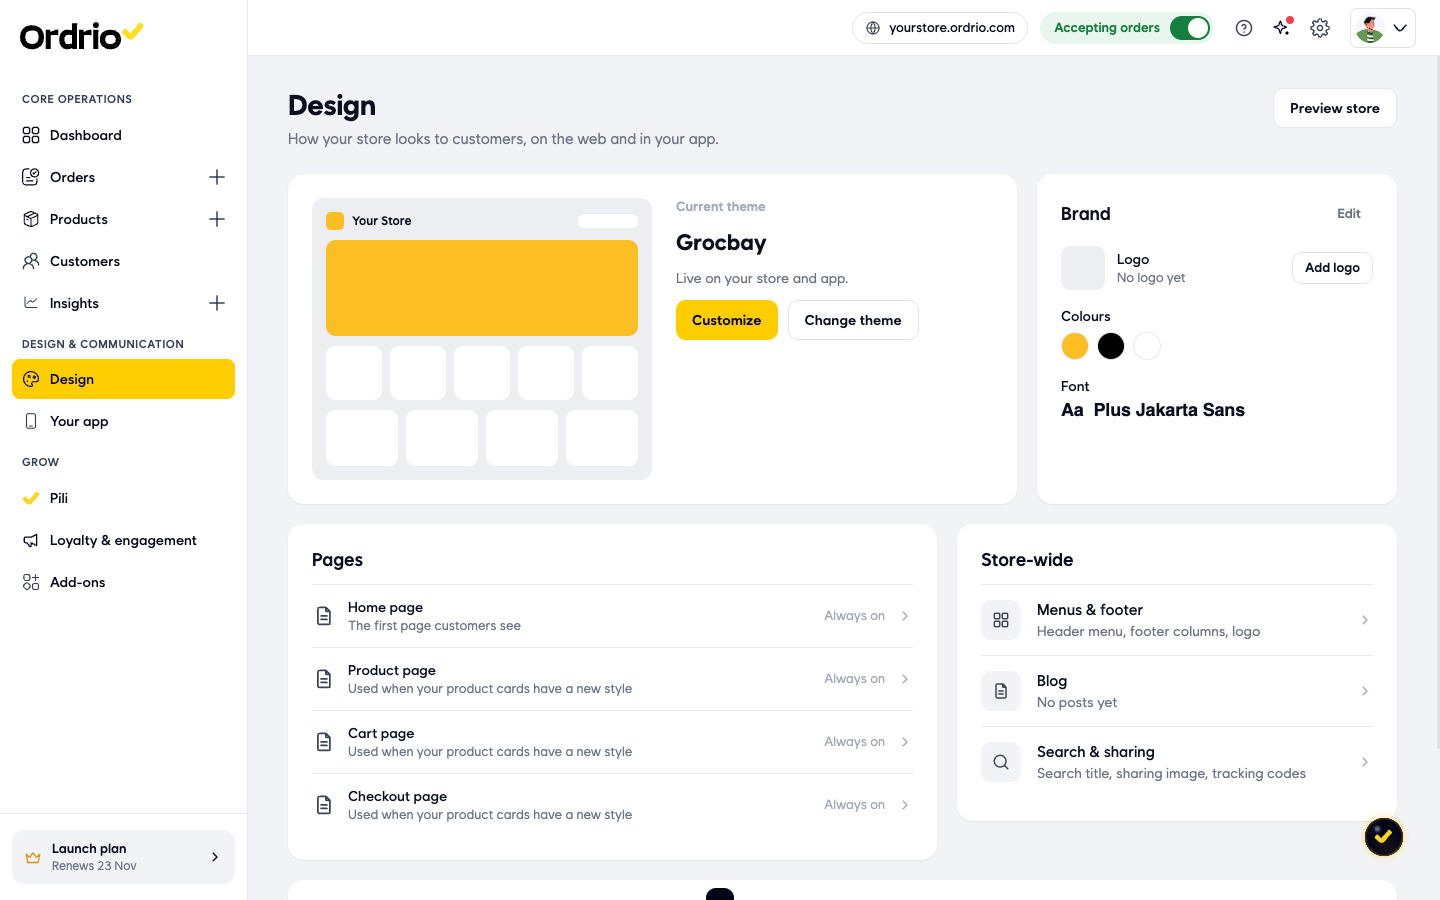
- Open manage.ordrio.com (your Ordrio admin panel) and log in. In the left menu, under Design & Communication, click Design.
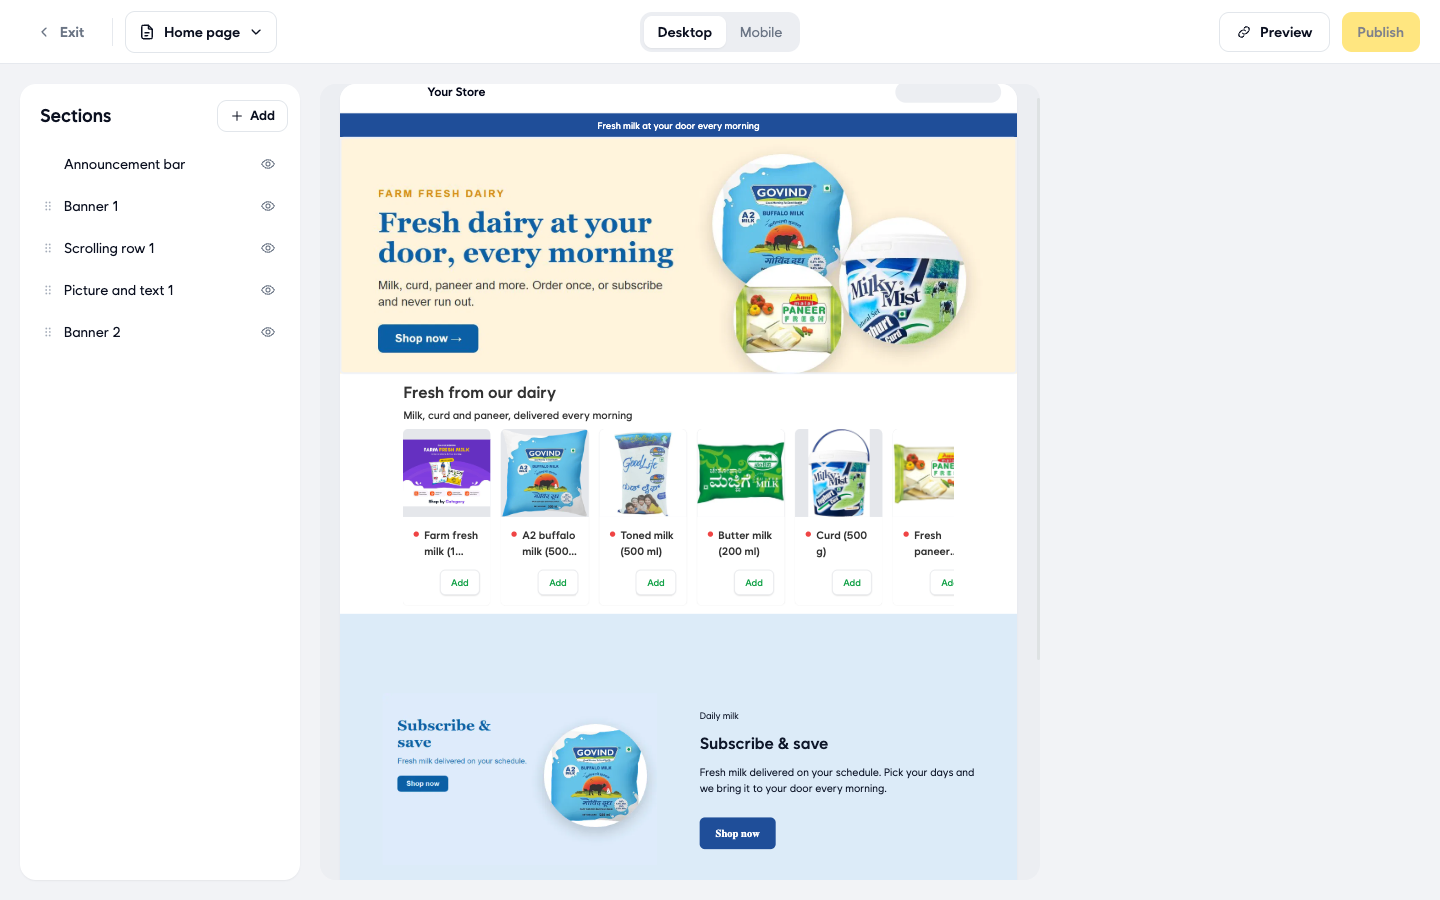
- Under Pages, click Home page. The page editor opens. Your sections are listed on the left, a preview of your page is in the middle, and the settings of the section you pick open on the right.
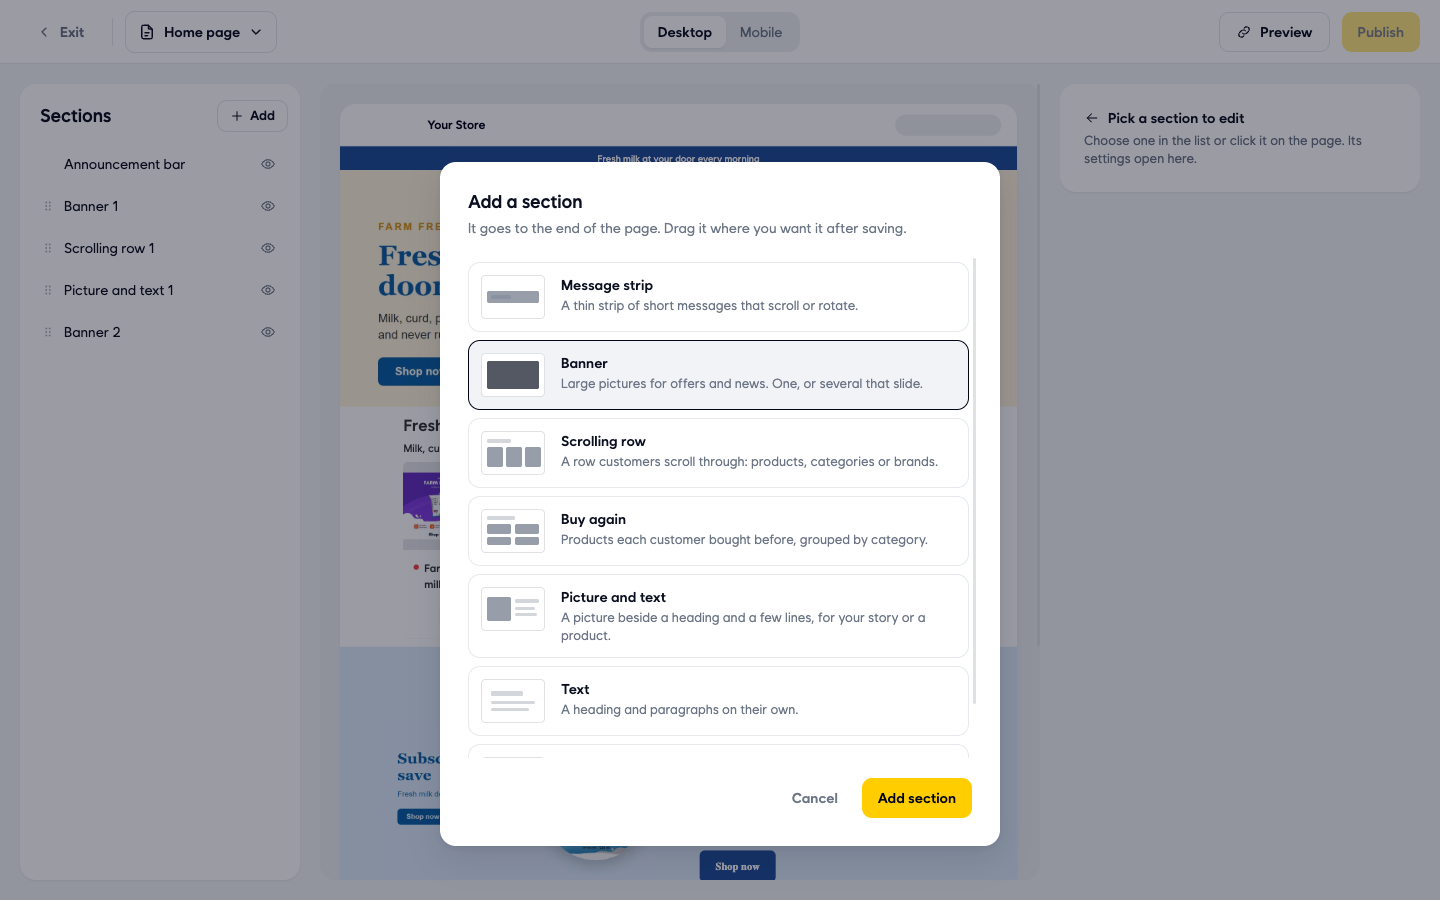
- Next to Sections, click Add. In Add a section, choose Banner ("Large pictures for offers and news. One, or several that slide.") and click Add section. The new banner goes to the end of the page and its Banner settings open on the right.
- In Name (optional), type a name, for example "Weekend offer". Only you see this name. It helps you find the section in the list. Use your own name for your offer.
- Under Where it shows, choose where the banner goes:
- Top of page: a banner at the top of your home page.
- Between sections: a banner between other sections. This also gives you a Background option, where you can add a background picture or pick a Background colour.
- In Display, choose the banner's shape. For Top of page you can choose:
- Full width · 1 or more pictures
- Rectangle, medium · 2 or more pictures
- Rectangle, small · 3 or more pictures
- Thin strip · 1 or more pictures
For Between sections you can choose Rectangle, medium, Rectangle, small, Square, medium, Square, small, Square, extra small or Wide. Each choice shows how many pictures it needs.
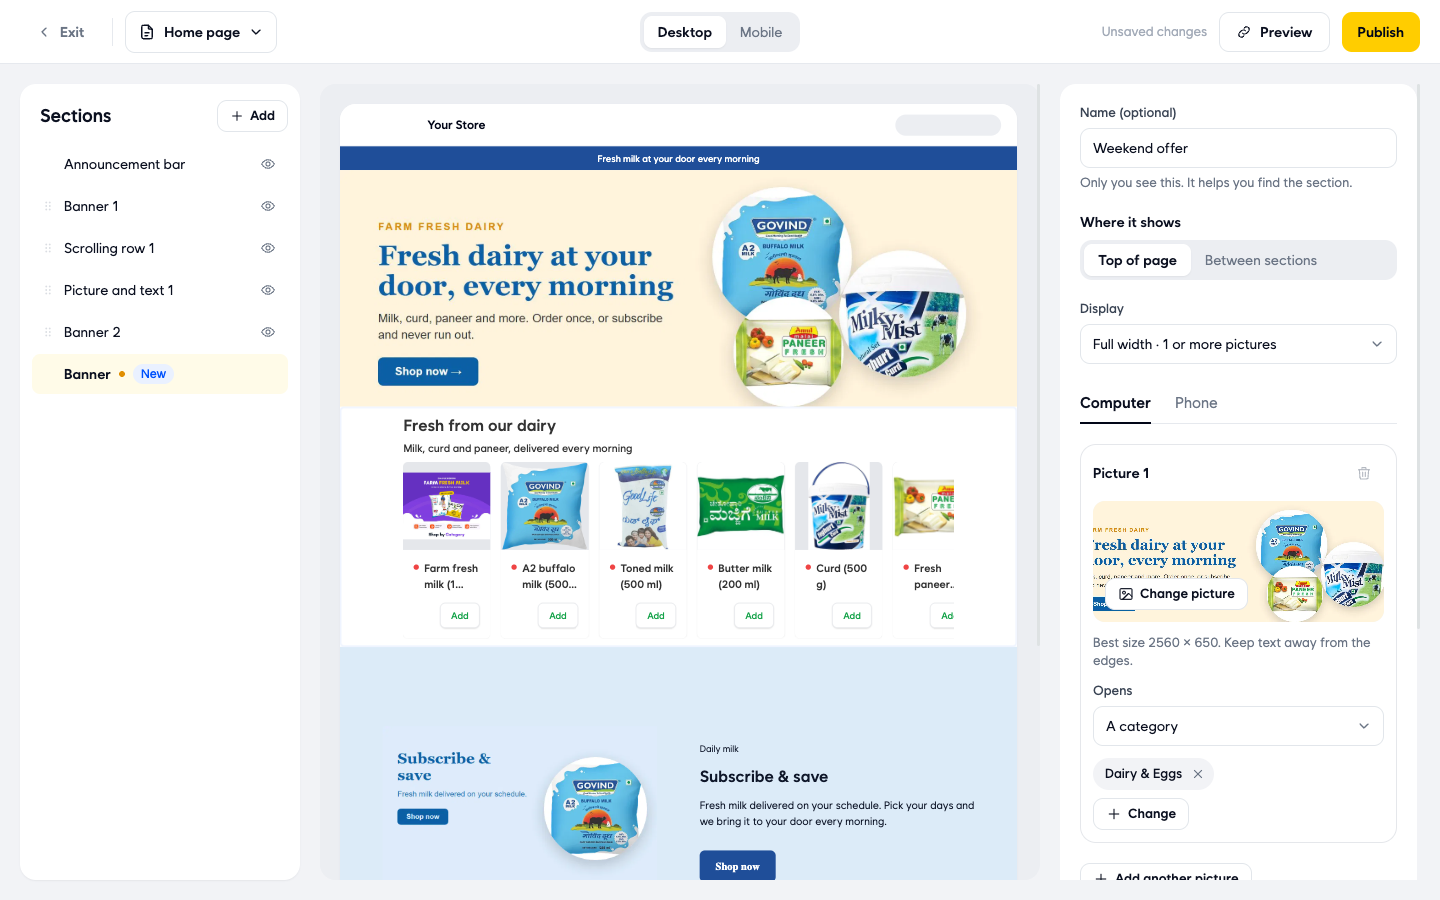
- Under Picture 1, click Add picture. In Choose a picture or video, pick a picture from your media library, or click Upload to add one from your computer. Click Use this.
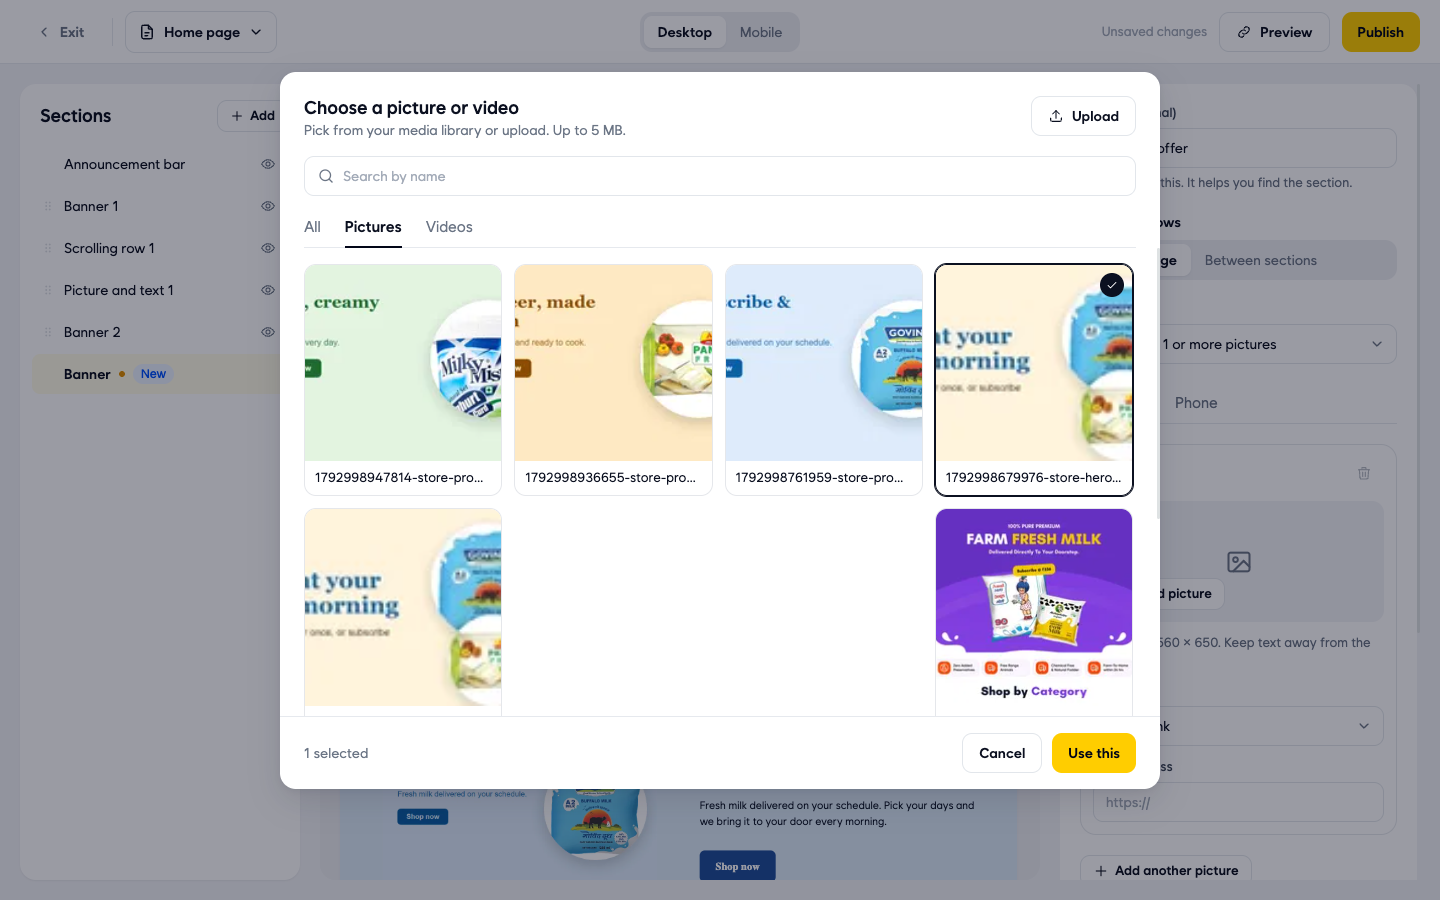
- With a Top of page banner you see two tabs: Computer and Phone. The picture you just added is for computers. Click Phone and add a picture for phones in the same way, so the banner looks right on small screens.
- In Opens, choose what happens when a customer taps the picture:
- A web link: type the address in Web address.
- Products: click Choose products and pick them.
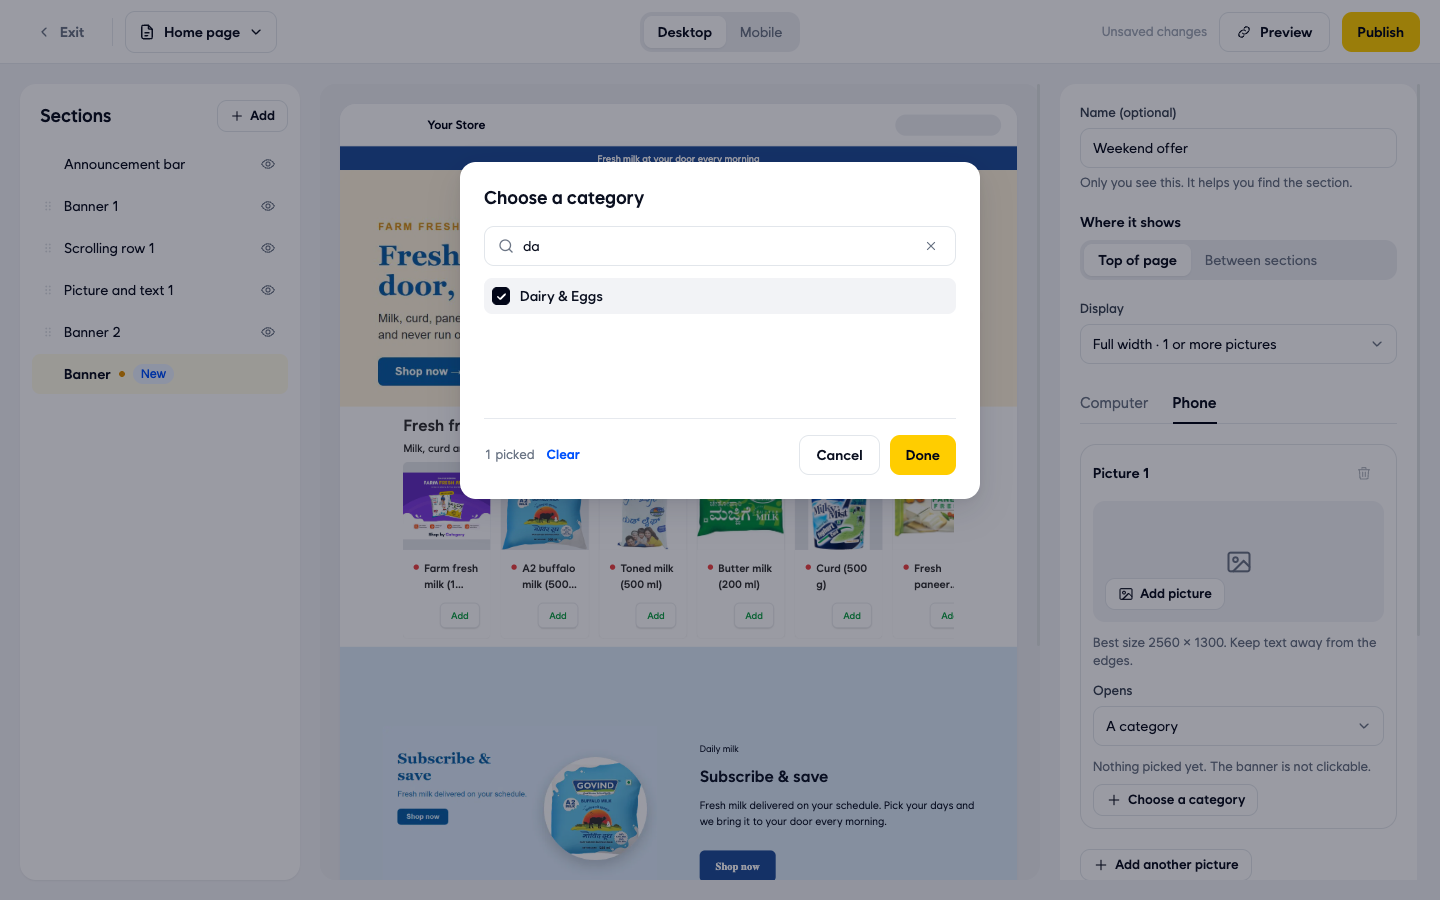
- A category: click Choose a category, type at least 2 letters to search, tick the category and click Done.
- A brand: pick the brand to open.
Set Opens for the picture on both the Computer and Phone tabs. If nothing is picked, the banner is not clickable.
- To make a slider, click Add another picture and repeat steps 7 to 9 for each picture.
- If you want, turn on Add text to this banner to put text on top of the picture, so you do not need to paint it into the image. Turn on Add buttons to this banner to add up to 2 buttons on top of the picture.
- Click Save. Your banner now shows in the Sections list with the name you gave it, and in the page preview at the end of the page. If Publish at the top right is yellow, click it too. When Publish is grey, there is nothing left to publish.
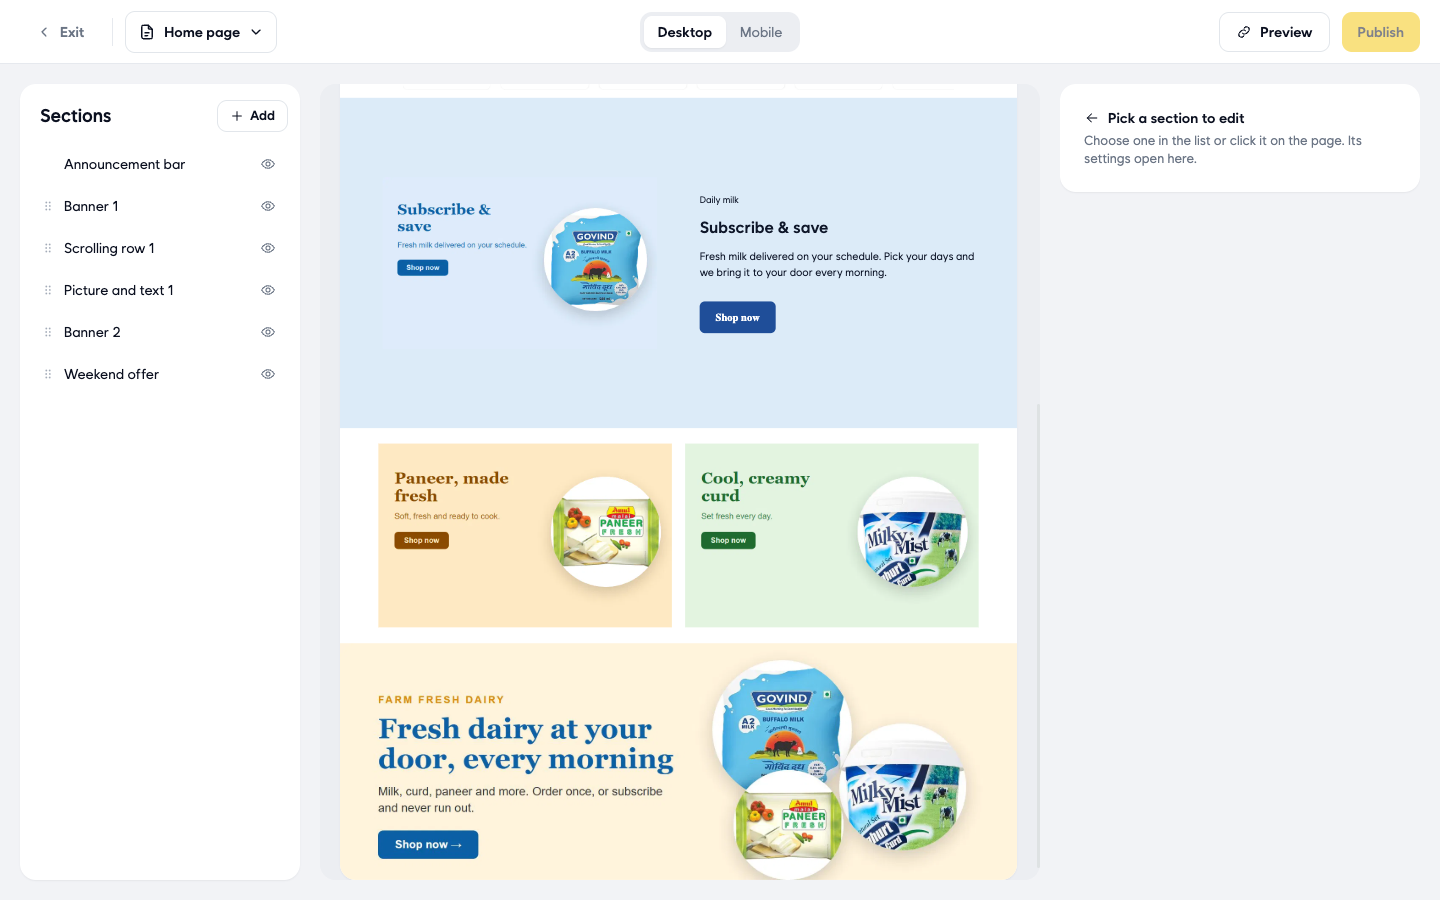
- To move the banner higher up the page, drag it by its handle in the Sections list.
Good to know
- The example values above ("Weekend offer", a dairy category) are only examples. Use your own name, pictures and products.
- Use the Desktop and Mobile tabs at the top of the editor to see how your page looks on a computer and on a phone. Click Preview to open your store in a new tab.
- You must save or discard your changes before you can drag sections into a new order.
- To take a banner off your store for a while, click the eye icon next to it in the Sections list, or open it and click Hide.
- To remove a banner, open it and click Delete. It is removed from your store straight away and this cannot be undone.
- To change a banner, click it in the Sections list or on the page preview. Its settings open on the right.
Related
- What is Ordrio
- Recommended setup order for new stores